My photography goal
January 18, 2011 by Lynn
Filed under Photography
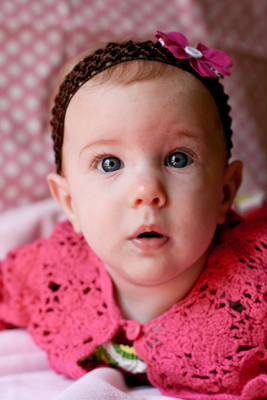
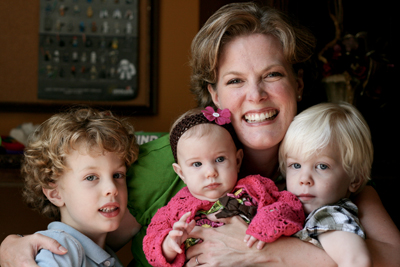
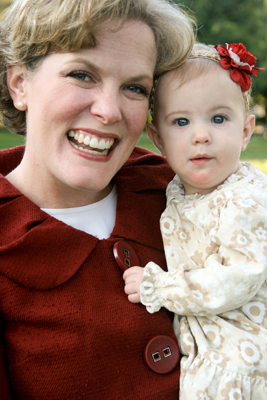
My friend Anne was kind enough to let me use her family to practice taking pictures. I got some fun ones of her kids, but not really any great ones of the whole family. Taking pictures of kids is HARD! I will taking any tips on how to get everyone to look at you at the same time, just once. I think I prefer to take less posed shots, but people like one of those (everyone looking shots) every now and then. Maybe I can take a class on that when I get back into college someday. 
Anywhooo. Here’s my goal- to be good enough at taking pictures of my kids so I can capture beautiful memories that don’t cost me $400 plus bucks every time I want a good picture. And I want to be good on my digital camera so that it costs me nothing but my time and my camera. Then once I am good enough I can take pictures for my friends too, for free. Just for fun. Because I enjoy it. I have a lot of fun learning and taking pictures. I hope to play more with my film camera, because I think film is beautiful. But, my digital is also satisfying my need to take a good quality quick pic of my kids.
I need to capture my babies eyes, so I can remember the way they looked at their mama. ahhh yeah… sweet babies and funny toddlers.
Here are some of my favorite from two different days with the S family-
Above- Favorite picture of the boys- I want to paint this in watercolors
I love that his face was all dirty-
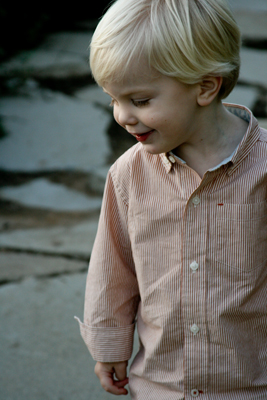 He did not want to look at the camera- I think it worked out though
Best Picture of the day- I think he was trying a Jedi mind trick on me hahaha….ahh good times
Princess Birthday Cake
January 17, 2011 by Lynn
Filed under Cake, Entertaining, Yummy Food
Ah ahhhhh! (singing like it’s amazing) Cuz it totally is haha!
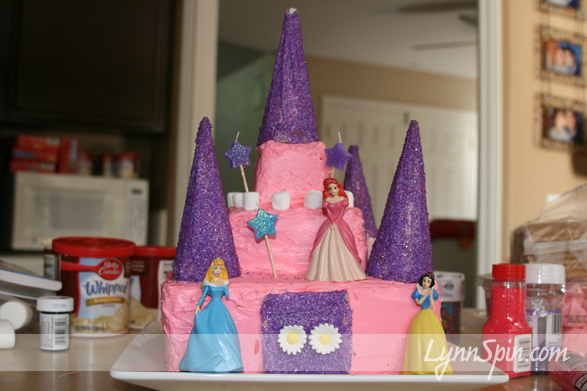
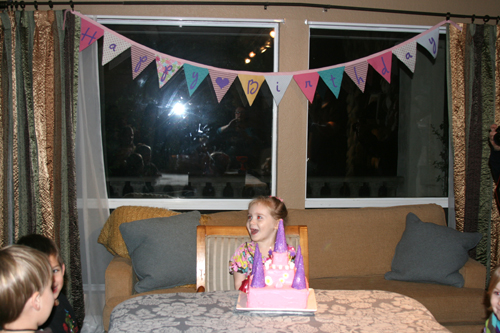
I found a you-tube video from Howdini on how to make a princess cake (that you can find here) and made my first ever decorated cake for Charlie’s 3rd birthday. Holy Cow! It wasn’t too hard, but starting the task was. Here is a little tutorial of pictures if you need to make a princess cake. At the end of the pictures I also show two smaller versions I made up myself using the same techniques I learned from the you-tube video. They turned out very cool and totally made my 3 year olds day. (I felt like a pretty awesome mom, not gonna lie ;))
My pictures for this post are pretty crappy. I was in a hurry and it was really dark. oh well… here’s the info.
I don’t make cakes from scratch so, Betty Crocker cake mix and frosting, food coloring, sprinkles, 5 ice cream cones, and a few princesses from the dollar store.
Made my 4 9×9 cakes. Put the wax paper down so I don’t get frosting on the plate, can pull them out when all done and have a clean plate. Sandra Lee from Food Network taught me that. Ok, used my bread knife and cut the top off so it was flat.
Put some frosting on top- in between the layers.
Three on the bottom. Then cut your forth piece in to fourths, use two of those for the middle, then cut on the remaining fourths in to fourths again and put two of those on the very top. Watch the video if I don’t make sense. It’s good and quick.
Put the cake in the fridge to harden up a bit, before frosting it.
Mix up your frosting
Give the cake a thin coat of frosting- there’s a term for this they use in the video- but I am a first timer 😉 Then place it back in the fridge to harden. It’s easier to frost this way.
When its hard enough take it out and give it a thick frosting. You can then pull out the wax paper if you want, or wait till the very end.
Now for the fun part- decorating! Put your sprinkles on a plate.
Roll them in sprinkles
Place on the cake
Now add the rest of the decorations. I used a gram cracker for a door. Frosted it, put sprinkles on it. The used a dab of frosting to glue it to the cake.
 I added little pre-made sugar flowers as door handles and mini marshmallows for fun.
 Added the princesses, candles, and a little sprinkles and Done!
Sweet Success!
How to make that cute birthday banner in back, click here.
A week later my friend and I threw a combined party for our girls who are 8 days apart. I made a little smaller version for each of them.
If I was to make this again I would have put two cake layers on the bottom instead of one. I used card board to set the cakes on, sour string candy on the layers, white chocolate chips at the ends of the candy, and lots of sprinkles all around. Oh and I used tooth picks to hold the princesses on.
The party was at Kidsville in San Diego. It was a blast!
Make a Cake with Your BAD Self!
Holiday Napkins
November 22, 2010 by Lynn
Filed under Entertaining, Holiday Crafts, Thanksgiving
Napkins for Thanksgiving or Christmas
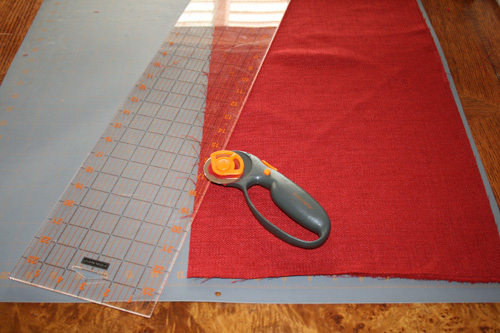
You will need a scissors or rotary cutter, sewing machine, thread, fabric that frays easy.
Cut fabric into a 16×16 inch square
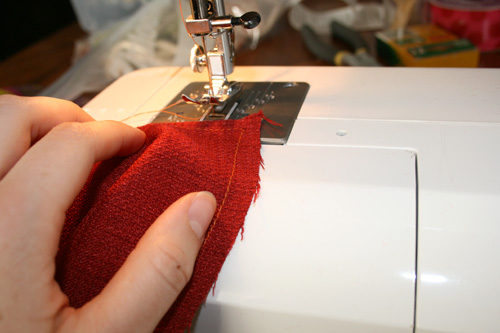
Sew in 1/2 inch along edge
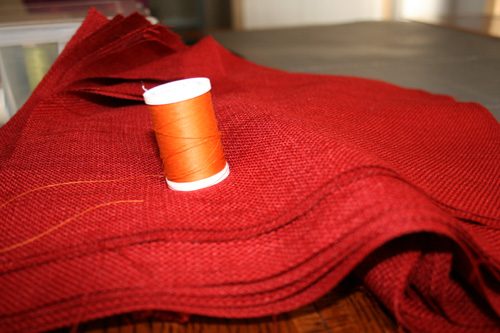
Fray by hand, or stick in washing machine and dryer- speeds up the process
And your done!
I don’t have a finished cute picture…dang! But, you can take one for me after you finish yours 😉
Make Napkins with Your Bad Self!- They are so expensive, making 20 cost me 2 dollars! Yeah baby!
Thanksgiving Table for Twenty
November 14, 2010 by Lynn
Filed under Entertaining, Thanksgiving
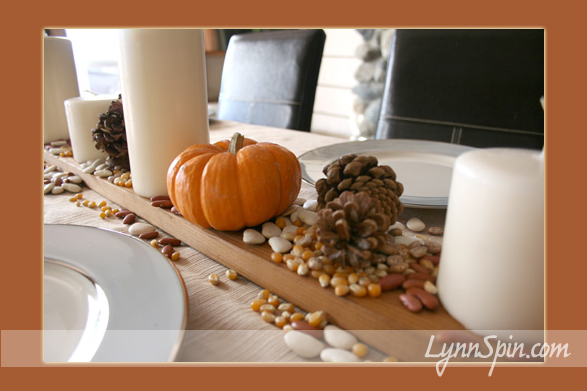
Thanksgiving can be lots of fun and lots of stress. Here is my easy and classy way to decorate your table.
I bought a bag of dried corn, white beans, pinto beans, and pine cones. Used a few small orange pumpkins and different sized white candles. I sent them down along a beat-up piece of wood in the middle of the tables.
I wish I had taken a picture with the cups, silverware, and napkins- all decked out. But, I got too busy cooking ;). Here is the basic idea.
Yes, I should have ironed that table cloth, but I don’t iron hahaha…ahh goodtimes 
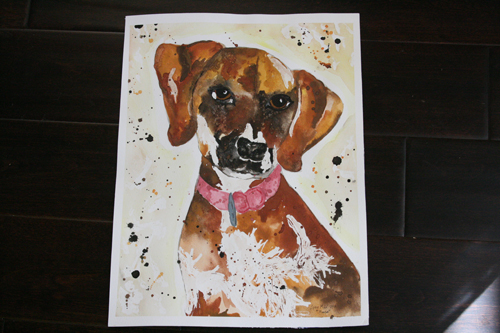
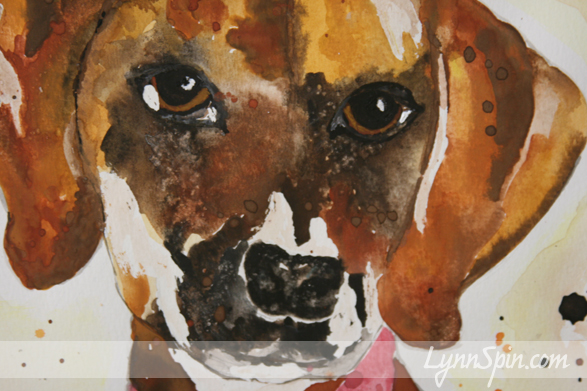
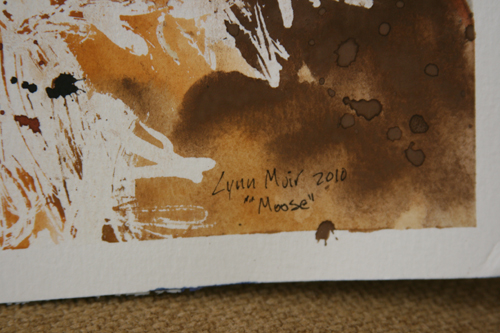
“Moose” The Dog- Watercolor tip: Masking
October 29, 2010 by Lynn
Filed under Art, Watercolor Painting
This is Moose, my friends dog. One day my friend asked if I could paint her a picture of her dog like a painting she had seen at The Pioneer Woman’s blog. I haven’t painted for a long time, but I love watercolors. The painting she liked was a watercolor so I thought I could take a stab at it. I haven’t painted for two years. I remember the last time I tried; I strapped my 3 month old (at the time) in the baby bjorn to my chest and attempted to paint. A few drool drops later and I had to stop. I was in heaven yesterday painting this, it felt so good to be painting again. I am glad my friend gave me the challenge to put paint on paper again.
But, enough about that. Here are a few tips to help you with your watercolors.
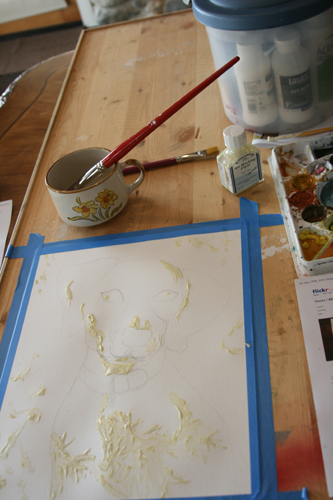
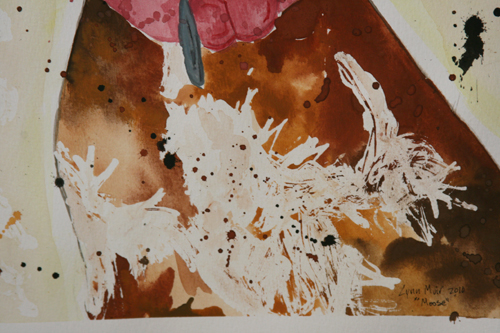
Use the white of the paper-not white paint. It looks so much better. To help with this some times, I use something called “art masking fluid”. It is kind of like rubber cement, you can peel it off the paper after you are done painting. It seals the paper so that paint doesn’t get in places you need to stay white.
Here my other tip- Look at artists paintings that you like to get ideas and try different techniques. Don’t be scared! Just keep painting. And paint the same thing twice if you have too, I do all the time.
You can see here how I used it. I sketched out the dog just a little, the put the masking fluid on where the fur is white and in the eyes.
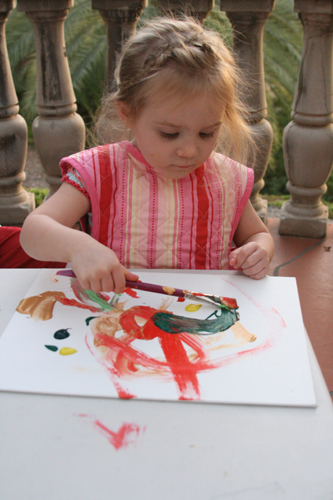 Charlie who once drooled on my painting is now becoming quite the little artist too. Maybe the drool was the start of it 😉
Get Crafty with Your Bad Self!
Halloween Garland
October 21, 2010 by Lynn
Filed under Halloween, Holiday Crafts
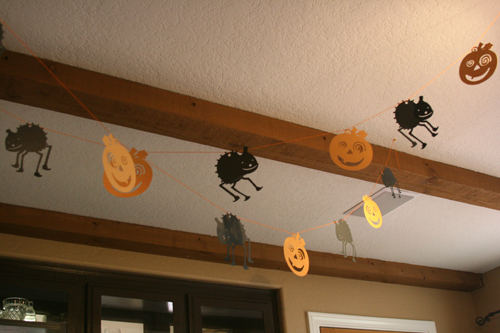
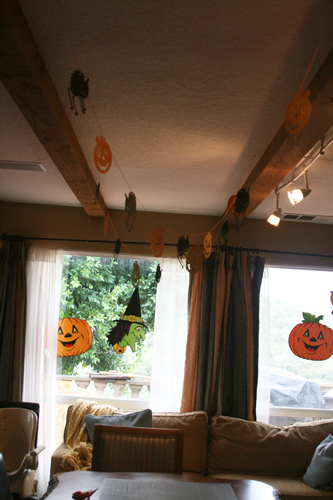
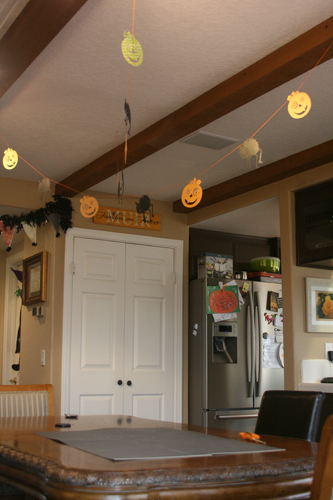
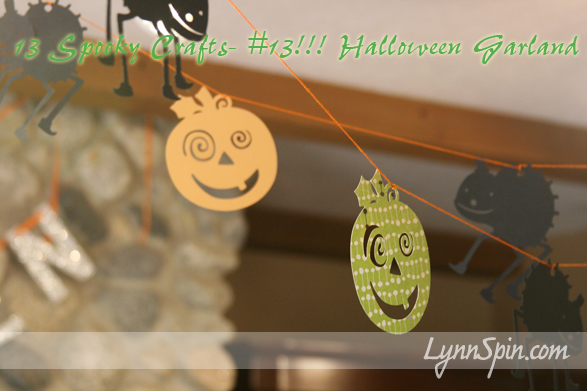
It was hard for me to get a good picture of this. But you get the idea right?  Super easy craft to spruce up the dinning room table. I used my Cricut machine to cut these out. I used the “Use your imagination” front cartridge. The spiders were 5 inches and the pumpkins were 4 1/2 inches. I needed a little more decoration for my annual pumpkin carving party! Super excited about it! My hubs and I met- well first spoke to one another while carving pumpkins. So in honor of that we have a pumpkin party carving party every year. How romatical
Enjoy your Halloween!! I am now off the pumpkin patch! Peace out!
Can’t believe I actually did 13 posts about Halloween. Yikes-a-Ronda!
Get Crafty with Your Halloween Decor!!
Spider Web Blocks
October 21, 2010 by Lynn
Filed under Halloween, Holiday Crafts
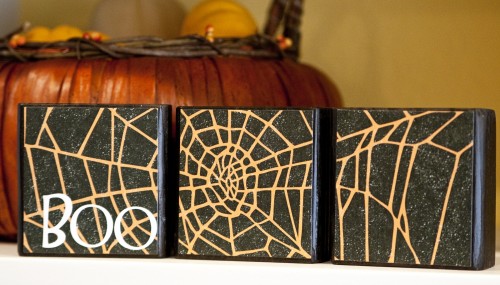
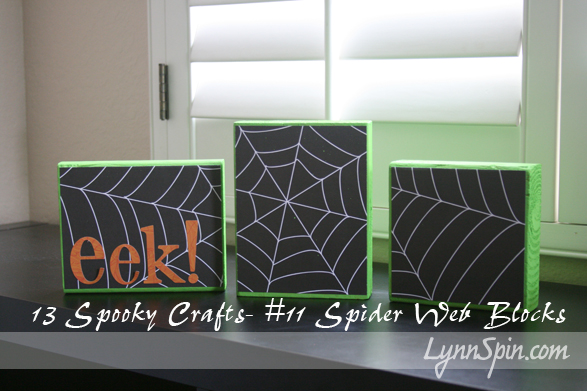
My clever friend Katie came up with this craft. I had to share it with y’all. I randomly found spider paper my mom had given me years ago and had blocks left over from the boo plaques. I had to make Katie’s cute craft! It was just what I needed for my fire place.
Here is a picture of the one Katie made. It is on 4×2 blocks.
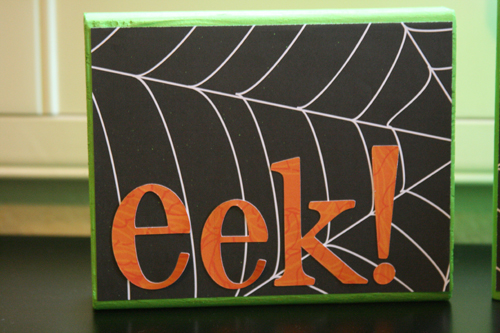
Mine were on 6×2 blocks. I think the 4×2, like the ones Katie did would be much better. The EEK was cut with my cricut with the Schoolbook font. The first E is 3 1/2 inches and the rest is 3 inches.
Skully
October 20, 2010 by Lynn
Filed under Halloween, Holiday Crafts
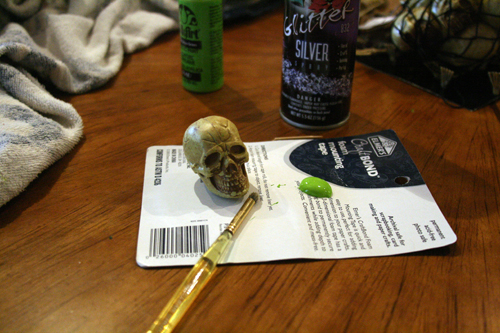
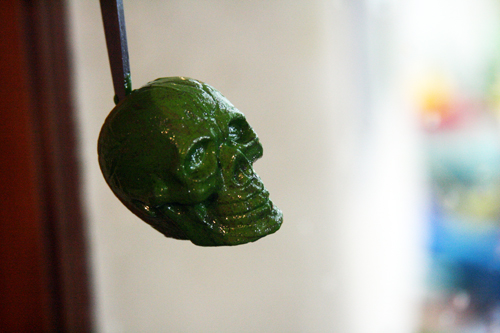
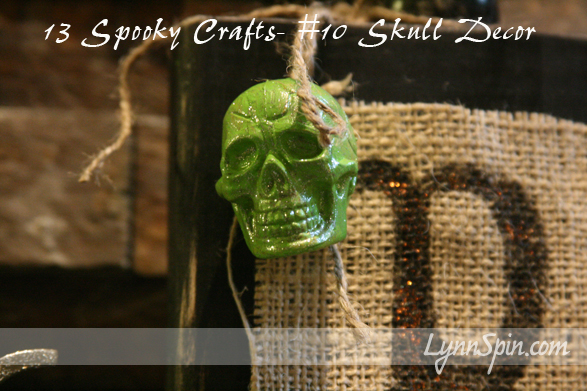
I wanted to add a little decoration to my Boo Plaque’s. I found this skull in a bag-o-skulls at Michael’s and then I painted it green and sprayed it with glitter. I had to poke a hole in it so I could hang it from the Boo Plaque- that was a little weird, but it turned out cute and extra spooky!
Get Spooky with Your Bad Self!
Spiders!
October 20, 2010 by Lynn
Filed under Holiday Crafts
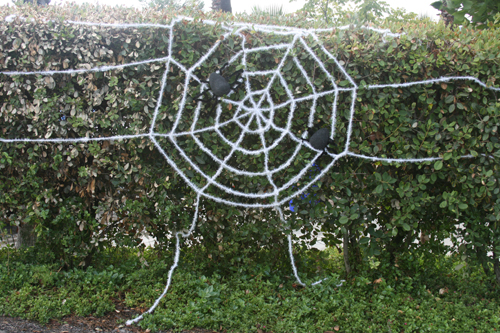
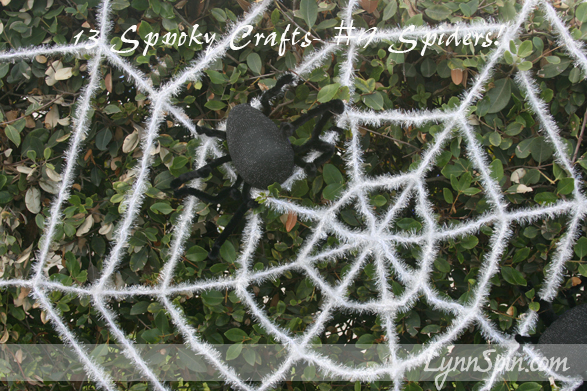
Yikes! Spiders!
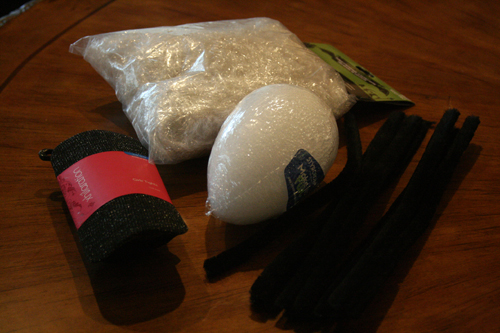
These spiders are pretty easy to make. You need:
Black tights
hot glue
Styrofoam egg
Scissors
Black pipe cleaners
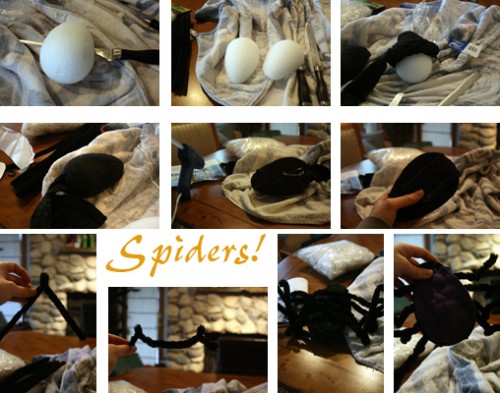
First cut the egg in half. Then slide the tights over the egg. Cut the the tights and glue the ends down. Pinch the pipe cleaners in the middle and twist once to get a knee. Now glue on the legs. For shorter legs use one pipe cleaner for both legs. Glue a piece of felt on the bottom of the spider to cover where you attached the legs. Done!
(sorry pictures are so dark, it was a rainy day)
I bought the web at Lowe’s.
Get Crafty with Your Bad Self!
Tree Ornaments
October 20, 2010 by Lynn
Filed under Halloween, Holiday Crafts
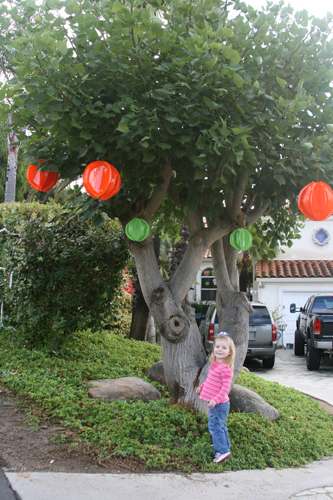
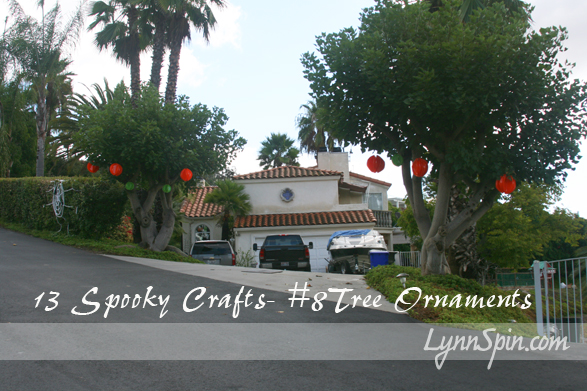
These are easy and cheap to make! Fold six plastic plates in half, hot glue them together to form a ball, attach some string, and hang from a tree! Easy!
Get Crafty with Your Bad Self!


