No-Sew Birthday Banner
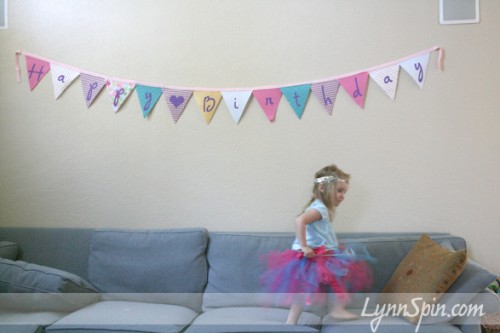
I love this birthday banner! Another easy craft to keep you festive. Charlie loves birthdays and parties, so when she woke up and saw this on the wall she was stoked. She is a party animal. Now I just need to make a boy one, since Beck’s b-day is next month. lol Charlie’s isn’t till December, but I had to do a girly one first. Girl stuff is so much fun. ahhh… Anyway, make this! it’s sweet!
Supplies:
5-14 coordinating fabrics, you only need a little bit of each. I made mine 8″ wide and 8.5″ long-triangly 😉 There will be 14 triangles including a space between happy and birthday.
Double fold quilt binding- 3 yards
rotary cutter with mat and guide OR scissors/pinking sheers
Acrylic paint
Pellon/Interfacing- 2 yards
hot glue gun
foam brushes
freezer paper
die-cut machine like a cricut or stencils
Iron
Optional! if you want a felt backing you will need 2 yards of felt and a package of Heat and Bond instead of the Pellon
Let’s get Started-
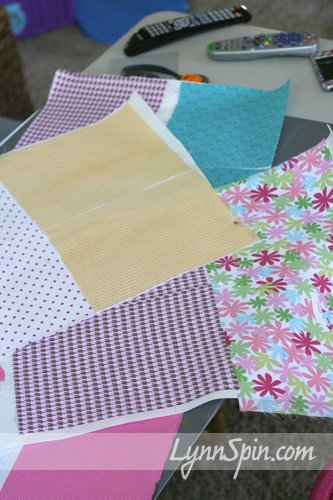
The first thing you will do is cut pieces of your fabric out and iron your pellon to stiffen the fabric and to keep it from fraying when you cut it. If you are doing a felt backing cut your fabric and iron on the heat and bond.
I did the felt on the back, but after experimenting with the pellon. I would prefer to do it that way. OR you can even use Canvas material-thicker material and just cut it with your pinking sheers. Take the first whole step out that way, but your fabric choices will be limited.
Next step!
Cut out your triangles. I did mines 8.5″ long and 8″ wide. I wouldn’t go wider than that, but smaller would be good. You just want to make sure you don’t go over the 3 yards of the binding.
I cut mine out with a rotary pinking blade- didn’t know these existed till last week. I likes
After these where cut I ironed my felt triangles on to the back. But if you did pellon, don’t worry about that. Next you will want to lay them out and decided how you are going to place them in line.
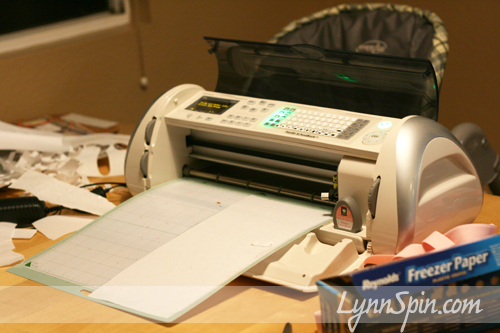
Then, cut out your letters out of freezer paper with your machine; or with a stencil and an exact-o knife.
I used my cricut. For freezer paper you will want pressure of 3 med, speed of 1 or 2, and depth of 2. I used the Plantin Schoolbook cartridge- roly poly font for the heart- 3inches big. For the letters I used Opposites Attract cartridge in the “Upright” font. For the H and B capital letters I did 4inches and for the lower case letters I did 5inches big.
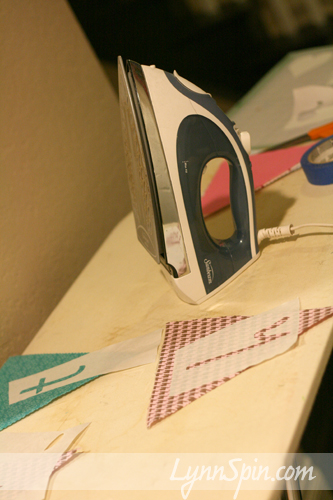
After cutting out the letters I ironed them onto my triangles.
I painted with the acrylic paint. I didn’t like the fabric paint color choices, and this works just as good. Your probably not going to be washing this, so no worries about the fabric paint.
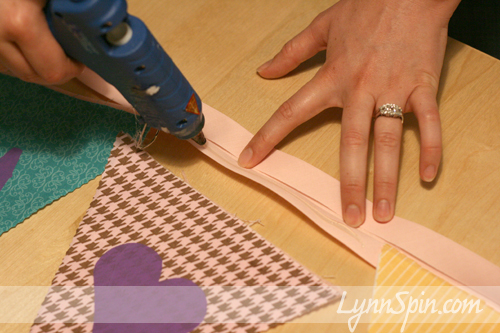
After they were dry I peeled the freezer paper off, lined up my letters, and started to glue. Make sure you line up your binding and letters before you glue so it is all evenly spaced.
Open up the quilt binding, glue on the bottom first.
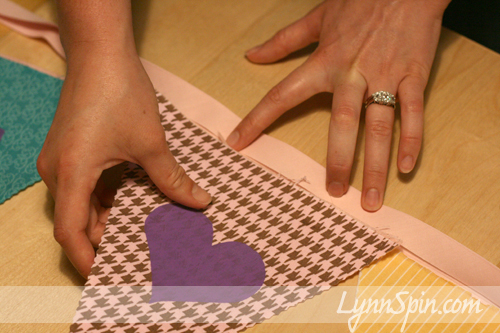
Overlap the triangles just a little. Place on hot glue; then glue the top and press down.
And your done! Check out these two other blogs that helped me come up with my banner- Craftaholics Anonymous and Twig and Thistle.
Celebrate with your Bad Self!
Canopy for a Fairy-Child
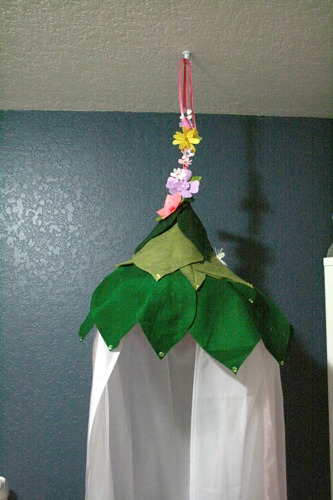
I made this canopy for Charlie the other day. I have had the materials to make it for the last three months and decided I had the time to finally do it. It was SOOO easy. I should have done it months ago. She loves it. It will be a fun place for her to sit and read her books.
Materials:
Foam wreath form
ribbon
a curtain
tulle or sheer fabric
felt- three shades of green
felt/ fake flowers
gems
hot glue
sewing machine-optional
ceiling hook
How I did it:
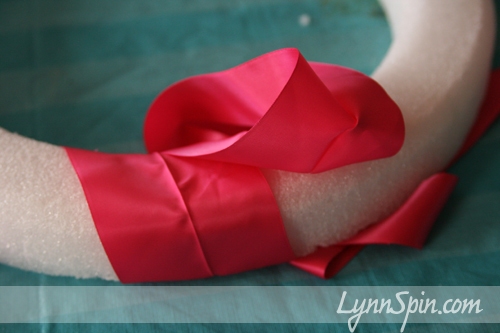
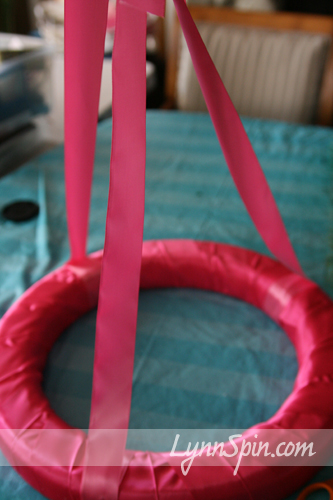
I started by wrapping ribbon around the foam circle.
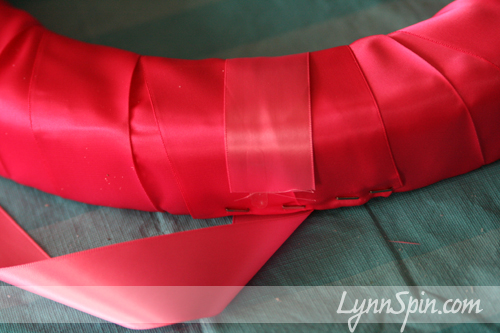
Then I stapled the edge down after I got all the way around. Glue would work just fine to hold it, I just wanted to staple something. lol
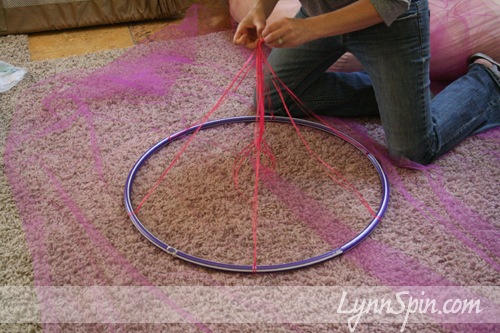
The I took three equal size pieces of ribbon, place them equal lengths around-just eyeballing it, and glued with my hot glue gun.
Like this.
I then cut a circle 40″ in diameter, and cut a tiny circle in the middle. Just big enough to slide ribbon through. Ribbon knot holds felt up, so you don’t want the knot to slide through. This is white felt, but I recommend doing it in green.
After my circle was cut I sewed my curtain around the bottom edge and then sewed my sheer fabric on top of that, leaving a space in the front to get in and out. I recommend tulle over what I used. You could try to just hot glue the curtains if your not big on sewing. Or check out the link at the bottom of this post for another version my sister-in-law found.
I tied a knot and slid the loose ribbon through the whole in the felt.
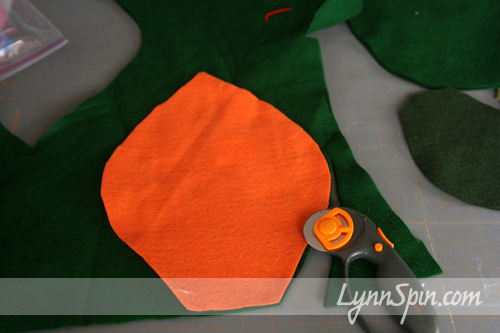
I cut out leaf shapes
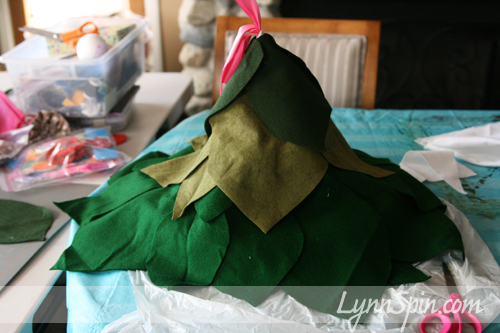
And hot glued them on to my cone.
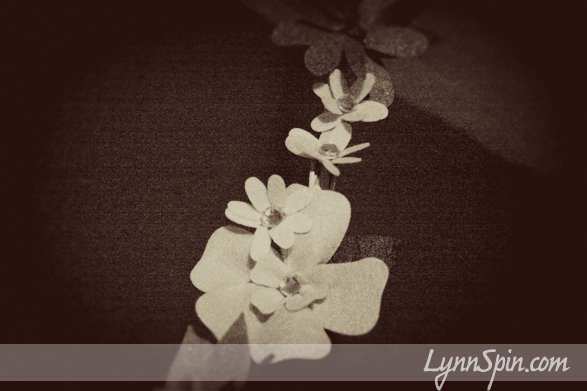
I added gems and felt flowers to the top- this next pic is not good.
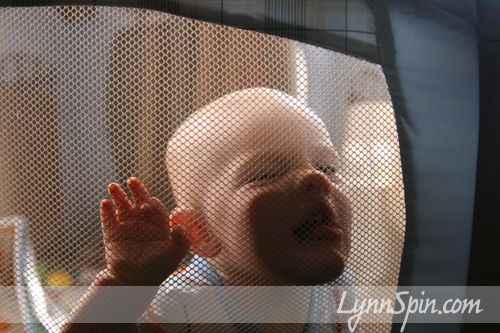
Beck helped with comic relief
Love that he is almost one and still looks bald lol
My sister-in-law wanted to make one too, but found a different tutorial online she wanted to try. And I really liked this one too. It looked very easy. Probably took her 30mins to an hour. Used a hula-hoop! Great idea! Check this out. No sewing involved. http://familyfun.go.com/crafts/cool-canopy-675544/ This website has tons of fun ideas for kids. And I can’t lie if I had know about it before I started I probably would have done this one. But mine turned out cute and it fits in the space I wanted it, so I am happy. And, most importantly so is Miss Charlie.
Get Crafty with your Bad Self!
You Are My Sunshine- Gift
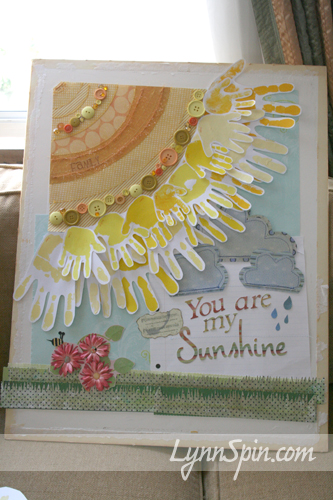
I totally scored with this one. Made my mother-in-law cry… yup this was gooood  My mother-in-law sings “You are my sunshine” to all the grand kids, all the time. Especially the ones that live far away, she sings it over the phone. Its a special thing for them and her. So I thought it would be fun to use our hands and make a birthday surprise for her.
I know all you scrapbookers out there will love this. It’s like a giant scrapbook page without pictures. I saw an idea to do a scrapbook page with “you are my sunshine” as the theme in ScrapBooks Etc magazine a few years ago. But, could not find it when I made this… I searched so hard but was bummed that they have taken it off their website and I can’t find the July 2008 issue either! I just had to go with the memory of it- my photographic memory coming in handy. I also found an awesome layout in my search for the picture that originally inspired me, but (say this next sentence fast and annoyed) someone messed with my computer before I could bookmark it and I can’t find that either to give the lady some props!…so poo… But! good news I figured something out using my creativity and supplies I had in my craft closet. (I used only what I had already-such a good feeling)
This is what I used:
Scrapbook paper- lots
buttons and gems
paper flowers
sewing machine and thread
hot glue
card board- for backing
Tombo adhesive- I LOVE
Cricut machine, Plantin SchoolBook cartridge, Opposites Attract cartridge
Different shades of yellow acrylic crafters paint and card stock for hand prints
How I did it:
My sister-in-laws sent me their families hand prints. I cut them out and started arranging them on a curve. I then arranged papers for the sun, glued them together and sewed them for an extra touch
After sewing it I emblessed with buttons, gems, thread, and a sticker that says “family”
I wrote all the names on the hands, because I thought the kids would enjoy seeing which hand is theirs when they get bigger.
I cut grass by just cutting little random triangles out of the paper, then layering with solid colors. I glued those together with my Tombo and again sewed different stitches and tread colors for interest
Sorry this pic is blurry. I printed the sheet music out on scrapbook paper and burnt the edges to make it look antique/old
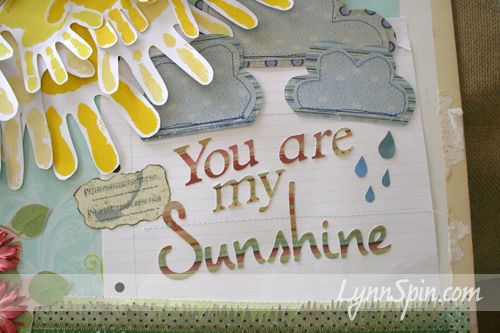
I cut out cloud shapes, glued, sewed. Cut out some raindrops. And used my cricut to cut the words out. My back ground is a piece of scrapbook paper that looks like notebook paper. I got that idea from the lady I can’t remember/find. I sewed the same color blue on a few of the lines of the paper to add texture. The other back ground paper, the teal, is two matching pieces of paper just set underneath everything.
I am not sure why, but this was the hardest part for me. I knew I wanted flowers, but I didn’t know how to arrange them. I loved the flowers printed on the paper, but also wanted more texture. So, I added the paper flowers and used brads for the center. I sewed the leaves and made that super cute bumble bee. I think the bee is my favorite. I am proud of that little bee 
Painting/Antiquing the frame!
I used a frame I had bought at a garage sale and never used. I think it cost $5.
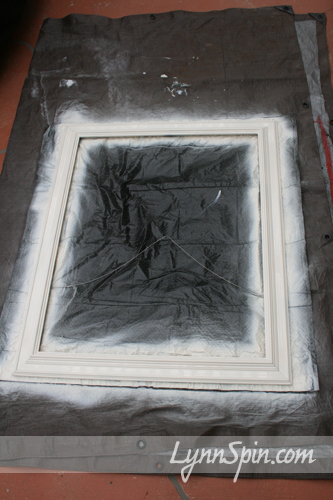
I sprayed it with an off-white
Sanded the edges
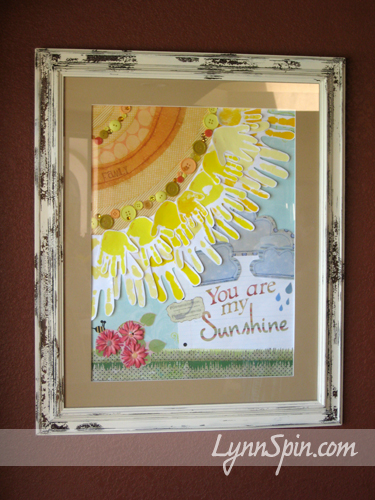
Then I used a clear top coat to seal it… and it totally bubbled up. I was thinking, “Man, now I have to sand the whole thing and start over!” But to my surprise as I started to sand it looked just how I wanted, totally antiqued. Perfect! Love when mistakes work out.
Then I took it over to my favorite framer- Bill Chumbley of ABC Design here in Escondido CA – e-mail me for his number- he’s great! He added a little foam core between frame and picture so that the glass wasn’t right on the button or squishing the flowers. He added a hook on the back and sealed the whole frame up for me. And here is how it looks all put together!
Give a gift from your Bad Self!
Allie thanks for letting me use your sewing machine! I promise I will get my fixed soon 
Family Photography
August 3, 2010 by Lynn
Filed under Photography
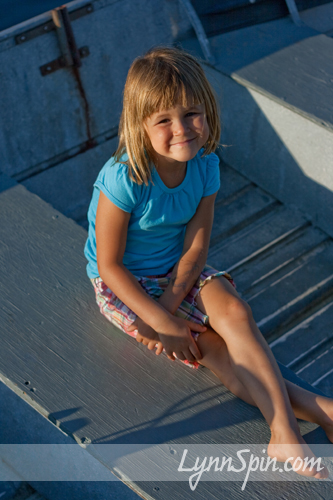
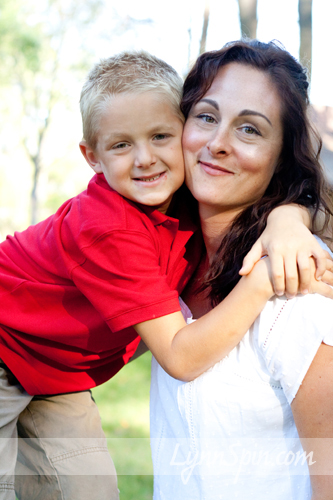
This is the beautiful Olsen family. I asked them if I could take pictures of their family to practice my skills  They were kind enough to say yes. Here’s how it turned out. Hope you budding photographers (like myself) out there can take something away from these, like family posing or something good… These were taken at Lake Dixon in Escondido CA.
Big THANKS Olsen Fam!
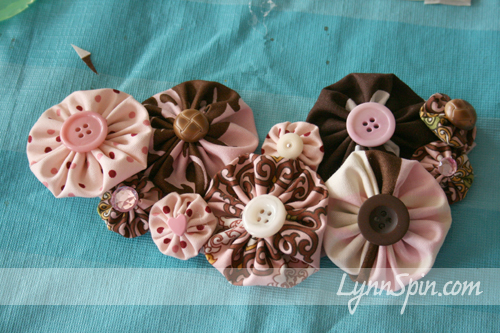
Yo-Yo Necklace or Broach
Here is what you need:
Yo-Yo makers- two sizes (med and small)
thread and needle
fabric scaps that coordinate
buttons/gems
ribbon
felt
hot glue gun
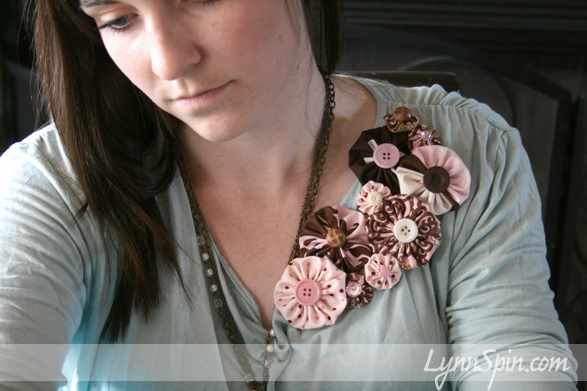
Yo-Yo’s are super easy to make. They look great as embellishments, hair bows, and now this sweet necklace. It took me about an hour or more to make and I think it is fun. Hope you enjoy this tutorial.
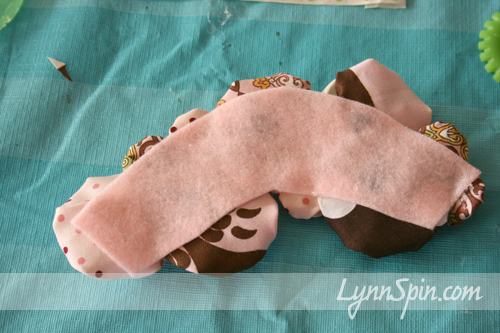
First cut a piece of felt the shape you want your necklace to be. Pick out your fabrics and start making your yo-yo’s. (Use instructions on yo-yo maker package, you can get this at Michael’s or Jo-Ann fabrics)
Once all your yo-yo’s are done; decide on the placement and glue with hot glue gun. Apply gems and buttons (can do before or after glue to felt).
Then if making a necklace glue on ribbon- length is up to you. Or glue a pin down if making as a broach or to attach to a purse as embellishment.
Glue another piece of felt on top of the first piece to hide ribbon ends.
And waa-laa your done. Put some jewelry on your bad self! 
Thanks for being my model Jackie! And yes the broach looks good 
Girly Hair
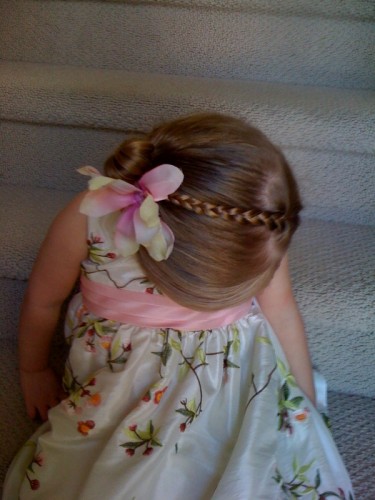
Lately I have been on a hair-do kick with my two year old. She has such beautiful long hair and if I am going to keep it long I have to start doing cute do’s. I literally “have to” because otherwise she looks like a ragamuffin
Pronunciation: \ˈra-gə-ˌmə-fən\
: a ragged often disreputable person; especially : a poorly clothed often dirty child
HAHA…Ahhh I love that word in reference to my children lol. Anyway, in my pursuit of non-ragamuffin children I have found some awesome blogs with step-by-step instructions on how to do very cute hair styles. And trust me, I could barely do a ponytail, these blogs have great instructions YOU CAN DO IT! The hardest part is probably just getting your child to sit still. Mickey Mouse Club House is how we accomplish that obstacle…and occasionaly a high chair with good strapes 😉
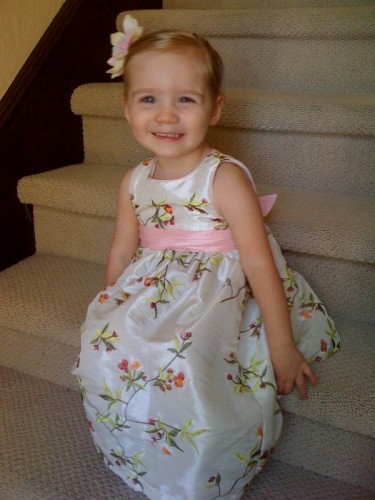
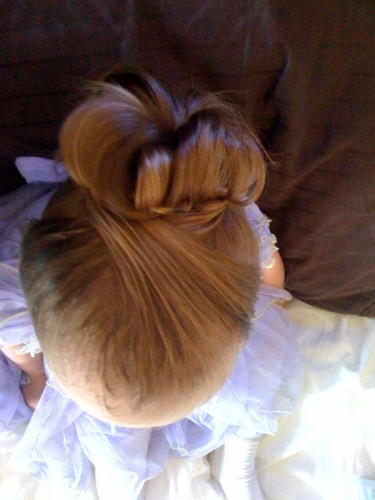
Here are a few pictures of the ones I have tried on Charlie. (pics taken on my phone)
And here are the blogs I like best!
http://shedoeshair.blogspot.com/
http://www.babesinhairland.com/
Painting Tips from Lynn
July 4, 2010 by Lynn
Filed under Furniture Redos, Home and Garden
Sorry its been forever since I have posted anything. I always think summer is going to slow things down, but nope! Seems to have gotten crazier at our house. Anywho, you clicked on this little post because you want to paint something! Love it! Paint gives new life to some many things. Your kitchen cabinets, furniture, walls… you name it. A friend sent me an e-mail today, asking if I knew how to help reduce paint brush strokes. I thought, BLOG IT! Hahaha… After our house flooded a few years ago, we have just about repainted every wall, ceiling, and cabinet door in this house. (I also love to buy furniture off craigslist and fix it up! I have to say this quietly b/c the hubbs is not really a fan of me bringing home stray furniture. shh…) 
Tips! (these are from trial and error, paint service desk people, and from Aunt Kathy my paint go to lady)
Number 1! When painting your cabinets or furniture, to reduce the brush strokes use a product called Floetrol. You mix it into your paint and it helps smooth things out. If you want things really smooth you will have to rent a sprayer.
Number 2 Primer!! Use one, they help a ton. And when you are painting something dark, have the paint guys tint it gray for you. That will save you time and money!
Number 3 This goes with number 2, but Kilz really is the best primer/stain blocker there is. I had a stain on my front door, I used two other primers before trying Kilz. It was the only on that the stain didn’t leak through.
Number 4 If you use a water-based paint and then need to use a clear coat of varnish to help it stay strong, MAKE SURE that the varnish is also water-based or it will yellow over time. Same with oil paint= use oil-based varnish.
Number 5 Lowes and finally Home Depot have little 7 ounce cans that you can buy. These are great for testing a color in a room. And DO test it out BEFORE painting. You will be happy you did. Nothing worse that painting an entire room than hating the color. Trust me…I still need to repaint Beck’s room, but it’s not going to happen anytime soon. Oh! and don’t just paint a little stripe of color on one wall, do a 10×10 square on a few walls. Color will look different on each wall depending on how the light hits each wall.
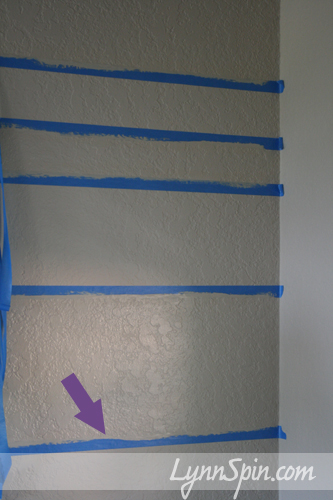
Number 6 My latest experiment-Stripes! When painting stripes, first paint your main wall color. Then tape off the stripes you want using the fine blue painters tape. Then use main wall color again to go over tape just a little to cover any gaps between the wall and the tape, so stripe color doesn’t leak under tape. Let that dry then paint stripes. Let dry and then remove tape. Stripes are so pretty and a great way to add interest to a room. I will post some more pictures when I finish my room.
Number 7 Paint architectural details, people in magazines and on TV design shows are always saying this, but it really adds to a room. Check out my cool window. I painted the inside lip brown and the outside a light tan popping off the gray walls. I love it.
Number 8 I should have put this one up by the furniture/cabinet stuff, but sand as best you can then wipe clean before priming. You don’t have to sand everything off or strip paint before you paint. Yes, it helps and is a must if you are staining the wood. But other wise just sand a bit so the paint has something to stick to and use a really good primer. You will be set.
Number 9 Don’t be afraid of dark colors or painting your ceiling. I just painted my bedroom. Gray walls, gray/blue ceiling, and chocolate brown fire place. It so beautiful. My husband was a little nervous the ceiling would look low and make the whole room very dark. But, now that it is all done, it is so inviting and pretty :). Paint your ceiling! (warning neck may hurt and paint may fall in eyes, just to let you know:))
Number 10 If you want the lines where your ceiling and walls meet to be perfect; get over it, hire someone else, or…use a little art paint brush to tidy up any bumps.
Number 11 Buy good brushes. Clean them good when you are done. Brushes can be expensive, but if you have more than one project and take good care of them; it will be worth it to pay a few more dollars.
I know I have more tips, but that’s all I can think of right now. Feel free to post a question or e-mail me and I will try to answer your painting questions the best I can. And have fun!! It is so nice to give new life to a room or peice of furniture. You will feel so good when you finish! Get Painting with Your Bad Self! I will post before and after pics of my room when I finish the molding and everything.
Lynn’s Yummy Meatballs
May 27, 2010 by Lynn
Filed under What's for Dinner?, Yummy Food
I just made this recipe up last week, and mm mm… they are good.
Lynn’s Yummy Meatballs
2 lbs ground turkey or hamburger meat
1 cup panko bread crumbs
3 eggs
1/4 teaspoon dried parsley
1 teaspoon Italian seasoning
3 Tablespoons Ketchup
4 Tablespoons Worcestershire sauce
1/2 cup Asiago cheese (Romano or Parmesan would work too)
1/4 cup minced onions
1/2 minced mushrooms
4 garlic cloves minced
Dash of salt and pepper
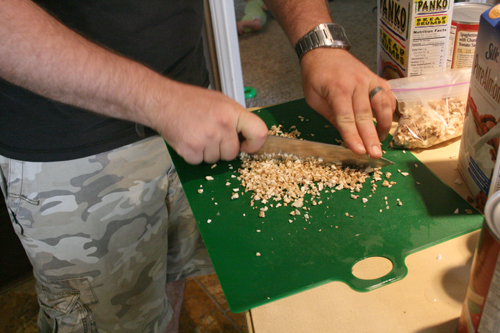
Chop up ingredients
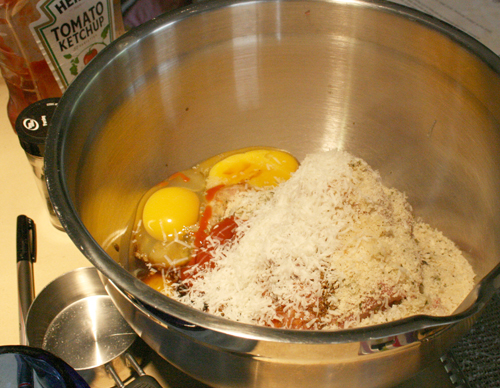
Mix all together in a bowl, mush it with your hands until it sets up a bit
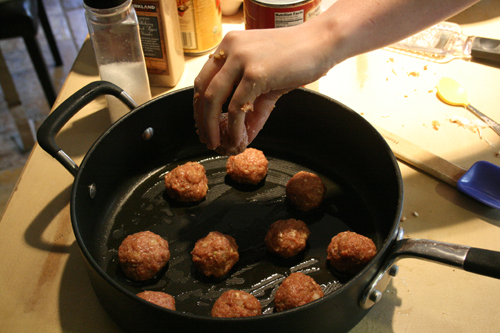
Roll into balls about the size of golf balls. Add about 2 Tablespoons of olive oil in a pan, put meat balls in pan, then turn on the heat.
Turn balls until cooked all the way through, til they reach 165 internal temperature.
Eat them up!
You could also make a meat loaf out of this recipe and just add a sauce to go over the top. My favorite is the sauce from a cookbook called, “Favorites, Ivory Family Cookbook” Love that cookbook. The only place you can get the book is Utah’s Make a Wish foundation. Good Cause and Good Food, makes me happy 
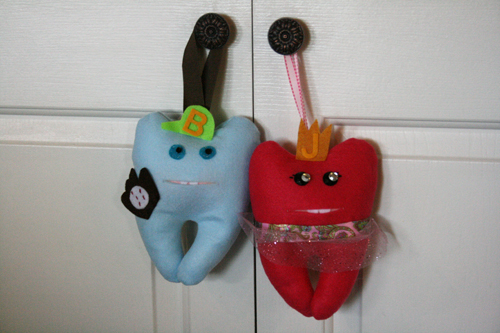
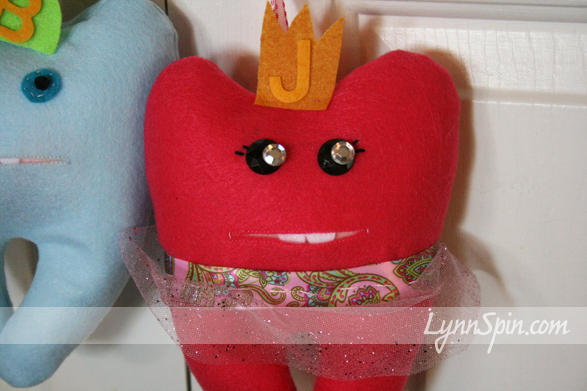
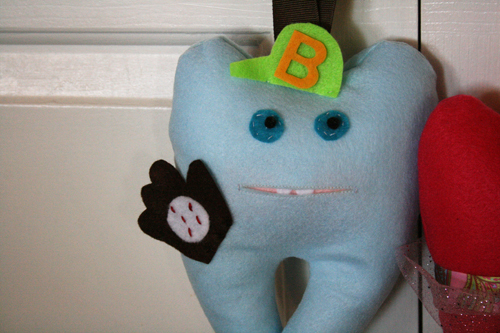
A Tooth Fairy to Talk About
I was blog surfing one day and came across these super cute Tooth Fairy Teeth! So stink’n cute! I have been wanting to make one, but haven’t had a reason (since my kids just barely got their teeth) :). But, a few days ago a friend sent me a hilarious e-mail about how she is getting a little tired of reaching under the pillow for teeth; and how one of her kids never even tells her there’s a tooth under his pillow till the next morning when he come out of his room sulking because the tooth fairy forgot him. Ha. A light bulb went on in my head and I thought finally an excuse to make one of the awesome teeth! (And I really love surprising people with gifts…it’s my favorite  ) These teeth are sweet because you hang them on the door knob, slide the tooth in the mouth and then put the $ in the mouth. No more searching under the pillow of a sleeping child! A great idea. One that I must give props for.
To Larissa over at mmmcrafts, Great idea!
She has the pattern and a tutorial on her blog.
Here’s how mine turned out. (Sorry my pictures are so bad) For more/better pictures and pattern
check out www.mmmcrafts.com
My Curtains- a heated debate
May 16, 2010 by Lynn
Filed under Decorating, Home and Garden
My 6 foot 3 inch tall hubby can’t see out our kitchen window while doing the dishes “Because the curtains are too low!” To solve this horrible problem I have created, he takes the entire curtain and curtain rod off the hooks and sets it somewhere in our kitchen. Not too much of a big deal as he can easily reach it and put it back up when he is done. For some reason though, it annoys the heck out of me! Love you Dev. It’s ok, because I know those curtains annoy him too :). I am after all the one who put them up and at 5’6″, I was not thinking of Dev’s vantage point. But, being the super nice and handy wife that I am, I decided (after 5 years) to fix it .
I think your supposed to hang your curtains as high the ceiling anyway to make your windows look bigger…or something like that. Anywhooo, they do look much better now and some how the room looks a tiny bit bigger. Tell me what you think here’s the picture.
(Above sink window not a pictured due to large amount of dishes usually in sink).
Tools I used. Love this small drill. Every girl should have one.
Get handy around the house with your power drilling self! Yaoowwzahh!
….Or should I say hear me ROAR! (while I flex my arm muscle) haha


