Not Yo Mama’s Craft Fair
Okay Ladies! If you live in San Diego and you are crafty with your bad self I think you are going to want to check this out! http://thequeenbeemarket.blogspot.com/


Heather’s Birthday Cake Ideas!
April 22, 2010 by Lynn
Filed under Cake, Yummy Food
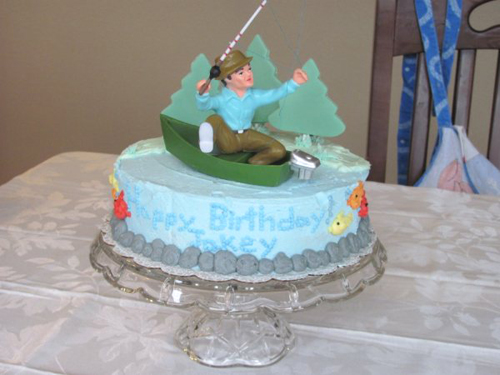
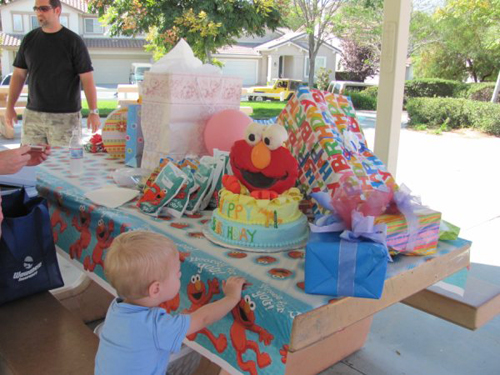
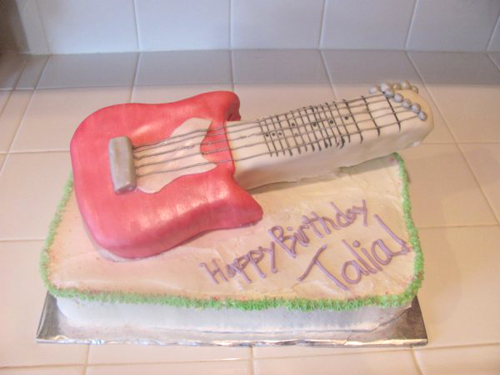
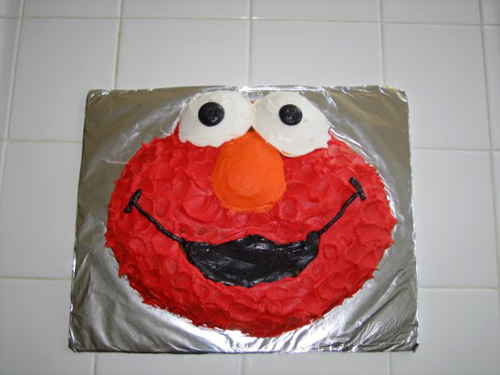
Here are some creative cake ideas from Heather. If you have questions leave a comment and we will get you some answers. 
She made this one for her hubby, it was pretty sweet.
I wish I could have seen this one. Looks amazing!
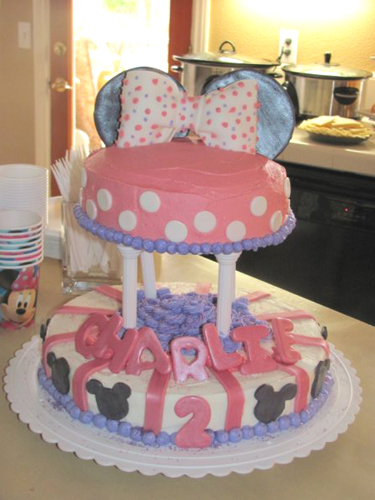
She made this one for my little girls birthday party. My two year old still talks about it, she loved it. Minnie Mouse…can’t go wrong 
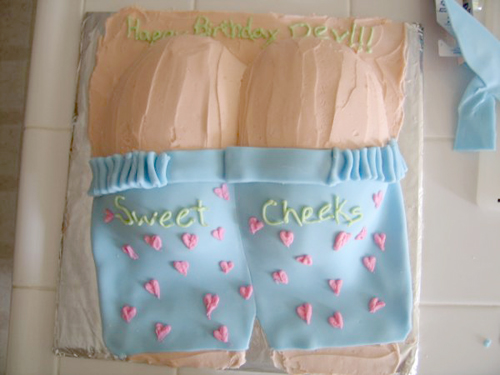
Heather made this one for my hubby on his 29th b-day. I guess when she first started making cakes he told her that he wanted a “butt cake”.
If you know him, your probably thinking to yourself…”of course he did.”
Heather is not one to make a “butt cake” so it was even more awesome that she did. It surprised us all, hilarious.
hahaha
Frost yourself …..hahaha!
Baby Shower Cup Cakes!
April 20, 2010 by Lynn
Filed under Cake, Yummy Food
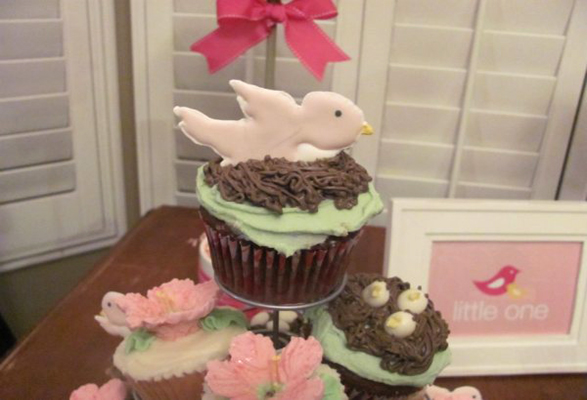
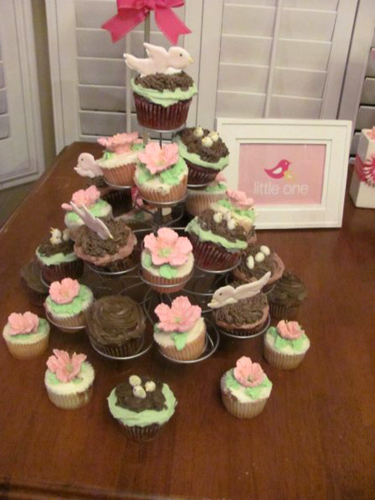
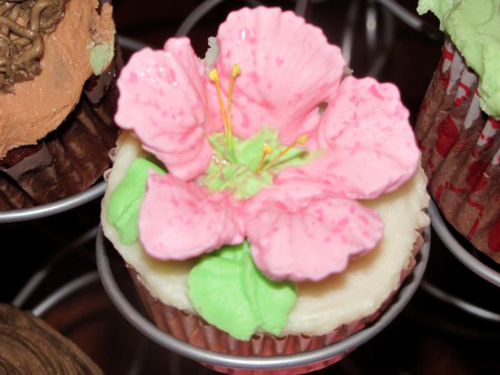
I can’t take credit for these beautiful cup cakes, my super talented sister-in-law Heather made them. She makes awesome cakes and cookies. I will be featuring her on my website under “Heather’s Cakes.” She has done some very fun and creative cakes that I think could help inspire you to get baking and decorating with your bad self. If you have questions about her cakes please leave a comment and we will get some answers for you. Thanks! -Lynn
Photo Challenge!
April 6, 2010 by Lynn
Filed under Photography
It’s that time of year- Plant your garden!
Contest Closed
I feel like it’s good to have a little photo challenge every now and then to remind yourself that you need to use your camera and/or experiment with it.
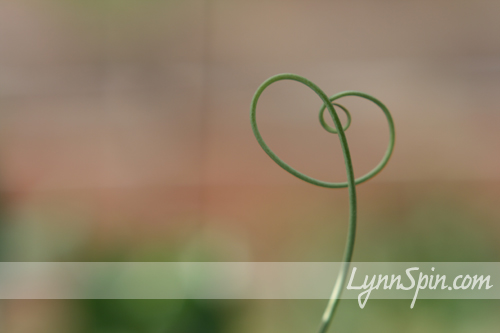
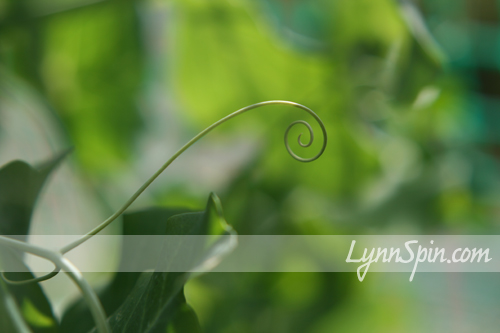
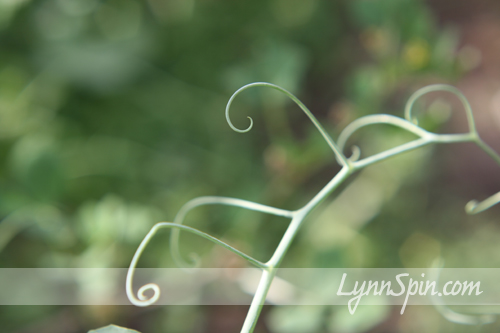
Here is my challenge: Go out to your garden, or your moms, or neighbors, or friends…or the city’s and take an abstract picture of a plant. Something that you could hang on a wall if you wanted. I know that’s how I fill my walls when I can’t afford to buy someone else’s art.
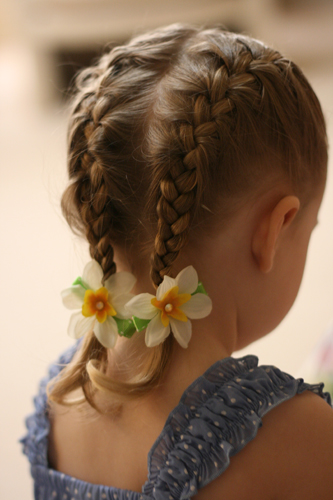
So! Go take some pictures, send me one of your favorites, and maybe win a prize! The only prize I have at the moment are these hair bows…
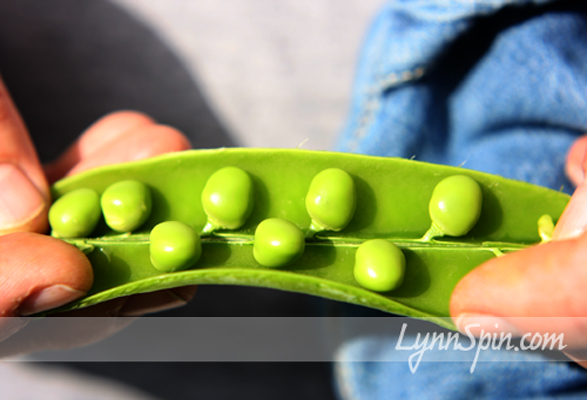
Here are some examples of picture I took last week of my peas.
Send me your garden pictures to LYNNSPINS@GMAIL.COM by April 13th 2010. I will post the top three and declare a winner on Wednesday, April 14th.
Good luck! Get crazy with your picture taking self!
Family Night Easter Baskets!
March 22, 2010 by Lynn
Filed under Holiday Crafts, Kids Crafts
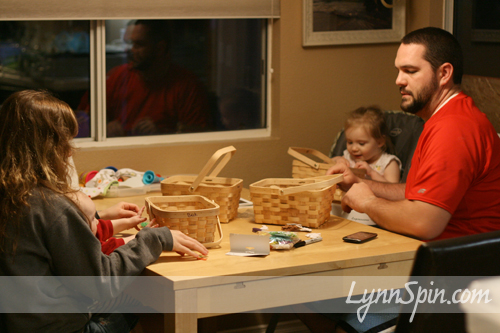
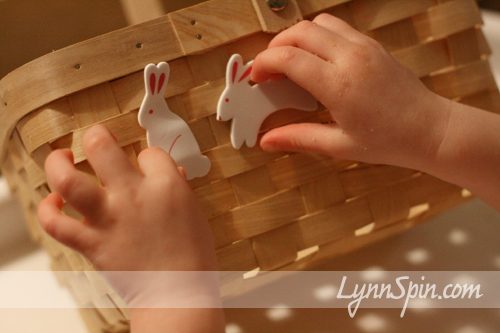
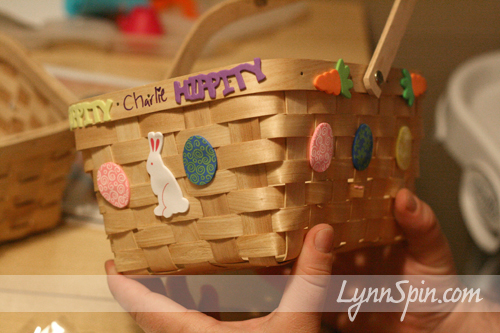
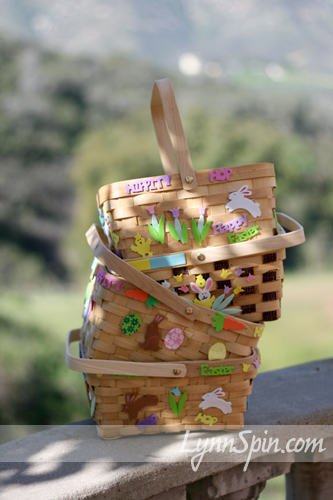
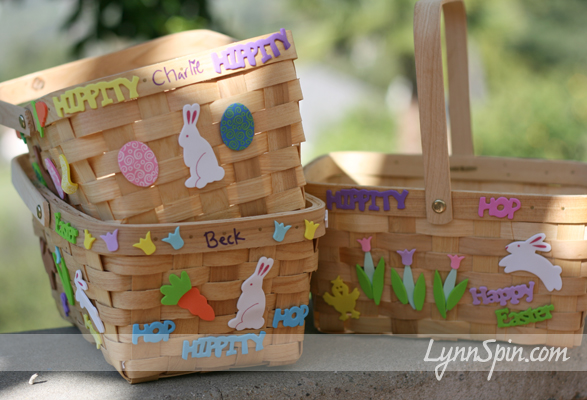
Try this fun, super easy, kid friendly craft for Family Night! Every Sunday or Monday night(depending on the craziness of the week) we have what Charlie calls “Family Time!” We wanted to start talking about Easter on Family time/night with my two year old so that when Easter comes in a few weeks she might know a little better what it is about. We sang a children’s song “I Feel My Savior’s Love”, said a prayer, had a lesson about Jesus, then decided to get crafty with the whole family. I bought these baskets at Party City for 2.99 each and the foam stickers at Joann fabric’s for 1-2 dollars per package. It was simple, but we all had fun being creative and having some family time 
Get Crafty with the Whole Fam-a-lama!!!
Baby Elle
March 20, 2010 by Lynn
Filed under Photography
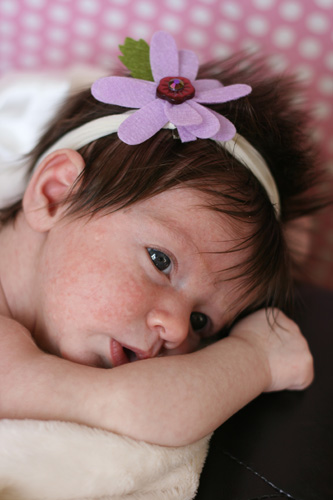
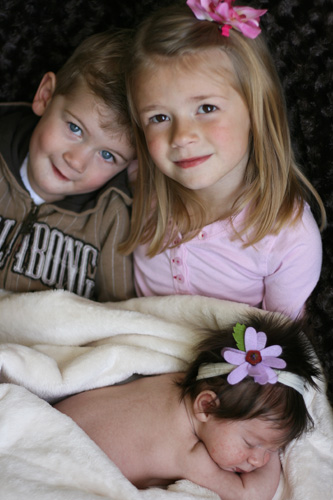
I like to take pictures A LOT! I am definitely not a “photographer”, there’s a lot I don’t know yet about photography. I like to think of myself as a picture taker 
“Lynn the Picture Taker”
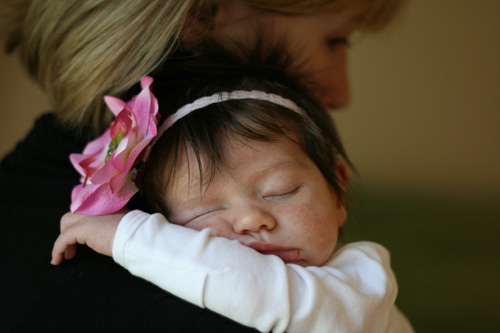
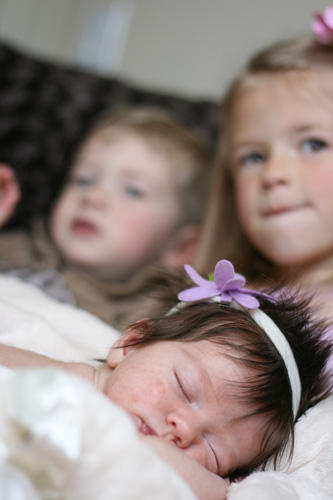
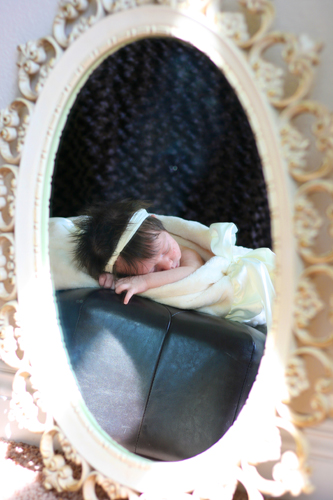
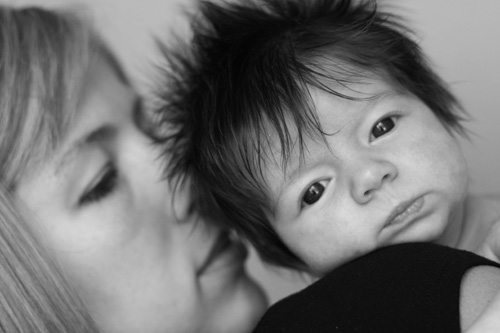
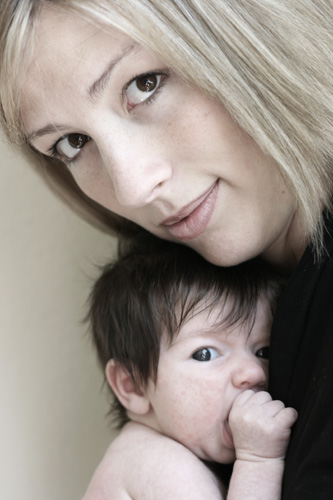
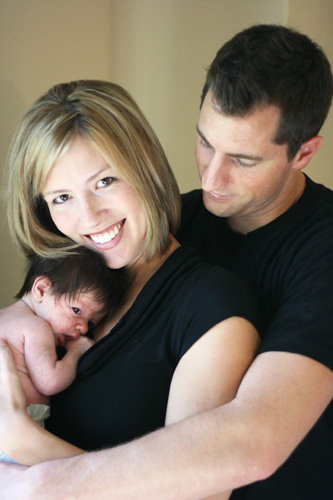
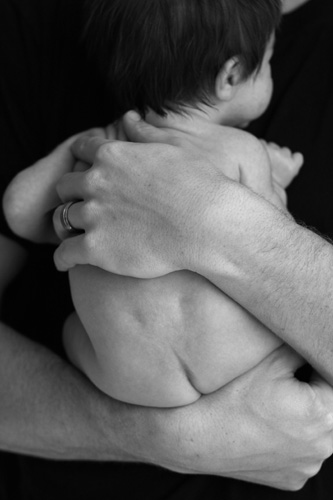
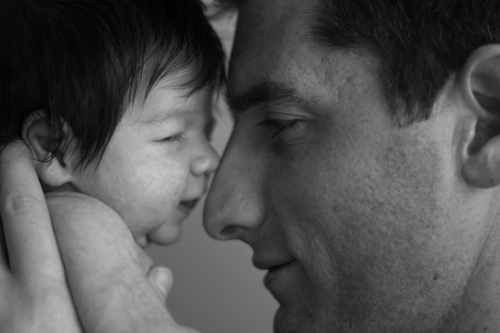
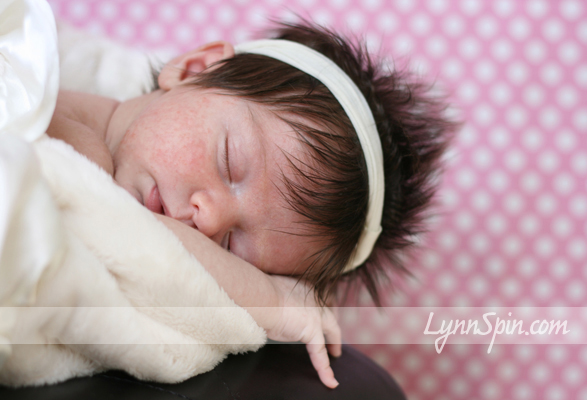
These are some pictures of my best friend’s new baby. I asked her if I could take these, just for fun and for practice. She was nice to let me practice with her family, who is gorgeous by the way!
Thank you C Family!
DELICIOUS CURRY!
March 14, 2010 by Lynn
Filed under What's for Dinner?, Yummy Food
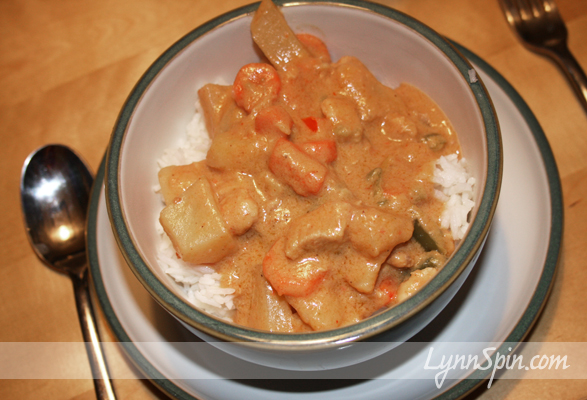
Oh sweet yummy curry, GET IN MY BELLY! My sister-in-law found this recipe for Massaman Curry on AllRecipes .com and we all loved it. My husband and I make it probably once every other week. It’s super easy and not a spicy curry at all (I don’t like spicy food). You will probably need to go to an Asian market for a few of the ingredients (if you live in San Diego I can tell you where a good one is). We add two chopped carrots to the curry and when it’s done we put it over brown or white rice. Usually we have enough left over for lunch the next day.
Here it is!
Ingredients
- 2 tablespoons vegetable oil
- 3 tablespoons curry paste
- 1 (3/4 inch thick) slice ginger, minced
- 1 1/4 pounds skinless, boneless chicken breast meat – cubed
- 3 tablespoons brown sugar
- 3 tablespoons fish sauce
- 3 tablespoons tamarind paste
- 1/3 cup peanut butter
- 3 cups peeled, cubed potatoes
- 1 (13.5 ounce) can coconut milk
- 3 tablespoons fresh lime juice
Directions
- Heat vegetable oil in a large saucepan over medium heat. Stir in curry paste and minced ginger; cook and stir for 2 minutes. Stir in the cubed chicken, and cook until the pieces turn white on the outside, about 3 minutes.
- Stir in brown sugar, fish sauce, tamarind paste, peanut butter, potatoes, and coconut milk. Bring to a boil, then reduce heat to medium-low, cover, and simmer until the potatoes are tender and the chicken pieces are no longer pink in the center, about 20 minutes. Add the lime juice and cook for an additional 5 minutes before serving.
Thanks AllRecipes.com you always make my tummy happy

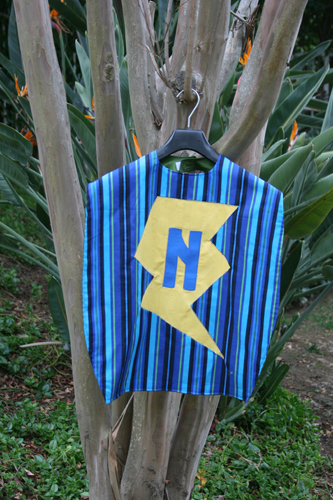
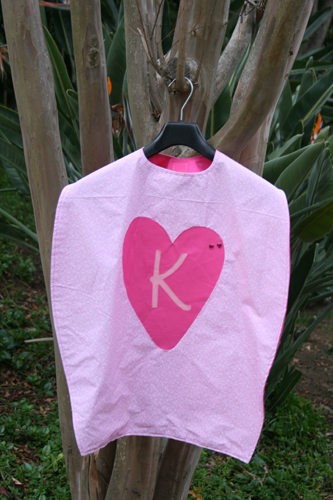
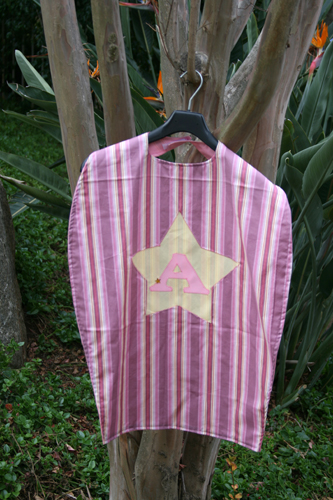
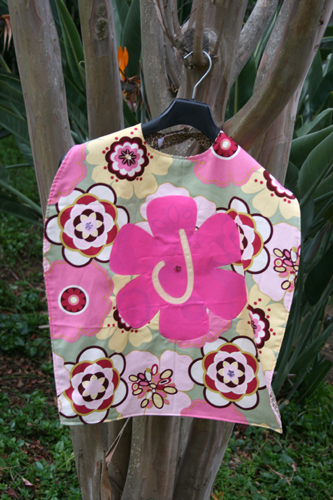
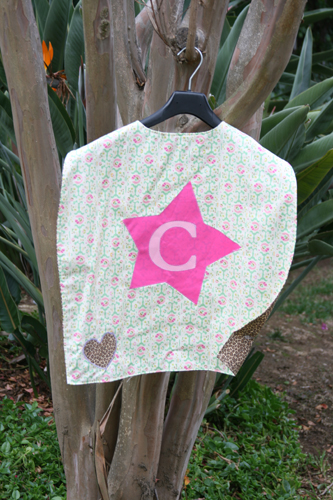
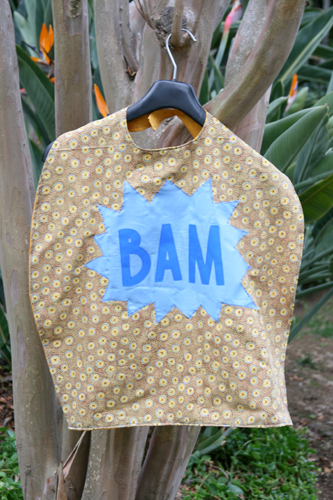
Super-Hero Cape! Pow! Bam! Watch Out Now!
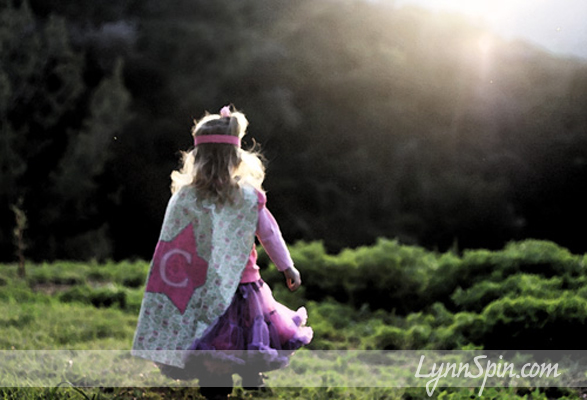
Last Christmas I thought I would be such a cool Aunt and make superhero capes. I made one of each of my 7 nieces and nephews, plus two more for my kids. I was and still am very proud of myself for this, even though most of them didn’t quite get it yet (totally didn’t care). Someday they will be glad they have capes  I probably should have waited till they were 3 or maybe even 5. Anywhoo…here’s how I made them!
If you can sew a straight line you can do this!! Don’t be intimated, YOU CAN DO IT! 
Here is what you will need:
A Sewing Machine
Scissors
Pins
Measuring tape
Some tissue paper/pattern paper to make pattern
Chalk
Iron
Heat-and-Bond-sewable
John Mayer on your radio/iPod/CD player 
Tracing paper or a Cricut machine
Velcro
3/4 of a yard of fabric for each-front and back
You will probably want 3-4 different fabrics. One for inside of cape, one for main part, one solid for shape (12×12 piece of fabric), and one solid for letter (5×5 piece)
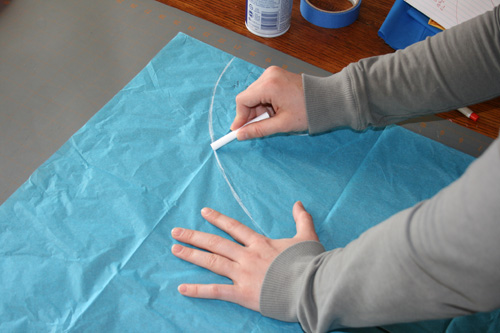
The first thing you will want to do is make a pattern. I do this by taking a piece of tissue paper and drawing my lines with chalk.
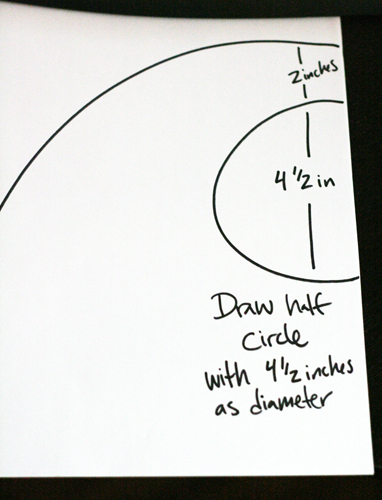
It will look like half a cape when you are done with this step. I make it 10 1/2 inches to the widest part of the cape and 21 inches long, but you can make it as long as you need. Don’t feel like you have to stick to these measurements, they are just guidelines. Adjust them to fit your child. I made several different sizes. I usually kept the width though, seemed to work for every body size up to age 6. See Picture below for the neck measurements. Those also work for everyone. Feel free to change them if you don’t like them.
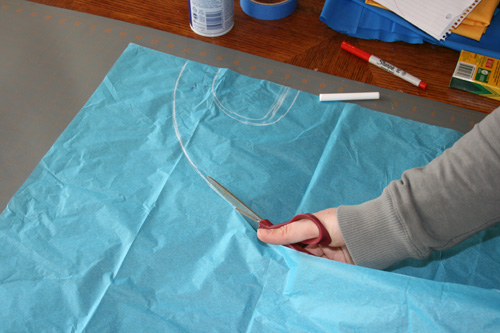
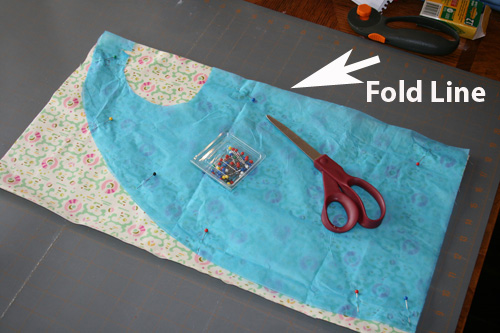
Cut out pattern and pin it to fabric. Using the edge of the pattern as the fold line.
Cut out the front and back of your cape. You are going to want to take your 12×12 piece of fabric for your shape and your 5×5 piece for the letter and apply the Heat and Bond on the back of these fabrics. Then cut out your star, lightning bolt, star burst, flower, etc. and letter. I used my Cricut machine, but you could all so just trace the shape you want and cut it out yourself.
For the Cricut peel the paper for the Heat and Bond off the back, place the fabric on the cutting mat, and load it in. You will want your settings to be: Blade depth-3 Speed- low Pressure- med/high (you do not need a deep-cut blade for this)
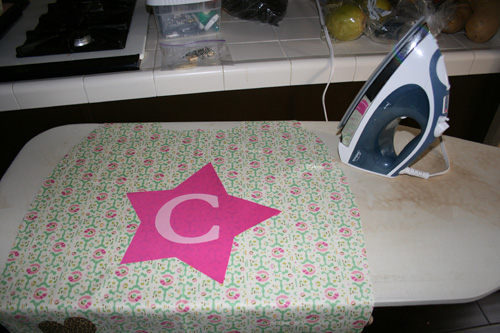
Okay now you are going to iron on the shape and letter on to your fabric.
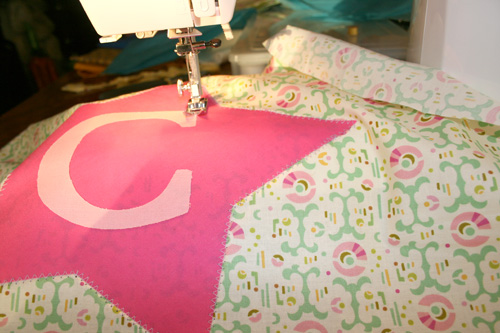
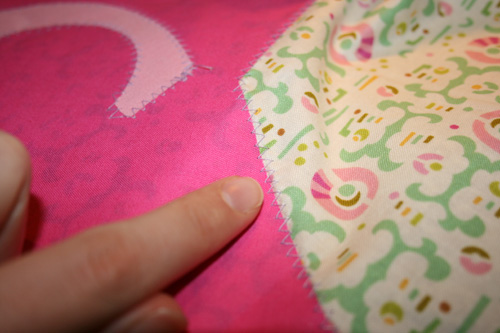
Now to secure it better and make it look a little more cute, you will top stitch over the shape and letter. I used a zigzag stitch, I thought it was the easiest way to go and looked nice.
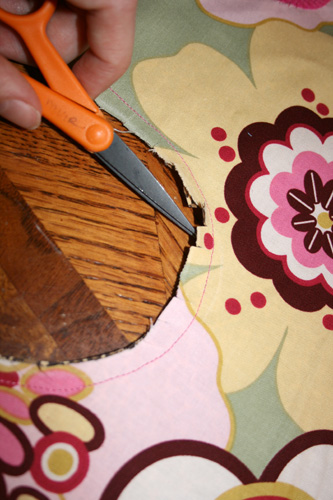
After you have finished this you can sew your back and front piece together. Place right sides in, pin in place, and sew. Sew from the bottom corner up around neck and down to the opposite bottom corner; leaving the bottom of the cape open so you can flip it right sides out. Before you flip it you will want to make sure that you have clipped around the neck to help prevent puckering.
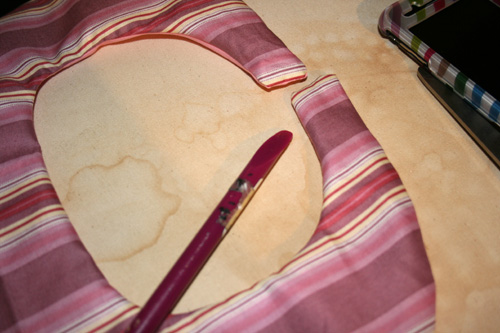
After you flip it back you will need to use an object that has a pointed and rounded tip (I used the end of a paint brush) to push the neck ends all the way out like so…
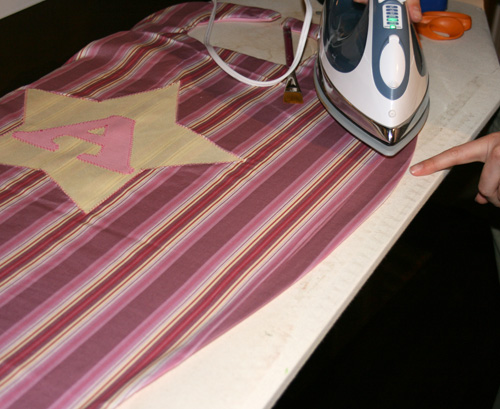
Then iron the edges of the cape.
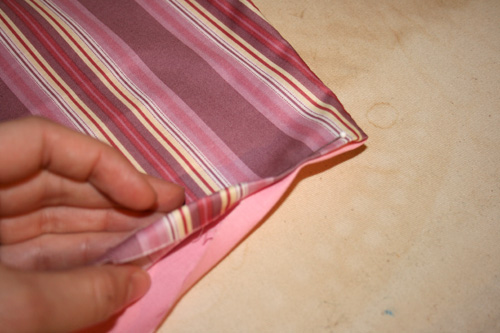
Fold and pin the bottom of the cape.
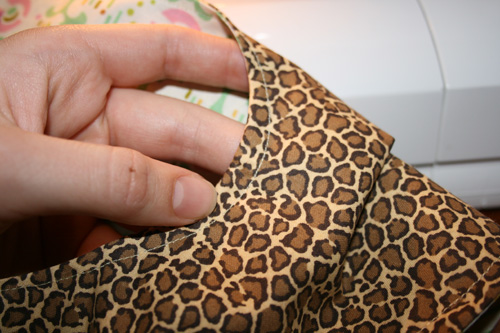
Now, with your sewing machine, top stitch a straight stitch around the entire cape.
ALMOST DONE  Just add the Velcro and your done! Decide which flap you want on top and place the fuzzy side under that. Place the scratchy side on the top of the bottom flap. I put an extra long fuzzy piece on so that the cape can grow with my child. (Hope that all made sense)
Sew the Velcro.
And you are done! See not that hard 
Now bask in the glory of what you made and how cool of a person you are.
(Shortly after making the cape for my two year old she ripped it off and stomped on it) cool…
I am sharing my idea at…
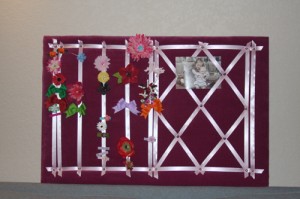
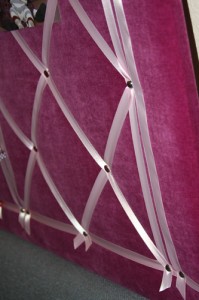
Message or Picture Board
If you want to make these cute boards you will need:
An old bulletin board
Fabric about 4 inches taller and wider than bulletin board
Ribbon about 4-5 yards depending on size
Upholstery nail head pins/tack
Batting to fit size of bulletin board
Scissors
Staple gun
Okay, now that you’ve got the stuff here are the next steps:
1. Lay the fabric right side facing down.
2. Lay the batting down on top of fabric.
3. Lay the bulletin board on top of it also right side facing down.
4. Take your scissors and cut the fabric so it is about two inches wider than your bulletin board on every side. Just eye ball it, it doesn’t need to be perfect. Make sure your fabric is lined up how you want it and now you are ready to staple the fabric down.
5. Fold the fabric over on to the wood frame on the back of the canvas and staple down. Do this all the way around, pulling the fabric tight.
SEE PICTURES FOR THE HAIR BOW HOLDER
6. Now you are going to want to place your ribbon. You can place it how ever you want. Here are two examples. One is a hair bow holder and a picture board, the other just a picture holder.
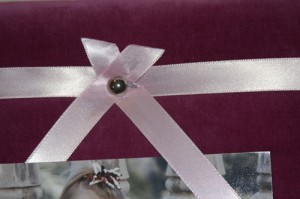
You can pin down the ribbon two ways, you can staple it on the back like the hair bow holders, or use the nail heads like thumb tacks and hold it down on the front.
If you use the tacks I recommend burning the ribbon a little to keep it from fraying.
When two pieces of ribbon cross push a upholstery tack through them, doing this will create that cushioned look and help hold the pictures in place.
Now your done!
Rag Quilt
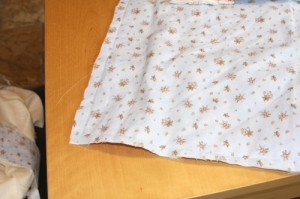
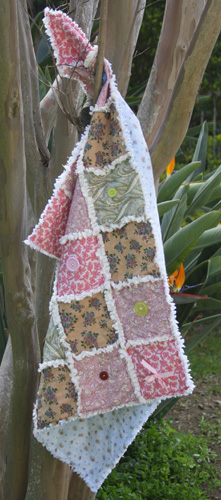
Long long ago before my 2 1/2 year old was born, I bought this fabric. Yesterday I finally made a quilt using this fabric.
There are several ways to make this type of quilt, but this is how I did it.
To make a Rag Quilt-
You need:
Different color cotton fabrics- 1 yard total (depending on the size you want it to be, this is baby/toddler size)
1 yard of flannel
(optional) 1 yard of another same flannel or different color if you want a different backing and/or a thicker quilt
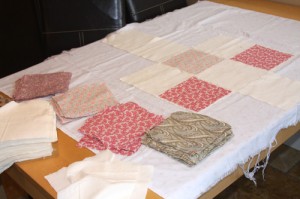
I cut my cotton fabric into 5×5 squares and my flannel into 6×6 squares. Place the cotton on top of the flannel, facing right side of fabrics outward.
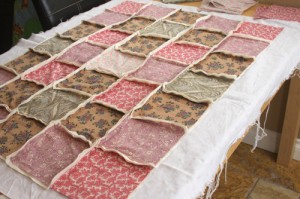
Then I configured my pieces how I wanted the the pattern to look and started to sew! When you sew you will be putting the pieces together with the right sides facing outward. You will want to sew at least 1/4 inch from the edge, I did 1/2 inch.
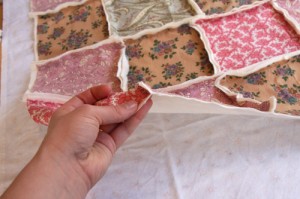
After you have sewn all your pieces together you can sew on a back piece of flannel like I did here, or just leave it. Cut the back piece to the same size as the top. When you sew on the back do it just as you did the squares with the right sides facing out, like if you were top stitching.
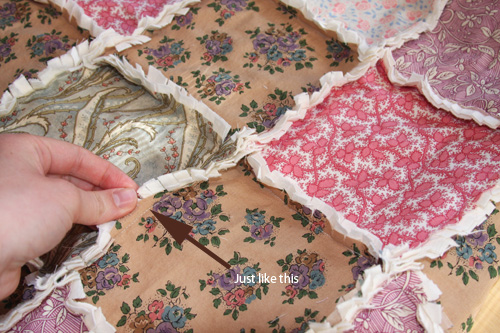
Final steps! You will need to clip the hanging fabric down toward the seam, about 1/4 inch in.
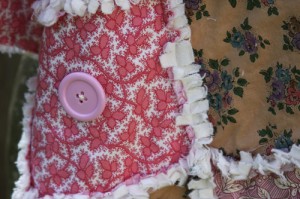
Then you can tie your quilt, although I used buttons to tie mine together.
Finally, put the blanket in the wash, then dryer. When dry, trim anything that has gotten too shaggy (might not need to depending on your fabric).
If you make a Rag Quilt, send me pictures! lynnspins@gmail.com I would love to see what you have done.


