Iron On-Peel Off Wall Art
May 12, 2011 by Lynn
Filed under Crafts, Featured Content
This is sweet! Who thinks to iron fabric to walls?!! Well now you will.
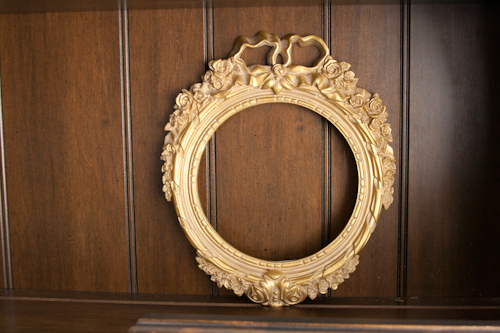
First of all, I am kinda a spray painting freak these days. I sprayed this frame that I found for $1.50 at the thrift store last week. Perfect for this room.
Then got started on my fabric butterfly. I found a butterfly silhouette online, sized it right, printed it and cut it out.
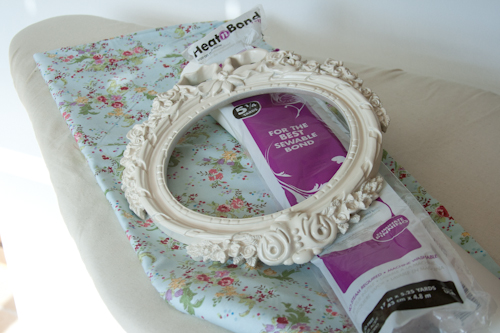
I applied (here’s the trick) HEAT and BOND to the back of my fabric.
Then I traced the butterfly image on to the paper backing and cut it out.
I then peeled off the Heat and Bond paper backing and ironed it straight onto my wall. Sooo easy!!
I am thinking I should have done a darker fabric, but oh well, it’s cute! That the cool thing though, I could peel this off and iron another one on it about two minutes.
Here’s a few pictures from the art I have made in Charlie’s room.
Find the painted dresser here.
And here’s how to make a silhouette.
I am hoping to get a little lamp to stick on the table between the beds and the bedding is in the mail. It will be so cute when its all done. P.S. those beds where mine and my sisters growing up. If you look close you can see where I carved my initials L Z in the wood. oops  And that cross stitch was given to my Grandma when my mom was born. It hung over her bed, mine and my sisters beds, and now Charlie’s bed. I love stuff like that.
Bath Paint for Kids
May 9, 2011 by Lynn
Filed under Kids Crafts
 We found this tutorial the other day on another fun blog and wanted to share it here too. My kids loved it! And it was super easy. Fun + Easy = Everyone is happy
All you do is:
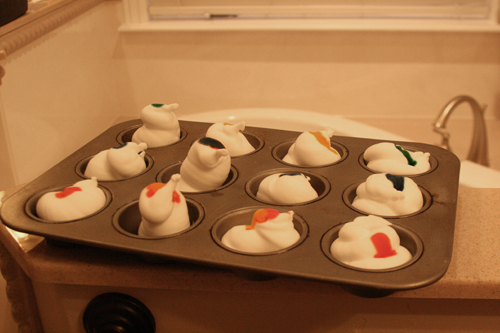
- get some sensitive skin shaving cream.
- Spray it into a cupcake tin.
- Add a tiny dot of food coloring to each cup.
- Mix up well.
- Then let the kiddos paint away.
This idea was found at Meet the Dubiens Check out their blog, its full of great ideas for your kids.

Tulips and Fish
May 4, 2011 by Lynn
Filed under Decorating, Home and Garden
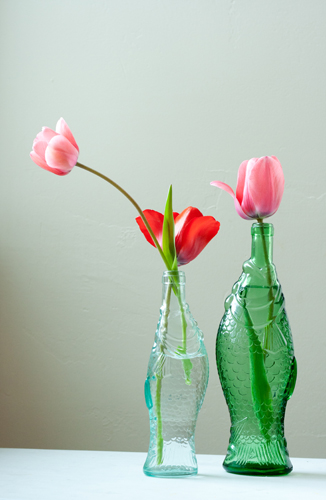
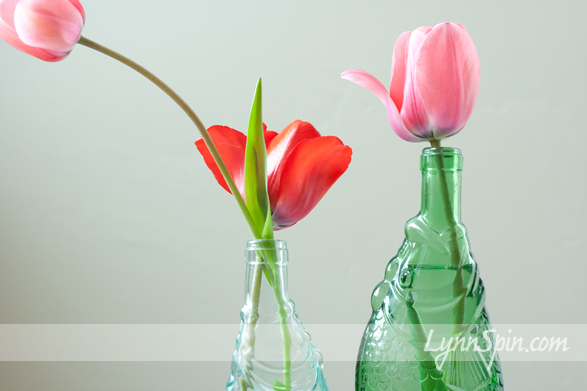
I have had these bottles forever, but in a box….
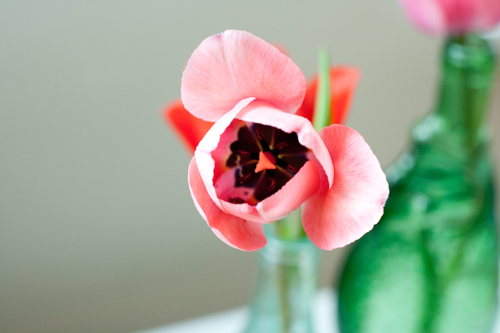
I just moved and now have the counter space to put them out. I love them. I bought these at an estate sale in San Diego. I have many favorite finds from estate sales. ( Hmm.. I’ll share the rest in another post soon). Any-who, there are lots of tulips in my new yard so I thought they’d be fun in my fishy bottles.  Makes me happy to have fresh flowers in my house.
I love the details on these bottles.
Do you have a fun vase that makes your heart happy? Please share it by e-mail lynnspins@gmail.com and maybe I’ll add it to this post. 
Creating a Silhouette
March 4, 2011 by Lynn
Filed under Photography, Photoshop
Want to create a silhouette of yourself, your baby, or anyone? Well, here’s how you do it.
You will need Photo Shop and a profile picture of the person you are making the silhouette of. It’s pretty easy, just a little time consuming till you get the hang of it.
1. Take a picture of the person’s profile against a white piece of paper or a nutral wall.
2.Open your image in Photo Shop
3. Zoom in on the picture anywhere from 100-400
4. Using the Polygonal Lasso Tool, begin to trace the outline of their face/head.
5. Click at any starting place, go slowing around the head. It might take a few tries, but you will get it.
If you mess up, don’t panic! If you hold ALT down and click on your picture, it will delete lines. You can see a tiny minus sign next to the lasso tool when you do this. Go around the line you want to disappear back to the first place to click, you will then see a lasso little icon, let go out the mouse at that point and the unwanted line will be gone. Then if you want to add a line-more off your image- hold down the Shift key and do the same thing. It would be good to play around with these a little before you begin.
6. After you have your entire silhouette selected and are happy with your lines. (I made her hair cuter and added an eye lash). Create a new layer. Copy and paste the image on to this new layer.
7. Select that new layer. Hide the old layer. Using the FX, below where your layers are, click on Color Overlay and choose the color you want your silhouette to be. Black or whatever you like.
8. After you do this you can see your lines a little better, you can now go back and smooth out lines, using the alt or shift keys.
9. Once you are happy with it save it and print it out! Put that puppy on the wall. Go you!
If you are having trouble with these directions e-mail me at LynnSpins@gmail.com I’d be happy to clarify better and help you out!
Dresser Re-do!
March 2, 2011 by Lynn
Filed under Furniture Redos, Home and Garden
I bought this dresser on Craigslist. I sanded it, primed, and painted it. I spray painted the handles off-white.
This is how it turned out!
I still need to add that last handle. But, I think it turned out perfect!
Etching Glass How To
Etching glass may seem a little scary, but it’s actually very easy and fast. My favorite kind of craft!
Here’s a candy jar I am making for the hubs for Valentine’s Day. I etched “Be Mine” on it and filled it with a few different kinds of M&M’s. I am not going crazy this year for V-day, so I hope he likes it. He will probably just be happy I didn’t much spend money.  Men… hahaha
Here’s how to etch glass!
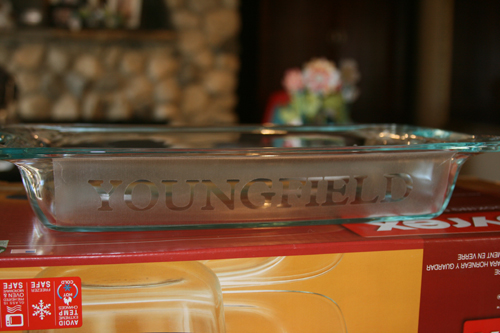
First find your glass. I also like to etch my pyrex baking dishes with my name.
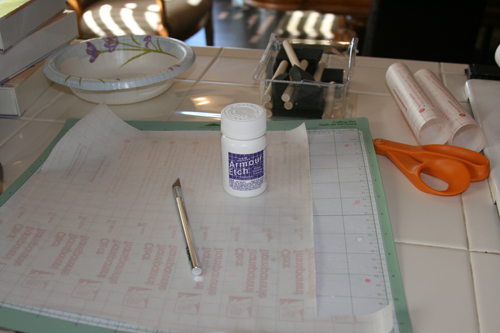
Next you will cut your letter’s or image out of clear removable contact paper. I can only ever find this at Walmart. If using my cricut, I place the paper side down on the mat. This way I don’t have to worry about flipping the image/letters.
I use the Plantin SchoolBook font when I cut the letters for my bakeware. I would cut at 1 inch for longer names, 1 1/4 for 5-7 letter names, and 1 1/2 inch for shorter names.
For “Be Mine” I used the Opposites Attract font at 1 1/2
To cut the contact paper I have my depth at 2, pressure 4 and my speed at 4. I cut all the way through the contact paper.
I think Armor etch works the best. If you live in San Diego, you can’t buy this at Michael’s anymore. You will need to go to Value Craft.
I then peel the paper off my cut letters and place them on my glass.
Then I put on gloves (cuz the armor etch will burn your skin, Yikes! Becareful!)
I glob the armor etch on to the cut out letters on my glass and let it sit for 10 mins. The bottle says it needs only 60 seconds. But, the longer the better in this case.
After it is finished, take it to the sink and wipe of the armor etch with a wet sponge.
Peel off the contact paper and rub with a dry paper towel.
You can still put your pyrex in the dish washer after you etch it.
I then filled my jar with candy, although lingerie would be fun too 😉
Done!
You can see it much better in person.
Nasty White Tile and Dirty Grout!
February 8, 2011 by Lynn
Filed under Cleaning, Home and Garden
Yuck! I hate this tile… it annoys me so. Today in my madness of spring-ish cleaning, I thought I conquer the nasty dirty grout. I feel like I have tried so many things to clean this. But! good news I found something. AND MAN! It was amazing. Who knew Lemons and Baking Soda! My friend Cynthia did a little class once on using lemons to clean and inspired my to try this out.
I didn’t measure things out. I used one lemon and a whole-lotta baking soda to make a paste. I spread it around my grout and then scrubbed a little. Waa laa magic!
Dirty
Dirty
Clean!
My Relief Society group had a night of lemons! With little mini classes on cleaning, decorating, and eating them. Very fun night.
Relief Society is a world wide organization for women. Find out more by clicking here.
Valentine’s Lunch Box
January 29, 2011 by Lynn
Filed under Holiday Crafts, Valentines Day
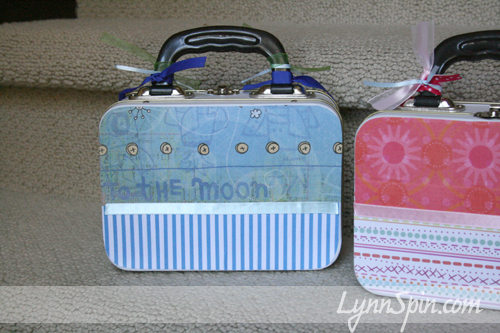
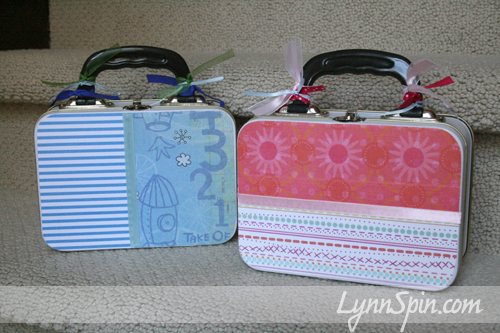
These are great for your kids to put their Valentines in. Or even better, for you to put a special Valentine’s day treat in for them. Ahh the day o’Love 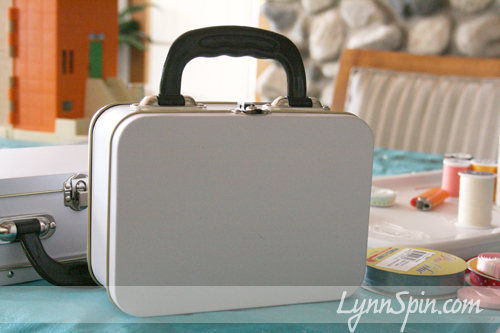
You can buy these at Michael’s or from Oriental Trading Company.
Simply trace the lunch box, cut out the paper, and decoupage onto the lunch box. Add some ribbon, fill with candy, and you are set!
My house is so clean and lovely 😉
Charlie helped me with my shoes while I crafted. haha I love her.
Open Shade -SAY CHEESE!
January 25, 2011 by Lynn
Filed under Photography
Photo tip! My awesome sister in law, Jackie, gave me a great tip. “Try to shoot in open shade.” This tip is for all you mom-tographers out there trying to capture those sweet little faces. Jackie is a film photographer in Utah. You can check her out here at www.jacquelynmuir.com or http://www.jacquelynmuir.com/blog/
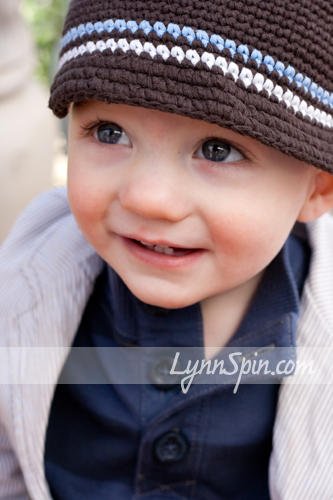
Say Cheese!! This is Beck “Cheese” face.
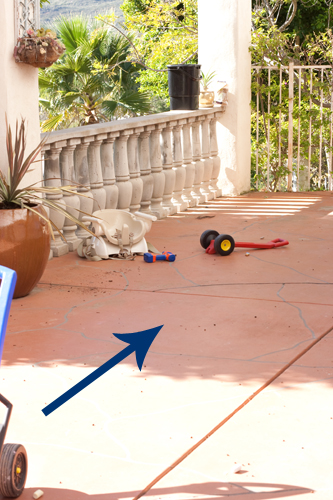
Open Shade- is just like it sounds, shade in an open area. It’s great for getting your lighting just right, a lot easier to work with than bright direct sunlight. It helps avoid the stark light of the sun and the heavy dark shadows as well. Here are some pictures I took of my kids in “open shade” the other day. No photoshop needed for these pictures, because the lighting was perfect!
Arrow points to open shade on my patio. Beck sat in that little chair while I took these pictures.
My 3 year old teenager playing on my i-phone while I try my hardest to get her brother to smile. HA!
These next few pictures were taken in an ally in down town Escondido here in Cali
 I love this last picture. I love my kids.
Fake flower hair bow How To!
January 20, 2011 by Lynn
Filed under Crafts, Featured Content, Hair Bows
I always feel like “hair bow” should be one word…. Any who! Welcome to fake flower hair bow making 101. Super easy stuff right here!
You need:
Fake flowers
matching 8 mm wide ribbon(optional)
gems or buttons
alligator clips (get get at Sally’s Beauty Supply or I like to get mine on e-bay)
And grab your hot glue gun!
Here’s how we start. Flip your flower over and pull it all apart. Don’t be afraid, it all good.
Now depending on the flower and how fluffy you want it , choose the layers you want on the flower. Then glue each layer back together with just a little dab of hot glue in the center.This flower I only used two of the layers. I can make 5 hair bows from this one flower. I like to put wax paper under the flower when I am doing this.
After you have glued all the layers/petals you want on your flower- glue the gem or a button in the center of the flower.
Almost done. Now you don’t have to do this part, but I like to wrap my alligator clip in ribbon. I think it looks nice, helps the clip hold on to the hair better, and helps the clip stay on the flower. I don’t do the entire thing, you need the part that slides in the hair uncovered or its too hard to get in the hair. Here’s how I do it.
I put just a little line of glue on the end of the ribbon. Don’t cut if off the roll yet. Then I open my clip and slide the glued part in on the top part of the clip; so the bottom prong is left uncovered.
There is a hole where some of the glue comes through and works well to attach the top piece of ribbon.
Once its in I fold the ribbon over the top and press together.
Then I glue around the top of the pincher part of the clip and just slightly on to the bottom prong.
Now I glue it to my flower.
Done! Wish I had a cute picture of this is someones hair….maybe later 😉


