Fake flower hair bow How To!
January 20, 2011 by Lynn
Filed under Crafts, Featured Content, Hair Bows
I always feel like “hair bow” should be one word…. Any who! Welcome to fake flower hair bow making 101. Super easy stuff right here!
You need:
Fake flowers
matching 8 mm wide ribbon(optional)
gems or buttons
alligator clips (get get at Sally’s Beauty Supply or I like to get mine on e-bay)
And grab your hot glue gun!
Here’s how we start. Flip your flower over and pull it all apart. Don’t be afraid, it all good.
Now depending on the flower and how fluffy you want it , choose the layers you want on the flower. Then glue each layer back together with just a little dab of hot glue in the center.This flower I only used two of the layers. I can make 5 hair bows from this one flower. I like to put wax paper under the flower when I am doing this.
After you have glued all the layers/petals you want on your flower- glue the gem or a button in the center of the flower.
Almost done. Now you don’t have to do this part, but I like to wrap my alligator clip in ribbon. I think it looks nice, helps the clip hold on to the hair better, and helps the clip stay on the flower. I don’t do the entire thing, you need the part that slides in the hair uncovered or its too hard to get in the hair. Here’s how I do it.
I put just a little line of glue on the end of the ribbon. Don’t cut if off the roll yet. Then I open my clip and slide the glued part in on the top part of the clip; so the bottom prong is left uncovered.
There is a hole where some of the glue comes through and works well to attach the top piece of ribbon.
Once its in I fold the ribbon over the top and press together.
Then I glue around the top of the pincher part of the clip and just slightly on to the bottom prong.
Now I glue it to my flower.
Done! Wish I had a cute picture of this is someones hair….maybe later 😉
Headband Holder
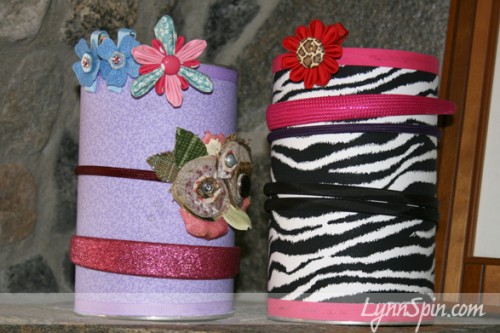
I told a friend forever ago that I would make her girls headband holders. So, I finally did. They took me like 20 minutes to make…I am kicking myself for not doing it sooner. Oh well. Here is the info on how to make this.
Sami- these are for you! I will send them out tomorrow!! Sorry for the wait 
Need:
Fabric
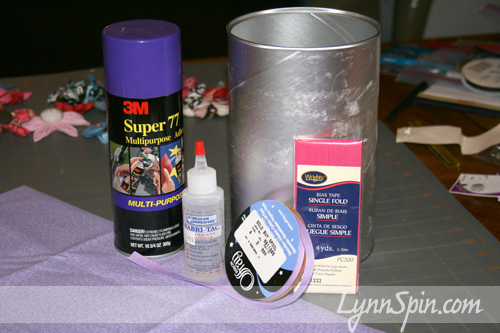
Multipurpose Spray Adhesive- I used 3m Super 77
Fabric Glue- I used fabri-tac
Ribbon
Baby Formula or Oatmeal Container
First- rip off the paper on your container. Cut a piece of fabric to fit the can. I used a Costco size formula can, so I cut my fabric about 7 3/4 inches wide.
I then took my can outside and sprayed it with the adhesive, came back it and slowly wrapped my fabric around the can. Smooth fabric as you go.
Cut left over fabric off and glue edge down with fabric glue. Then glue ribbon around bottom and top of can, right over the fabric. This covers the raw edge and helps to keep the fabric from fraying. I used fabric for this project, instead of mod-podge and paper because I thought it would last longer and not tear. The fabric also gives the headbands some grip so they don’t fall to the bottom of the can.
They are great to put headbands on and you can also store bows inside and around the rim. Awesome!
Get Crafty with your BAD Self!
Girly Hair
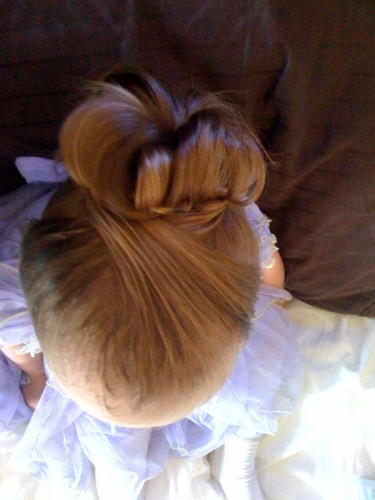
Lately I have been on a hair-do kick with my two year old. She has such beautiful long hair and if I am going to keep it long I have to start doing cute do’s. I literally “have to” because otherwise she looks like a ragamuffin
Pronunciation: \ˈra-gə-ˌmə-fən\
: a ragged often disreputable person; especially : a poorly clothed often dirty child
HAHA…Ahhh I love that word in reference to my children lol. Anyway, in my pursuit of non-ragamuffin children I have found some awesome blogs with step-by-step instructions on how to do very cute hair styles. And trust me, I could barely do a ponytail, these blogs have great instructions YOU CAN DO IT! The hardest part is probably just getting your child to sit still. Mickey Mouse Club House is how we accomplish that obstacle…and occasionaly a high chair with good strapes 😉
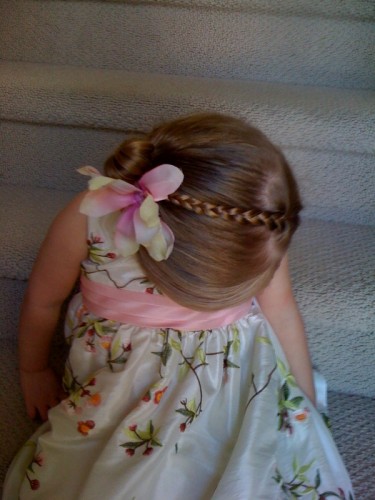
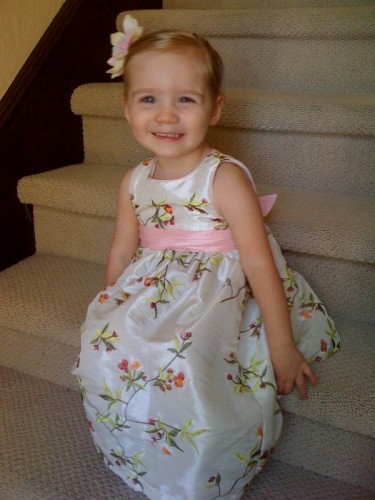
Here are a few pictures of the ones I have tried on Charlie. (pics taken on my phone)
And here are the blogs I like best!
http://shedoeshair.blogspot.com/
http://www.babesinhairland.com/
Hair Bow Holder 101
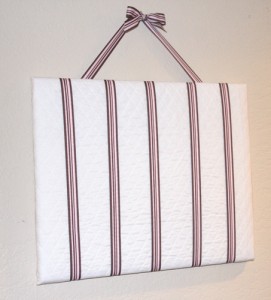
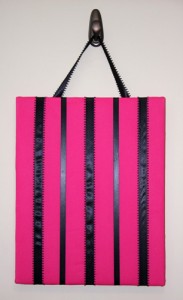
Having a little girl is just too much fun…pink stuff, glitter, hair bows! Now where to put all those hair bows? How about on this super easy hair bow holder. Seriously, it is one of the fastest crafts I have ever done. It takes about ten minutes from start to finish.
Here is what you need:
A canvas any size (also could use a wood frame, old bulletin board, piece of wood…ect)
Batting (optional)
Enough fabric to cover the canvas/ or paint
Ribbon – about 4-5 yards
Staple gun
Scissors
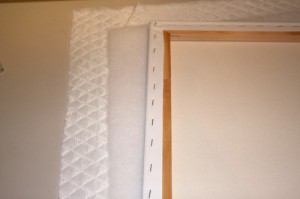
Lay the fabric right side facing down with the canvas on top of it also right side facing down (if you want, lay a piece of batting the same size of the canvas between fabric and board to get a softer look). Cut the fabric so it is about two inches wider than your canvas on every side. Just eye ball it, it doesn’t need to be perfect.
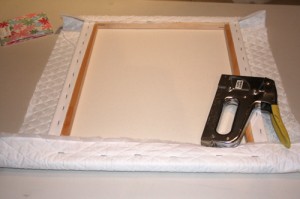
Make sure your fabric is lined up how you want it and now you are ready to staple the fabric down. Fold the fabric over on to the wood frame on the back of the canvas and staple down. Do this all the way around.
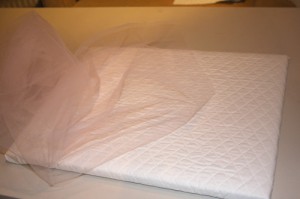
I also added a layer of tulle/netting over the top for a little shimmer.
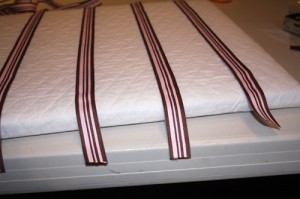
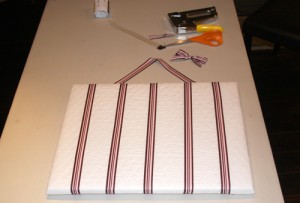
Then simply lay down four or five strips of ribbon, evenly spaced apart, going vertically. Hold them in place and staple on back.
Use a piece of longer ribbon to make it hang-also staple on the back.
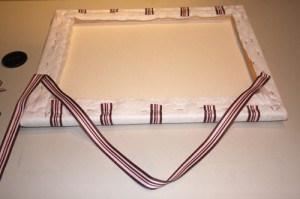
Now the back can look pretty crazy, if you don’t care…leave it. If you do care, lay another piece of matching fabric over the top with the edges folded under and hot glue it in place. Neat and tidy 
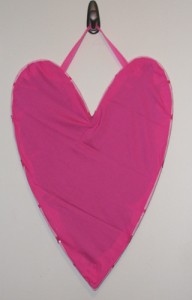
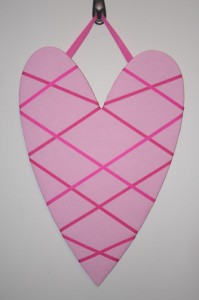
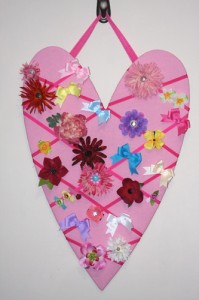
Tips! Michael’s has wood boards in the shape of hearts, surf boards, etc. that you can buy to make these or message boards with. Sometimes you can get a pack of 5 canvases for $15.
Get Crafty!


