Our Kitchen Table
November 30, 2011 by Lynn
Filed under Decorating, Featured Content, Home and Garden
TTTAAAAAA DDDDAAAA!!!
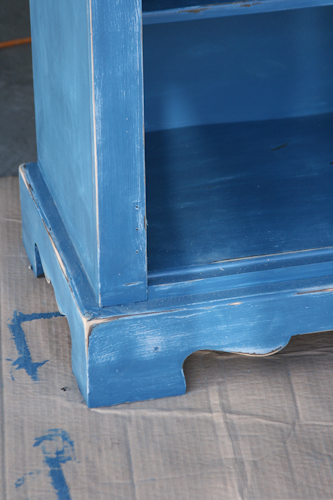
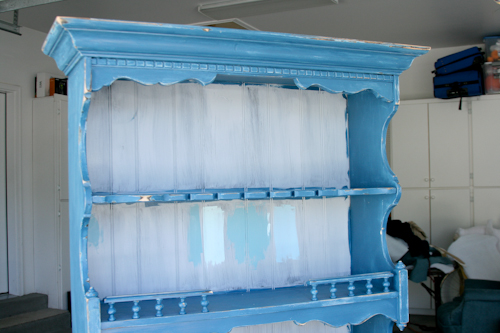
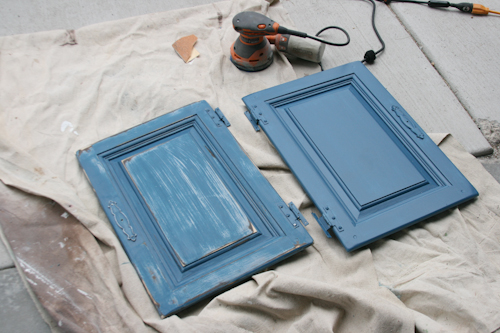
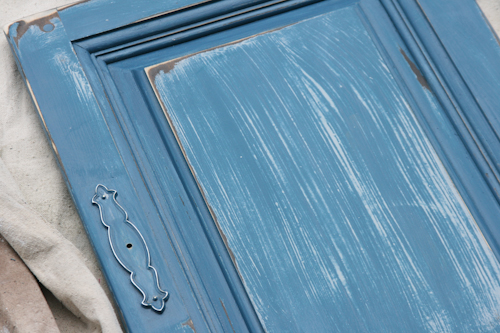
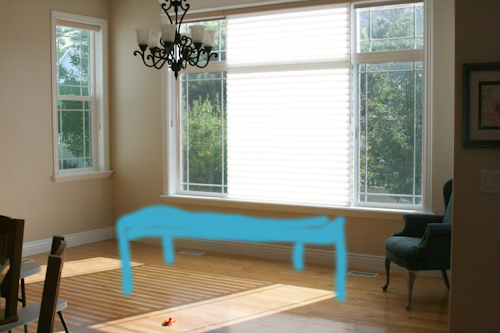
Here is two pictures of the table Devan made for me last week! It is a beautiful solid table. And when I say “solid” I mean sturdy, that bad boy could be danced on!  I love it. I mostly love the way it was built. I am not sure if I love how we stained it. I might be sanding it down and starting over. The white wash didn’t turn out how I hoped. We will see about all that soon.
But! I can’t believe how quickly and well Devan made it. I will be giving a tutorial and directions on the process next week. But, for now here are two pictures to share.
P.S. You could totally do this! Just get a little DIY with your bad self and the hubs too. 😉
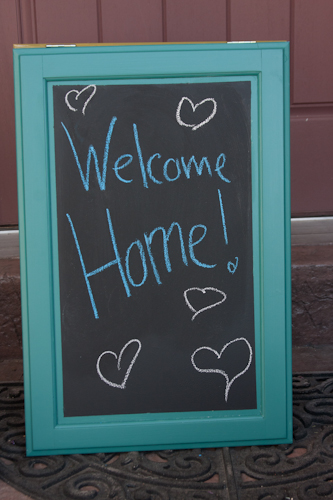
$2 Standing Chalk Board
November 21, 2011 by Lynn
Filed under Christmas, Crafts, Decorating, Featured Content, Holiday Crafts, Home and Garden, Thanksgiving
I have been wanting a chalk board for outside my house to write different fun things on. Like those chalk boards you see outside of restaurants with the daily specials. I looked them up online and they cost around $189 buck-a-roos! Crazy! I recently discovered a place called Re-Store in Orem, Ut. It is for Habitat for Humanity. You can drop off old cabinets, doors, paint, any building materials. They use some of it and the public can come in to buy it too. It’s like a thrift store for building materials. I love it.
I bought these two lovely old cabinet doors there.
I painted them two different colors, to get more use out of them.
I tapped of the inside and painted on some chalk board paint.
After that was dry, I turned them over and screwed in some regular door hinges to the tops.
I probably should have painted the backs too, but I am too lazy. 
These are the top of the cabinets now attached together. (turned sideways)
Done! Easy as pumpkin pie! Took me only a few hours, mostly waiting for paint to dry, but was fast and easy!
And, because I had the hinges and the paint it only cost me the $2 dollars for the doors. Sweet! I LOVE projects like these!
Now I can use it all the time 
Spray Painting Sticks
October 25, 2011 by Lynn
Filed under Decorating, Halloween, Holiday Crafts, Home and Garden
This time of year a lot of people are trimming up their trees and have a bunch of twigs and sticks leftover. Well, I was lucky enough to find a friend that had a huge pile!  And she was kind enough to share with me. I grabbed some tall and short ones for two different projects I had in mind.
The first one was for my front porch. I took all the longs ones and sprayed them two different shades of green and of them some silver. The short ones are for my fire place mantel. I sprayed those black and then added a bit of shimmer with my metallic spray paint.
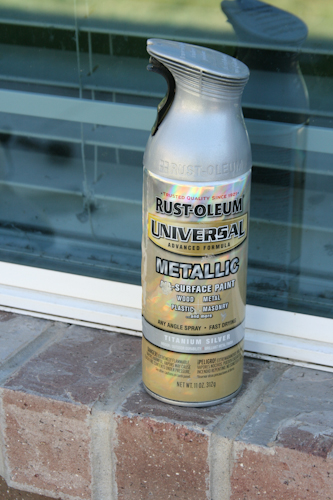
FYI- The two metallic spray paints in these pictures do very different things! The one in the top picture will give you a super shinny silver and the bottom on will be more of a light shimmer. You will see color through the bottom one, you will not with the one in the top picture.
I laid out the sticks in my yard and sprayed them all. I used the colors that I did, because that is what I had. I wanted black and green. My favorite brand of all of these is Rust-o-leum. I don’t say that because they pay me to hahaha, I wish 😉 I say this because you don’t have to really follow all the “spray paint rules” You can get close to your project without getting ugly drips, you can do a second coat after about 10-20 mins without something bad happening, you can spray it almost upside down and still get an even spray. And, it is cheap! It’s like $3.99 a can at Home Depot. So for me…Rust-o-leum wins 
I found some sparkly purple ones at Ross for 8 bucks and added them to the bunch.
I was struggling getting a good picture of them on the porch. Here is the end result, it looks even better in person. 
And here is sneak peak of the sticks I did for the mantel. More of that coming tomorrow.
Making Home – Stylish and Fun = Me
October 19, 2011 by Lynn
Filed under Decorating, Featured Content, Home and Garden
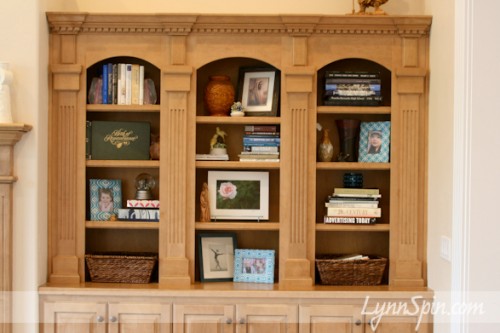
I was struggling with the big bookcase since I moved into this house 6 months ago. It is hard to make a rental house feel like YOUR home. Here is me attempting to make this space feel like it’s mine…for now. 
I had a nice bookcase I displayed stuff on in my old house, now I needed to recreate something new with my stuff in a new place. My bookcase in SD had three less compartments and was a bit smaller. Also since there wasn’t much on this, it seemed to be becoming the “junk spot.” The place where all the crap got left during the day.
So…my solution! Stacking some fun books in a cool way, displaying photos I love of my children in fun colorful frames, putting out some of my favorite things -little frogs I collect, snow-globe of Seattle, photo I took from my first photography class, and a few other fun things that make me happy to look at. Cuz that is what it is about people! Things YOU like.  I added the warrior man on top, because my hubs needs a few things he likes here and there too.
I also added two baskets- one for remotes and the other for library books. We needed a spot for both, since they both seem to get lost so easily. 
I think the blue fabric frames pop and I like that they are different but have a common theme and size.
I love that the things on the have special memories for me. The vase in the top middle we got on our honey-moon. The picture of Christ was a wedding gift. The birds on the second self down were a wedding gift to my parents. The Joseph and Mary carving on the third self down was from my trip to Israel. The flower picture was from my first photography class. These things make me smile. And you want to smile as you walk through your house. Make the space yours.
The vases are both from my dad. The tall one he bought for me and the shorter one he made when he was in college. My mom gave me that butterfly and I collect frogs. And of course Beck. 
 Books I love. Basic Art History, The 20th Century, Posters in History, Audrey Hepburn biography, Strange Worlds- Fantastic Places, Eyewitness- 150 years of photojournalism. Good stuff.
  In a few of the other compartments we have religious books, year books (I loved looking at my parents year books, I want my kids to be able to look at mine too), books I am currently reading, a few photo albums, and Devan’s families Book of Remembrance.
This bookshelf is a main focal point in my house so I am making it stylish and fun and reflect things I love. 
Now to spookify it 
And the rest of my house 
Find he eek block tutorial HERE
Make the Franky block HERE
Gallery Wall Welcoming You In
October 10, 2011 by Lynn
Filed under Decorating, Featured Content, Home and Garden
Come on in ya’ll! Okay, I am no where near a southern bell, but seriously come on in and check out my new and improved gallery wall.
Since I moved to the nice state of Utah I have had to find new ways to display my photos. I had a place for everything and everything in it’s place in San Diego. I felt a little lost starting over. But! I am glad to say I am pulling it together.
First things first- the entry way. I want people to feel welcome in my home. And I want to also display what I love and what is important to me. I am always telling my husband (as I beg for more furniture usually) that I want my house to reflect ME. I want you to walk in my house and say, “Yeah, that’s Lynn alright.” LOL it might be corny, but it’s what I want. 
Here is where I started 6 months ago when I moved in.
Since this picture I have redone those chairs and I had added a ton of pictures. The wall felt heavy will all the pictures. I wanted to add a letter M for our last name, but I wasen’t sure how to rearrange everything. I was a little nervous to play around. But! Fear Not! I got some inspiration over at my new buddies BRAND-SPANKIN NEW blog The Rooster and The Hen. She has a beautiful display wall with a jute clock in the middle. Check out their blog, it’s filled with great home decorating ideas.
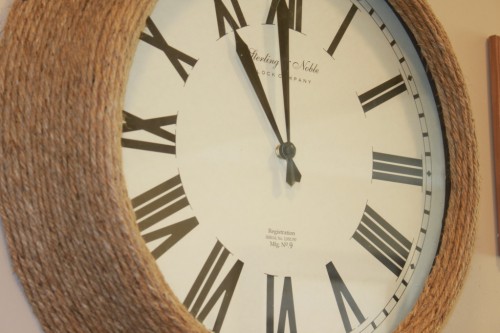
I decided jute was the answer. I also had “The Hen” come over and she suggested adding mirrors. Great idea, I was off to search for jute, a letter, and mirrors.
Well I could not find a letter I liked anywhere. I made my own out of a piece of card board then wrapped it in jute. Probably cost me about 50 cents with the jute, hot glue, and free card board.
I used a ruler and a piece of mail with the letter M I liked, to reference while I drew it out. I cut it out, then started wrapping the jute around it.
My search for the mirrors was rough too. After trying Ross, Pier One, Hobby Lobby, ect. I came up with nothing. Savers. Yup, I love me a thrift store. I walked in and the first thing I saw was these three mirrors. Sweet-mother-of-pearl! So I wrapped those bad boys in jute too.
Here is how it all looks
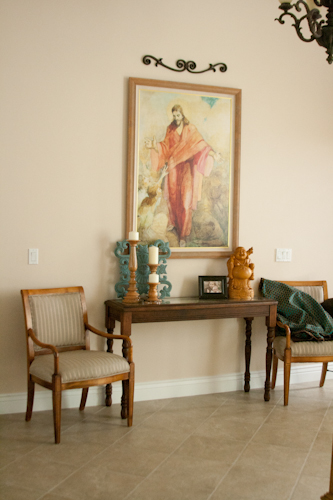
Jesus AND Buddha welcoming all 😉
I love this sign that says, “This is our happily ever after.” Says it all 
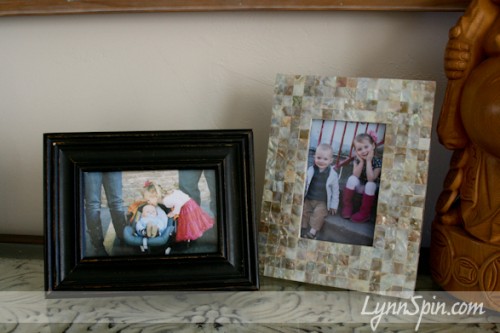
My favorite two people are front and center. 
Utah Houses with Halloween Style
October 5, 2011 by Lynn
Filed under Decorating, Featured Content, Halloween, Holiday Crafts, Home and Garden
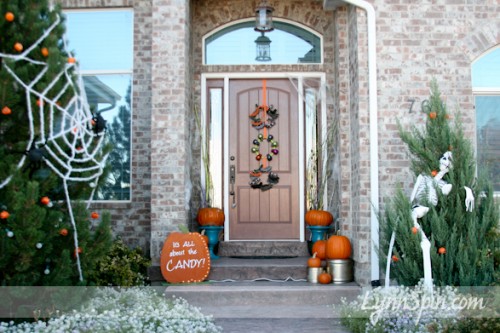
It’s time to decorate your house for Halloween! These houses have style without their Halloween decor, but they are even more amazing with a pumpkin or two or ten.
I drove around the other day to photograph two houses that I think have style. When I got to both of the houses their Halloween decorations where up. It was even better. I then decided to find more cute houses. So… here are some of the houses around me that I vote stylish and fun. Enjoy the pictures! I hope you feel inspired, I know I do!
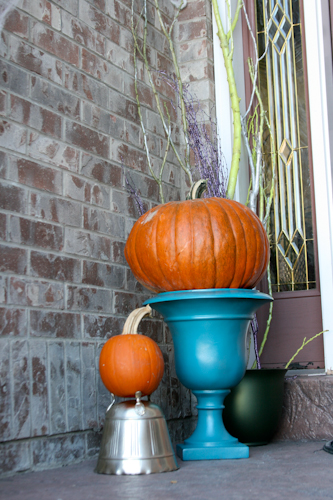
This first house was simple, two pumpkins sitting on beautiful teal ceramic planters. The colors where amazing together, loved it.
Simple green wreath with burlap. This is a classy-clean look.
This second house is one of my favorites in my area. Whenever anyone is in the car with me I have to point out it and it’s green shutters. I think this house has tons of charm!
I love old houses, especially when they are taken care of so well.
I love the black and orange sheer strips of fabric hanging from the front porch.
This house is a beautiful bungalow. I would love to have an old bungalow to fix-up someday. Houses with character are the best in my opinion.
I am going to find me a cute flower pot this weekend and stick a pumpkin on it. So fun!
I loved all of the pumpkins and hay bales on the porch of this house. Lot’s of clever little touches.
Even the bird feeder was ready for Halloween.
Putting little pumpkins in the window box was one of my favorite touches.
This house was simple and classy too. Just decor on the door and those fun aqua chairs.
Now that I am inspired I need to go bust out my own Halloween decorations!
Big THANKS to all the homeowners that let me take pictures of their houses. 
Finishing Wax- Blue Hutch
October 3, 2011 by Lynn
Filed under Featured Content, Furniture Redos, Home and Garden
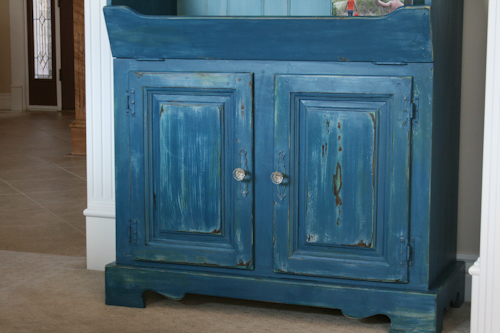
When I first moved to Utah six months ago I called my best friend to complain. That’s what best buds are for right? 😉 Actually they are there for helping you get out of your funk. And that’s what my buddy did. I whined about how my stuff didn’t fit in this house and she kindly listened. Then she wisely said, “Why don’t you go buy a cool hutch and paint it a fun color. You are good at that.” I looked over the wall where this future hutch would go, imagined it, and said, “That is why you are my best friend!”
I started my search on KSL that day and found a hutch for $80. Bought some paint. Then…. let it sit in the garage for a month or three, lol, then got crack’n.
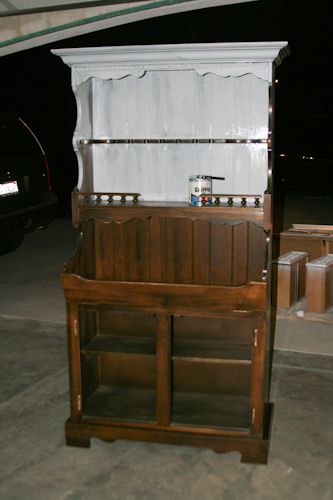
Half way into priming it I realized I didn’t take a “Before” picture…oops
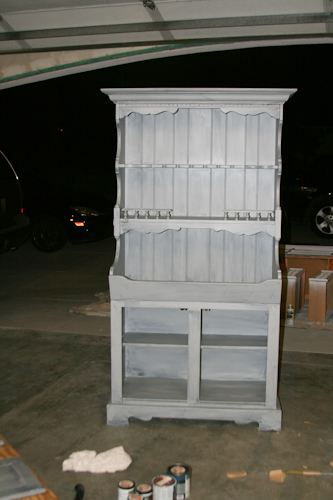
I primed it with a gray primer I had left over from painting my kitchen cabinets in my CA house. I used a regular wall paint brush to apply it. This gave it heavy brush stroke marks, which I wanted.
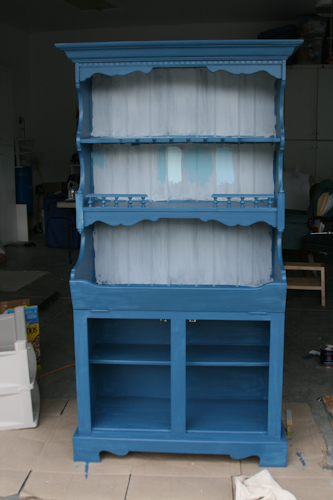
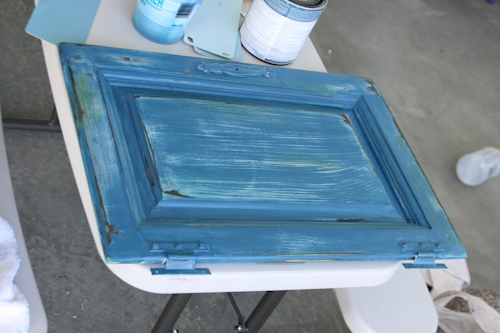
Then I painted a blue over the top with a foam brush. Foam brush does not leave marks. But you could still see the ones underneath a little. I put two coats of blue on. Then….
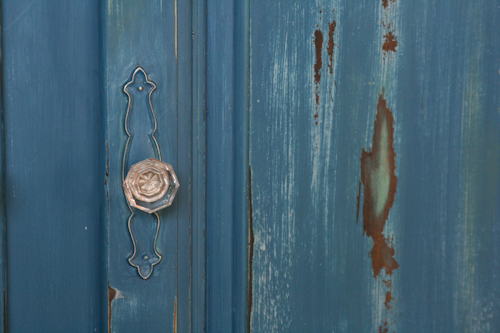
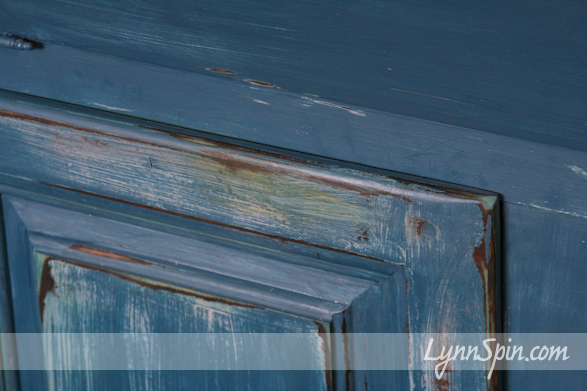
I went crazy with my sander.
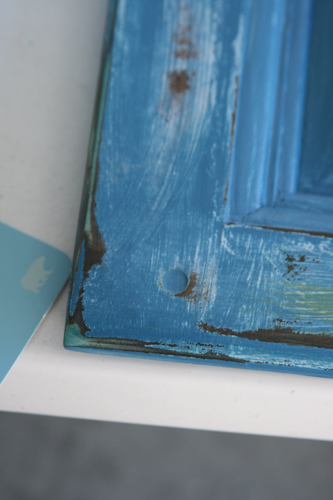
But after my craziness I realized I really didn’t like the light wood showing through. So I stained it green. I took green paint brushed it on, then wiped it off after a second or two.
I also willy nilly brushed on some color to different spots. And then went over the whole piece with a navy blue glaze.
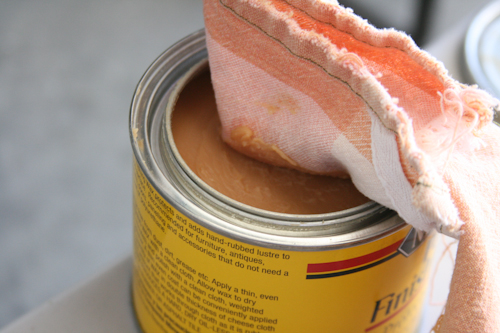
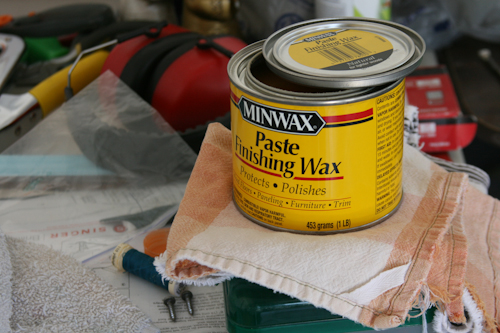
After I was done I decided to try using a wax instead of a polyurethane; which I usually use to finish furniture.
I loved it! I will definitely be using it again. Super easy. Just get a rag, wipe it on. Wait until it is no longer tacky to the touch and then with a dry clean rag, rub the piece till it shines just a bit.
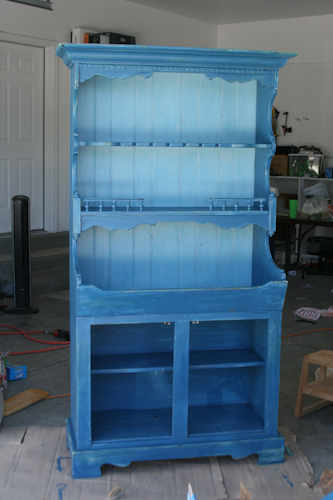
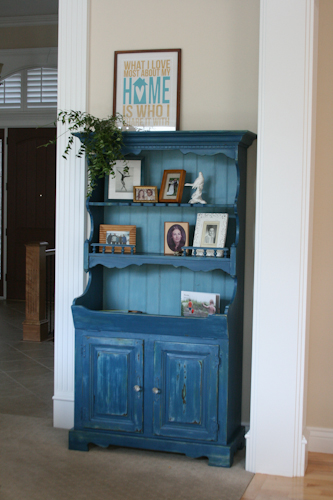
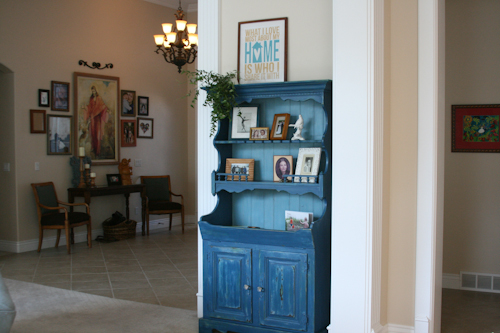
This is how it turned out.
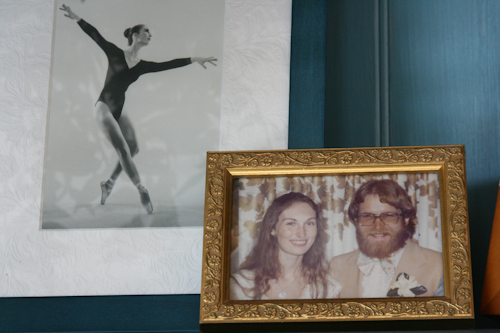
I am still trying to figure out what to put on it. I want to get some fun frames and put our family pictures on it. But for now, my parents grace the shelves.
I bought some fun glass handles from Home Depot for the doors.
It will all come together soon. I hope 
Rag Curl Tutorial
October 3, 2011 by Lynn
Filed under Fashion, Featured Content, Home and Garden
When I was little my mom put my hair in rags all the time. I would beeeggg her to do it. I loved how curly my stick straight hair got. When I was old enough I learned to do it by myself. I did it for crazy hair day and even some school dances. The other night I was going through my fabric and found some strips of fabric; which totally took me back to the “old days.” Then thought how much fun it would be to try on Charlie’s hair. She loved the rags in her hair too, she thought it was a fun way to sleep (kids are crazy lol). And she was even more excited when I took the rags out to reveal her “Crazy curly hair!” It’s easy to do.
-Rag Curls-
First cut strips of fabric 1 inch by 8 inches. Depending on your hair thickness cut between 10-25.
Then get your hair wet. Have a spray bottle handy in case parts dry while you work.
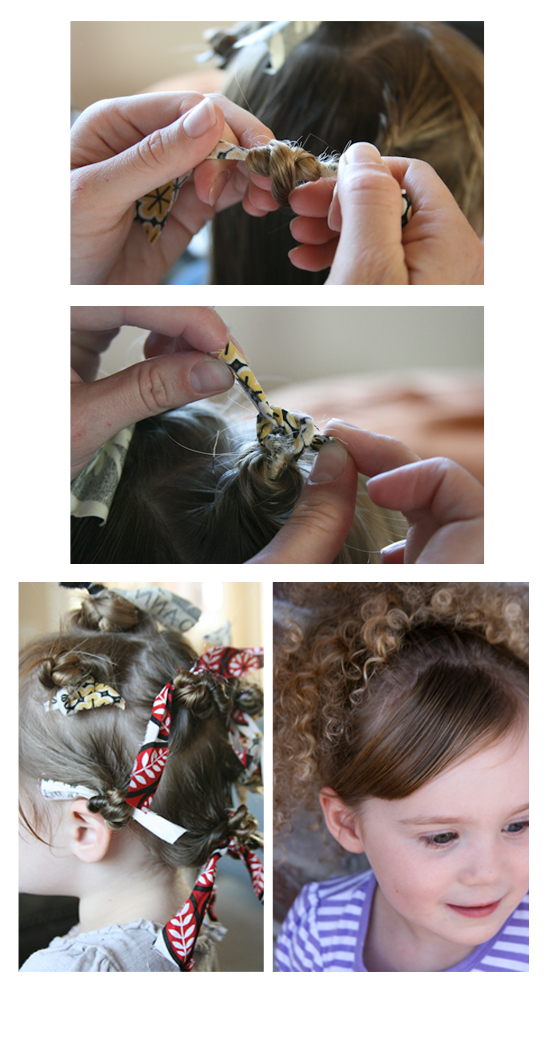
Then take sections of your hair and twist. I like to start when I would want my part to be. Twist all the way to the end of the piece of hair.
Begin to wrap hair around the fabric rag.
Wind it up the head and tie in a double knot.
Sleep in rags
And the next day….
Unwind rags
Now use a pick or your finger to pull curls apart
A whole lot-a curls!
Style your hair and waa-laa
Curls!!
Please leave me some comment LOVE on my blog!
I love to hear your thoughts and know that you stopped by 
Upholstery Part 3- Buttons
September 20, 2011 by Lynn
Filed under Featured Content, Furniture Redos, Home and Garden
I was a little worried about the buttons. But, it was actually one of the easiest parts.
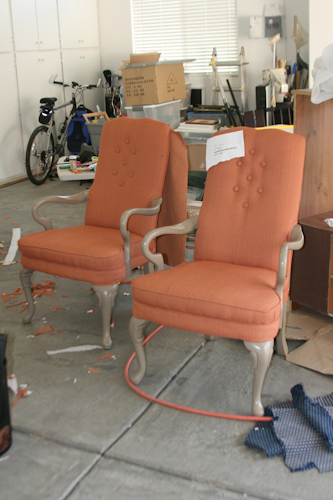
Here is the Chair before we started
Sorry it’s so small, pic was taken on phone. These are my sister-in-laws chairs that we found on KSL. She got them for 25 each and her fabric was free from a designer friend of her’s. There was a million upholstery nails and buttons on this chair. It took 6 hours to take the upholstery nail out of this chair. Yikes! Pay attention when you buy a chair to redo. We were first timers.  Also, we bought these from a super creepy old man who wanted to ask me on a date lol. He could have been my dad. CREEPY! He told me he liked my freckles
  hahaha…eww
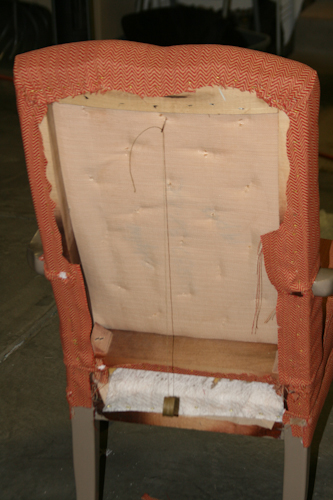
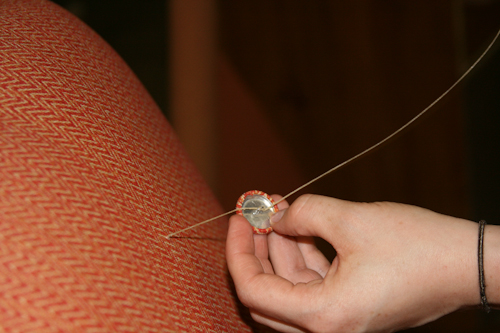
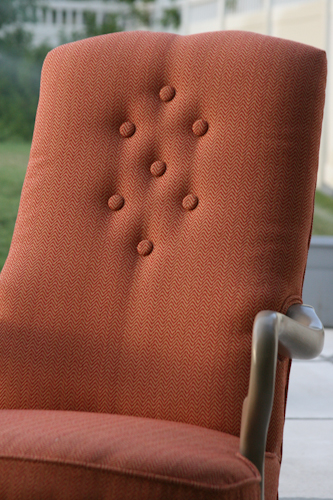
We bought some metal buttons from Jo-ann’s and covered them. Using the existing buttons holes in the back, we mapped out the placement of the buttons. Then started putting them on.
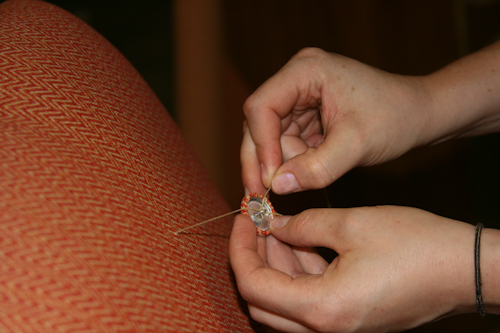
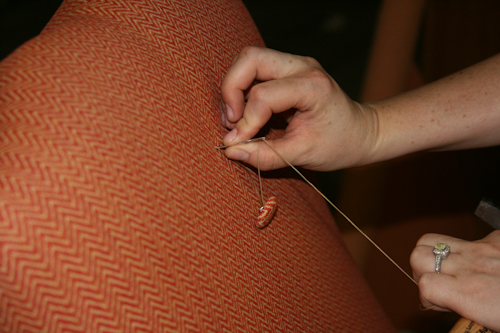
Used upholstery wax thread and a large needle. Wrap the thread around the button shaft a few times. Then pull needle again through to the back.
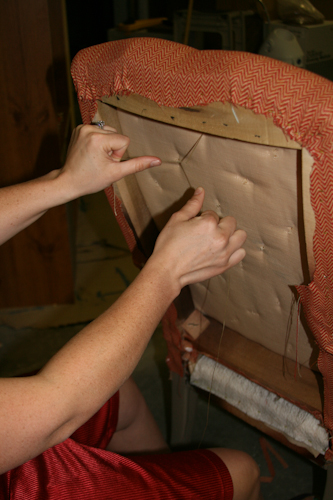
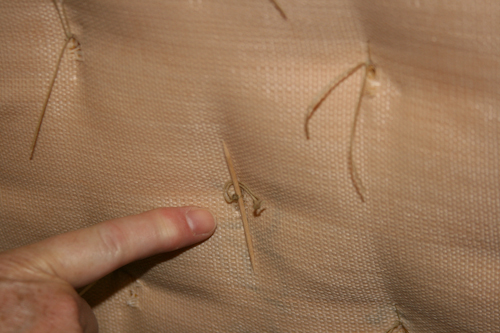
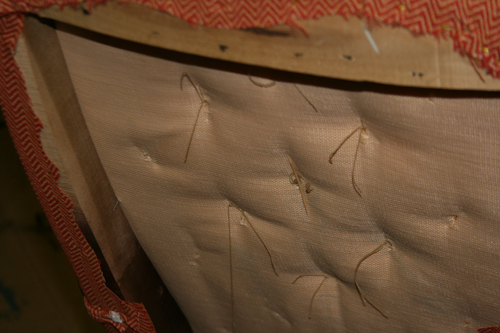
We then pulled as tight as we thought looked good and tied a knot in the back. If we could get it tight enough we put a tooth pick in and twisted it till it matched the other buttons in the front.
Then place the backing on and finish up the chair 
BUTTONS!!
The white paper is my “chair to do list” Good to have one of those.
Done!
Upholstery Part 2- Tricks of the Trade
September 12, 2011 by Lynn
Filed under Featured Content, Furniture Redos
Are you feeling overwhelmed with that chair you bought that is still sitting in the garage?! And the hubs is like, “Can we please get that piece of junk out of here.” But then your like…”I have a dream for that ugly old thing. I WILL make it new again!”
And then I say, “You GO GIRL! Get crafty with your bad self! Yahhooza!”
haha, ok ok let’s get down to business. 
When my mom and I were feeling a little stuck we called an upholstery shop. Thankfully we got a hold of the SUPER nice gentle man who owns the shop. We told him we were redoing some chairs and were having a hard time with a few things. He told us to come on down to his store and he would show us what to do. So kids and a DVD player in-tow, we headed over to the shop. And these are a few of the awesome things we learned in about 10 mins.
Tip 1
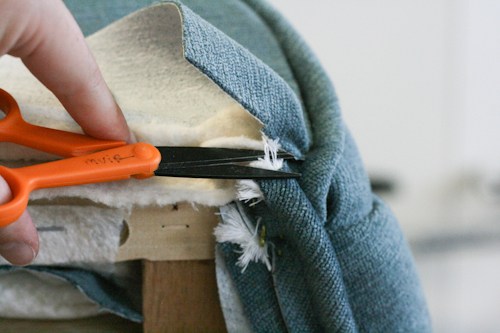
When you are trying to end a piece of piping trim out the rope from the inside of the fabric cover. This will help the piping to hide under the top fabric with out a bump.
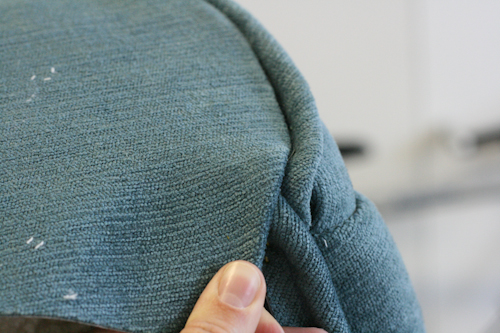
See no bump!
Tip 2
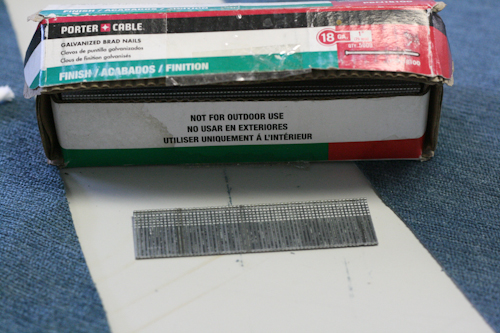
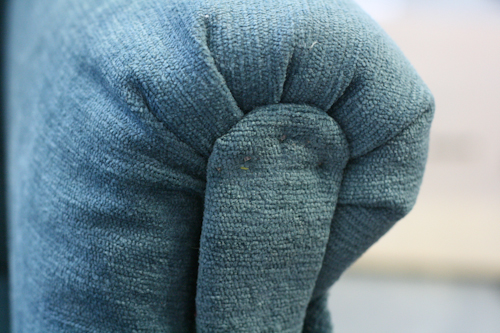
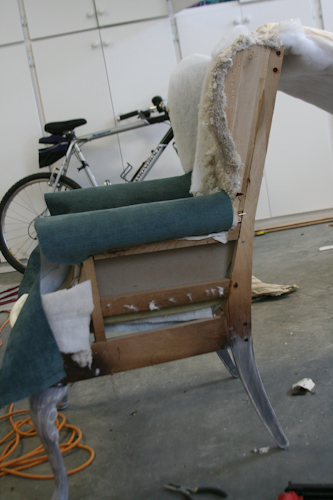
Use finishing nails to hold certain pieces on to the fabric. You will need a bit of card board behind the fabric, like in the arm end. (see picture below) Then use an ice pick or other sharp pointy poker to pull/pop the top of the fabric up around the nail. The fabric will stay in place, but the nail won’t show.
I used a bead making tool to pull the fabric up over the nails (very poky tool). This fabric is wrapped around a piece of cardboard to help it hold it’s shape and to help nail it into place.
Tip 3
Use cardboard to help keep bumps in fabric to a minimum. It comes in handy if there is a lot of bulk, like batting, pipping, and fabric.
Tip 4
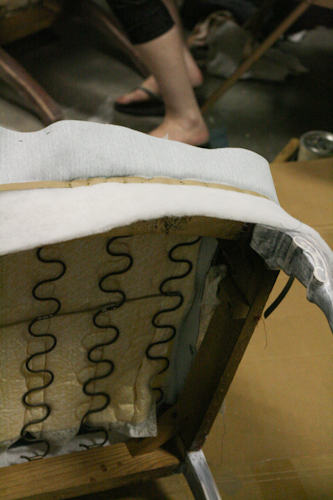
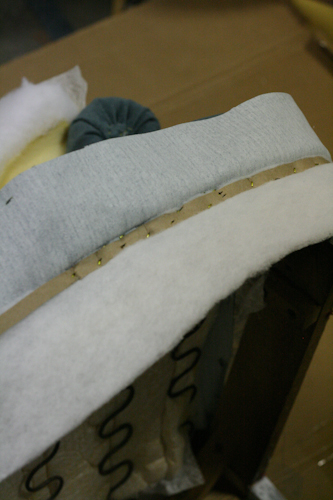
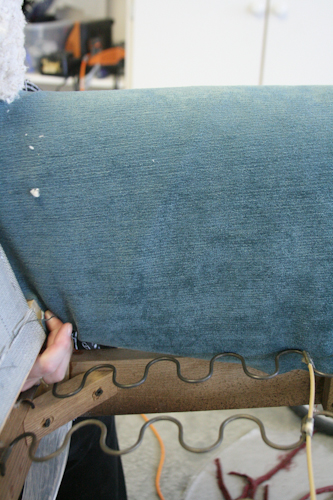
When you upholster you really need to pull the fabric tight before you staple it down. In some places this can be a bit tricky. You can sew a piece of thin pellon to the sides where you need something to pull. Like in the picture below, see where the white fabric is sticking out? That is where we pull and then staple that to the chair.
Here are some pictures of the arm as well.
inside of chair
outside of chair
You can see the white piece sticking out the bottom. We didn’t pull it yet.
Tip 5
This one was and IS a life saver.
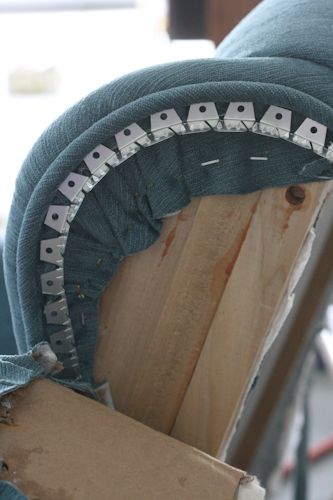
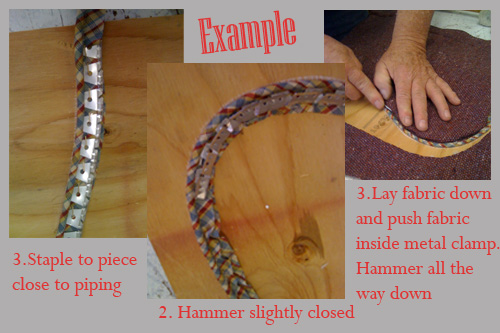
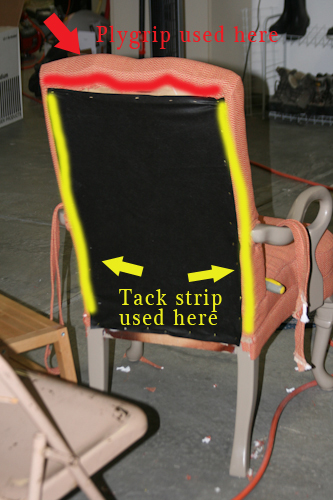
This metal piece is called plygrip. It is used to clamp the fabric down around curves. It is awesome! Below are a few pictures from my phone when the upholstery guy was showing me how to use it.
This is the example the upholstery shop owner showed me.
The plygrip is like a clamp. One side you staple to the piece and the other has teeth that hold the fabric in place. Once you fold/push the fabric edge into the inside of the clamp and hammer it down, it makes a nice clean edge.
Tip 6
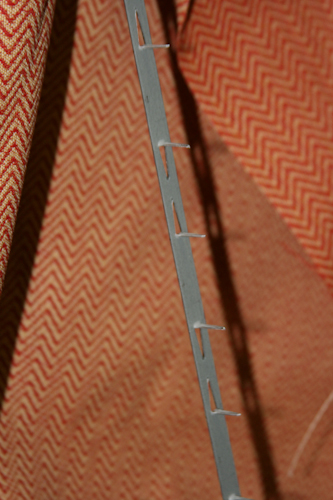
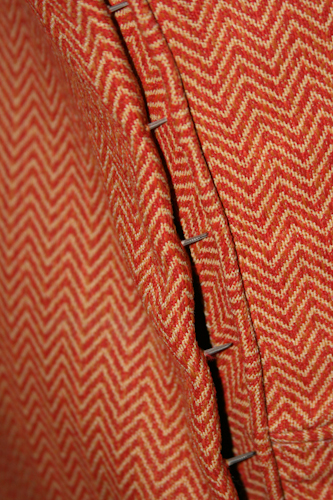
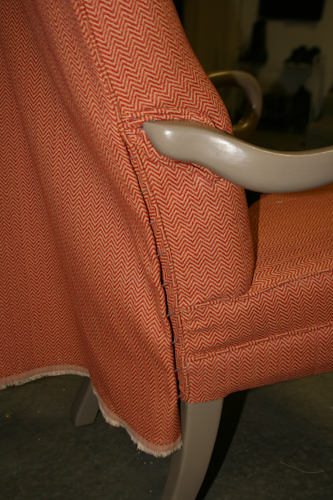
This metal piece is called tack strip. You will probably see this in your chair when you are taking it apart. You wrap it around the fabric (spikes going through the fabric) and pound it in to the wood. It is usually on the back two sides. It is the last step in putting together your chair!


