Rag Quilt
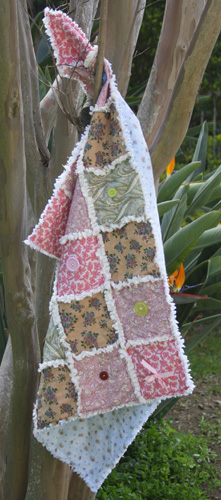
Long long ago before my 2 1/2 year old was born, I bought this fabric. Yesterday I finally made a quilt using this fabric.
There are several ways to make this type of quilt, but this is how I did it.
To make a Rag Quilt-
You need:
Different color cotton fabrics- 1 yard total (depending on the size you want it to be, this is baby/toddler size)
1 yard of flannel
(optional) 1 yard of another same flannel or different color if you want a different backing and/or a thicker quilt
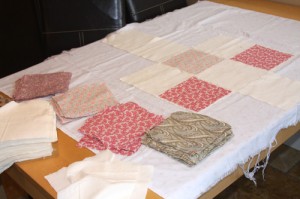
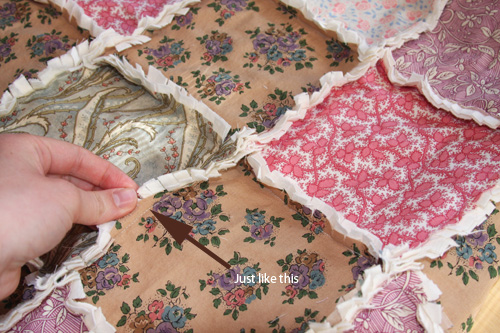
I cut my cotton fabric into 5×5 squares and my flannel into 6×6 squares. Place the cotton on top of the flannel, facing right side of fabrics outward.
Then I configured my pieces how I wanted the the pattern to look and started to sew! When you sew you will be putting the pieces together with the right sides facing outward. You will want to sew at least 1/4 inch from the edge, I did 1/2 inch.
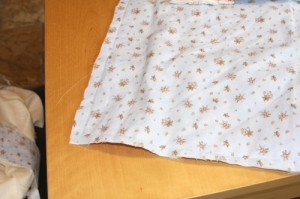
After you have sewn all your pieces together you can sew on a back piece of flannel like I did here, or just leave it. Cut the back piece to the same size as the top. When you sew on the back do it just as you did the squares with the right sides facing out, like if you were top stitching.
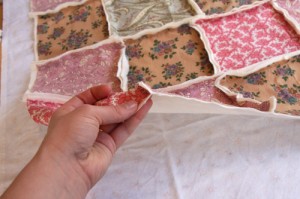
Final steps! You will need to clip the hanging fabric down toward the seam, about 1/4 inch in.
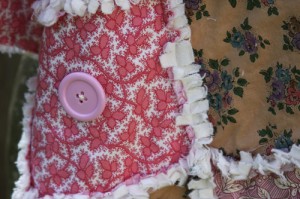
Then you can tie your quilt, although I used buttons to tie mine together.
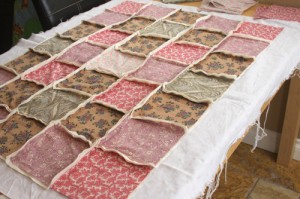
Finally, put the blanket in the wash, then dryer. When dry, trim anything that has gotten too shaggy (might not need to depending on your fabric).
If you make a Rag Quilt, send me pictures! lynnspins@gmail.com I would love to see what you have done.
Hair Bow Holder 101
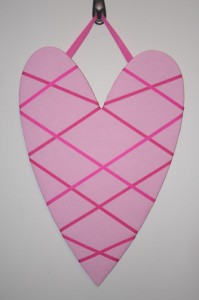
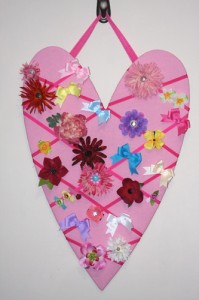
Having a little girl is just too much fun…pink stuff, glitter, hair bows! Now where to put all those hair bows? How about on this super easy hair bow holder. Seriously, it is one of the fastest crafts I have ever done. It takes about ten minutes from start to finish.
Here is what you need:
A canvas any size (also could use a wood frame, old bulletin board, piece of wood…ect)
Batting (optional)
Enough fabric to cover the canvas/ or paint
Ribbon – about 4-5 yards
Staple gun
Scissors
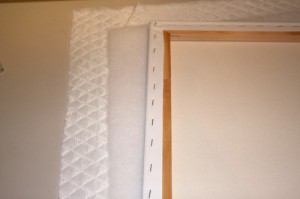
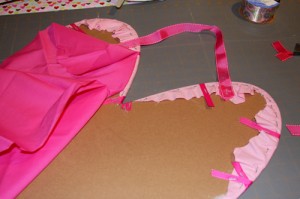
Lay the fabric right side facing down with the canvas on top of it also right side facing down (if you want, lay a piece of batting the same size of the canvas between fabric and board to get a softer look). Cut the fabric so it is about two inches wider than your canvas on every side. Just eye ball it, it doesn’t need to be perfect.
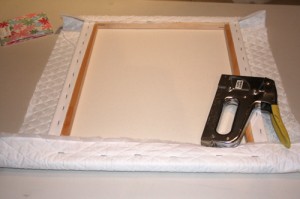
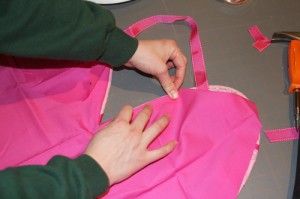
Make sure your fabric is lined up how you want it and now you are ready to staple the fabric down. Fold the fabric over on to the wood frame on the back of the canvas and staple down. Do this all the way around.
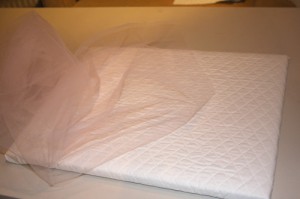
I also added a layer of tulle/netting over the top for a little shimmer.
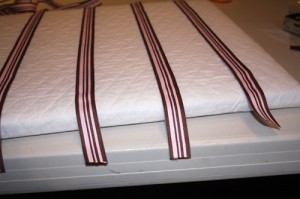
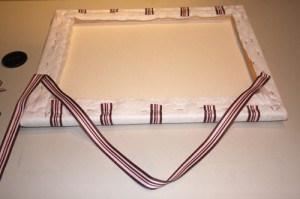
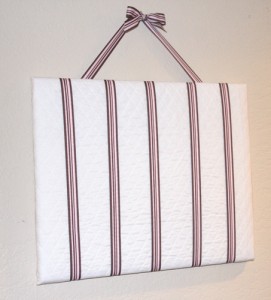
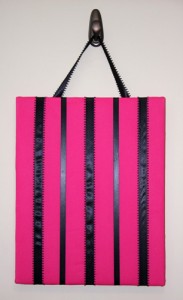
Then simply lay down four or five strips of ribbon, evenly spaced apart, going vertically. Hold them in place and staple on back.
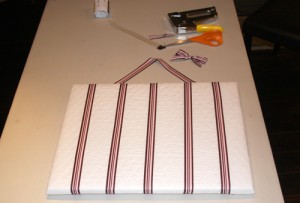
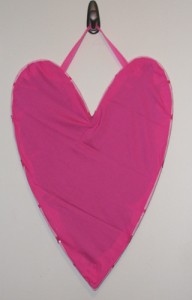
Use a piece of longer ribbon to make it hang-also staple on the back.
Now the back can look pretty crazy, if you don’t care…leave it. If you do care, lay another piece of matching fabric over the top with the edges folded under and hot glue it in place. Neat and tidy 
Tips! Michael’s has wood boards in the shape of hearts, surf boards, etc. that you can buy to make these or message boards with. Sometimes you can get a pack of 5 canvases for $15.
Get Crafty!


