20 Minute Pumpkin Bag- Easy Printable Pattern
October 31, 2011 by Lynn
Filed under Crafts, Featured Content, Halloween, Holiday Crafts
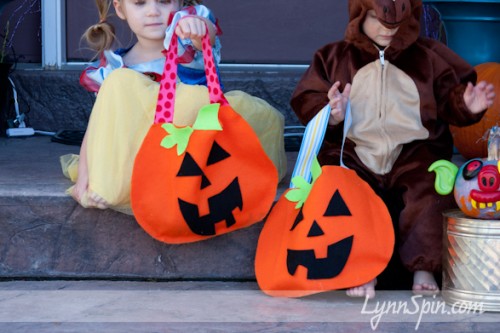
If you need a pumpkin bag for tonight, here is your last minute bag pattern and tutorial. It is soo easy! And, no sewing required. Just grab your scissors, hot glue gun, and felt. Print out my pattern and go to town. 
Happy Halloween!!
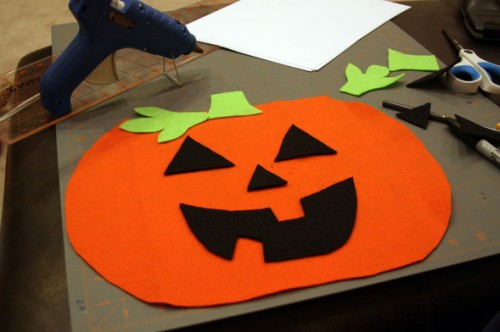
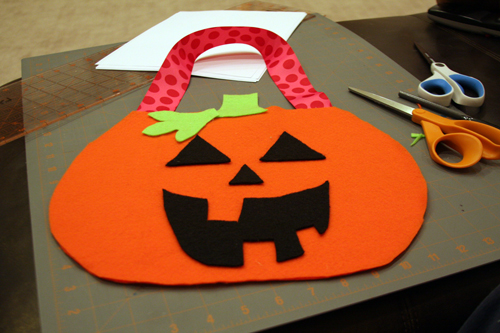
Follow the pattern and cut out all your pieces. Hot glue a 22 inch piece of ribbon on to the inside of your back piece and set it aside.
Glue the face onto the front of your front piece.
Then take the back pieces and put a thin line of hot glue all the way around the outside edge of the pumpkin DO NOT GLUE THE TOP EDGE! That is the opening. 
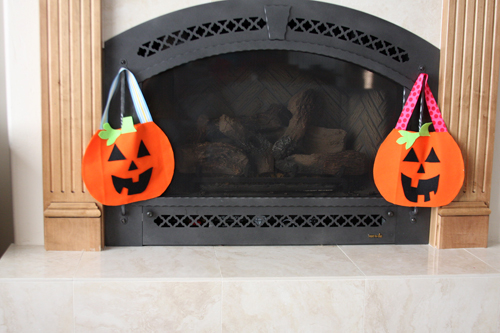
Lay the top piece on. Taa Daa! 20 minute (maybe less) pumpkin bag done!
If you wanted to make it a little fancier you could sew the pieces on then sew it together. It would look great with some fun stitching around the edges. Get Crafty!
My kids where super happy to find these this morning. I love Halloween 
Print the patterns – click HERE for bag and HERE for the face pieces.
Black Sticks, Skull, Boa, and Crows…Spooky!
October 27, 2011 by Lynn
Filed under Halloween, Holiday Crafts
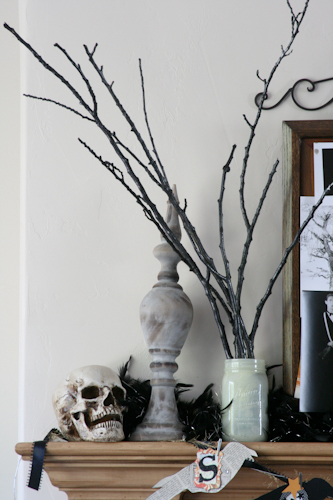
I spray painted these black sticks, also mentioned HERE, AND I spray painted the inside of the glass jars I put them in. I love the look of the glass jars sprayed inside only.
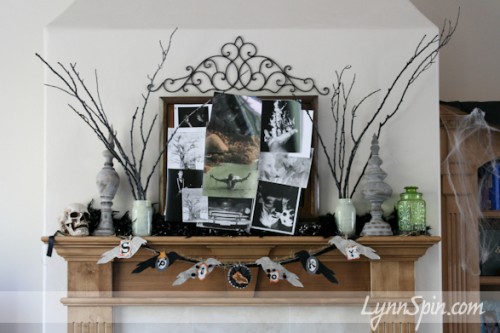
Here are some more pictures of my spooky mantle  The collage of pictures is from my husbands photography class in high school, I found them and thought they would be fun for Halloween decor. And it’s fun the see his brother and friends when they were young and being silly
My sister in law and I made these crow/spooky garlands a few years ago. I love it. 
Here is the template for the crows if you want to make your own. 
-Click here for crow template-
Spray paint something! And as always…
Spray Painting Sticks
October 25, 2011 by Lynn
Filed under Decorating, Halloween, Holiday Crafts, Home and Garden
This time of year a lot of people are trimming up their trees and have a bunch of twigs and sticks leftover. Well, I was lucky enough to find a friend that had a huge pile!  And she was kind enough to share with me. I grabbed some tall and short ones for two different projects I had in mind.
The first one was for my front porch. I took all the longs ones and sprayed them two different shades of green and of them some silver. The short ones are for my fire place mantel. I sprayed those black and then added a bit of shimmer with my metallic spray paint.
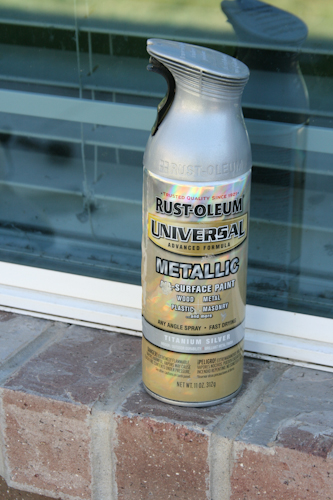
FYI- The two metallic spray paints in these pictures do very different things! The one in the top picture will give you a super shinny silver and the bottom on will be more of a light shimmer. You will see color through the bottom one, you will not with the one in the top picture.
I laid out the sticks in my yard and sprayed them all. I used the colors that I did, because that is what I had. I wanted black and green. My favorite brand of all of these is Rust-o-leum. I don’t say that because they pay me to hahaha, I wish 😉 I say this because you don’t have to really follow all the “spray paint rules” You can get close to your project without getting ugly drips, you can do a second coat after about 10-20 mins without something bad happening, you can spray it almost upside down and still get an even spray. And, it is cheap! It’s like $3.99 a can at Home Depot. So for me…Rust-o-leum wins 
I found some sparkly purple ones at Ross for 8 bucks and added them to the bunch.
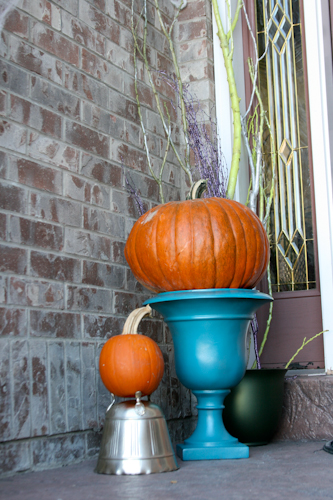
I was struggling getting a good picture of them on the porch. Here is the end result, it looks even better in person. 
And here is sneak peak of the sticks I did for the mantel. More of that coming tomorrow.
Planters and Spray Paint
October 24, 2011 by Lynn
Filed under Halloween, Holiday Crafts
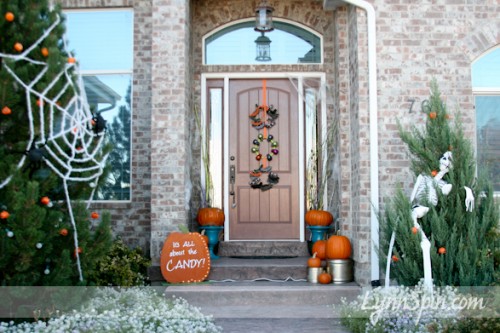
After taking all those fun photos of houses around Utah. I was on the hunt for some fun planters to set my pumpkins on.
Read more about this post HERE
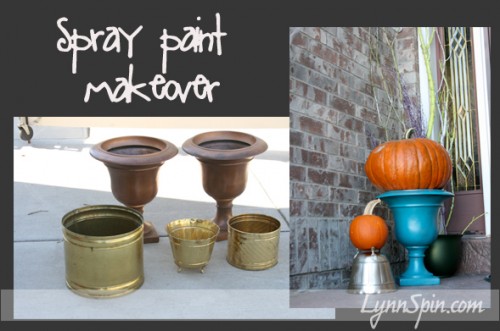
I found these on KSL. The two brown ones for 15 bucks and the set of three brass ones for 8. I have quite the stash of spray paint, so I busted some of those out and went to town.
These colors would be prefect for Thanksgiving, but I wanted to make the colors a little bit more exciting for Halloween.
My stash… is mostly blue tones. I decided to use a teal.
I didn’t put any color on the brass I just used Rust-o-leum Metallic- Titanium Silver. I also put this on over the teal planters. If you don’t spray it on thick or do multiple coats, you can still see the color underneath, but get a nice sparkle.
I think everything needs a little sparkle or glitter on Halloween 
Stay tune for the rest of my spooky Halloween front door! We are just getting started 
Thrifty Pumpkin Find and Makeover
October 13, 2011 by Lynn
Filed under Crafts, Featured Content, Halloween, Holiday Crafts
I found this pumpkin at Savers the other day. I was a little wobbly, but I figured I could fix that. Check out the makeover this plan pumpkin got.
Go see what your thrift store has. It’s like a treasure hunt!
I added a little paint and glitter to my 7 dollar, 2 foot tall pumpkin. It looked better already.
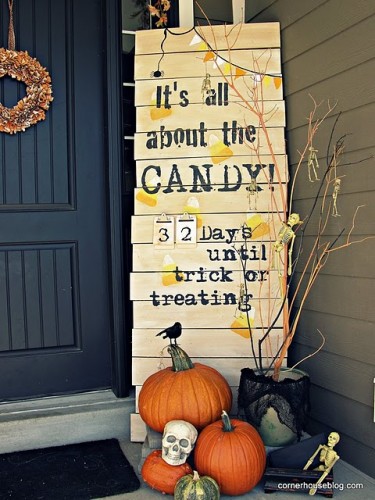
I had been want to make something like this, that I saw over at TheCornerHouseBlog.com
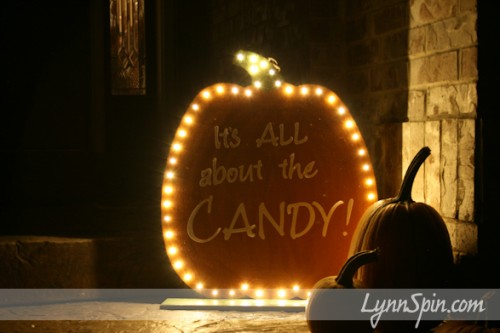
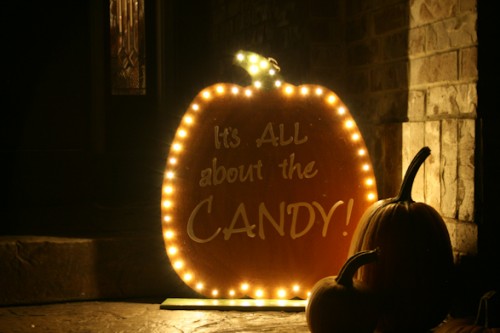
Very fun idea. I love this. I wanted to add a countdown and I loved the “It’s all about the CANDY!” I couldn’t fit it all on my pumpkin. So, I just went with the “candy phrase.”
Thanks for the inspiration Corner House Blog!
I cut some vinyl on my Cricut and this is what I made 
I thought about winding ribbon through all those holes. I decided my kids would love to see it lit-up at night and went with some Christmas lights instead. I am pretty sure that is why they are there anyway. 
TAA DAA!
I love Halloween!
I linked up here!
Batty Halloween Wreath
October 12, 2011 by Lynn
Filed under Crafts, Halloween, Holiday Crafts
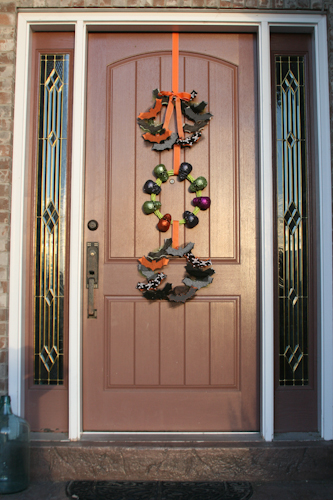
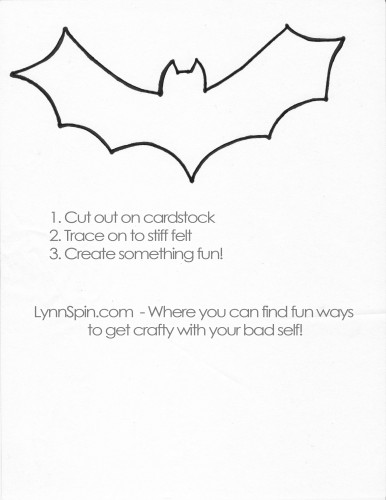
I am kinda obsessed at the moment with three tiered wreaths. This is my Halloween wreath. On this post (scroll down to find) is a printable of the pattern for the bat I used.
Hope you find a fun way to use it this October.
I bought three round wood wreaths from the dollar store and used spray paint I already had to make them green and black.
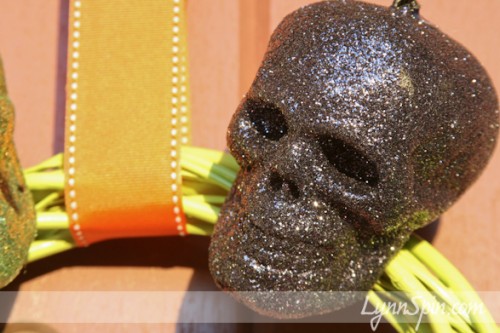
I had orange ribbon that I hot glued to hold the wreaths together. I found these skulls at my local thrift store and hot glued those on as well. Don’t you love hot glue?! I do.
I cut out the bats with stiff felt- can find at any craft store. I also cut out some black and white patterned fabric bats too and glued them onto some of the hard felt. This was the most time consuming part of the whole thing. I wrapped some glitter tulle around some of the bats too.
You can get the full sized bat pattern by clicking HERE .
I linked up to-

Utah Houses with Halloween Style
October 5, 2011 by Lynn
Filed under Decorating, Featured Content, Halloween, Holiday Crafts, Home and Garden
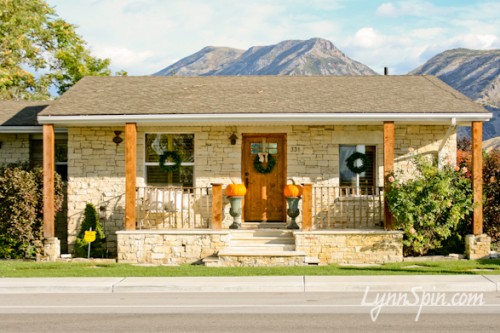
It’s time to decorate your house for Halloween! These houses have style without their Halloween decor, but they are even more amazing with a pumpkin or two or ten.
I drove around the other day to photograph two houses that I think have style. When I got to both of the houses their Halloween decorations where up. It was even better. I then decided to find more cute houses. So… here are some of the houses around me that I vote stylish and fun. Enjoy the pictures! I hope you feel inspired, I know I do!
This first house was simple, two pumpkins sitting on beautiful teal ceramic planters. The colors where amazing together, loved it.
Simple green wreath with burlap. This is a classy-clean look.
This second house is one of my favorites in my area. Whenever anyone is in the car with me I have to point out it and it’s green shutters. I think this house has tons of charm!
I love old houses, especially when they are taken care of so well.
I love the black and orange sheer strips of fabric hanging from the front porch.
This house is a beautiful bungalow. I would love to have an old bungalow to fix-up someday. Houses with character are the best in my opinion.
I am going to find me a cute flower pot this weekend and stick a pumpkin on it. So fun!
I loved all of the pumpkins and hay bales on the porch of this house. Lot’s of clever little touches.
Even the bird feeder was ready for Halloween.
Putting little pumpkins in the window box was one of my favorite touches.
This house was simple and classy too. Just decor on the door and those fun aqua chairs.
Now that I am inspired I need to go bust out my own Halloween decorations!
Big THANKS to all the homeowners that let me take pictures of their houses. 
Halloween Garland
October 21, 2010 by Lynn
Filed under Halloween, Holiday Crafts
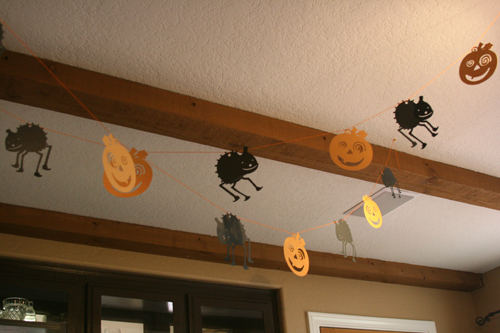
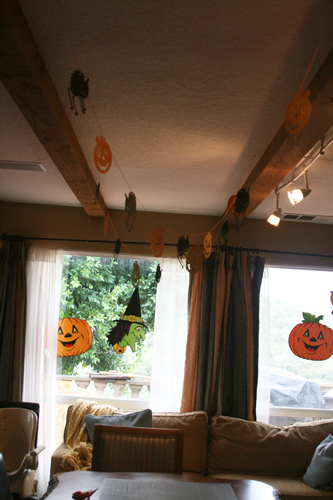
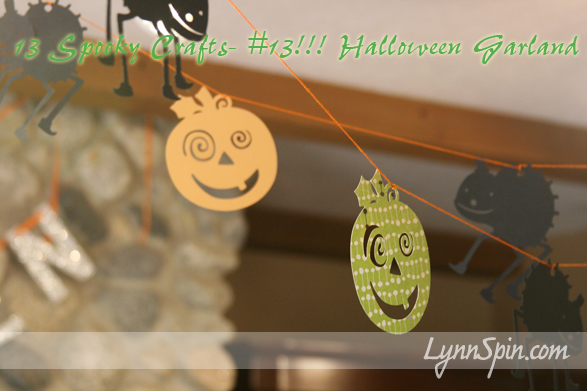
It was hard for me to get a good picture of this. But you get the idea right?  Super easy craft to spruce up the dinning room table. I used my Cricut machine to cut these out. I used the “Use your imagination” front cartridge. The spiders were 5 inches and the pumpkins were 4 1/2 inches. I needed a little more decoration for my annual pumpkin carving party! Super excited about it! My hubs and I met- well first spoke to one another while carving pumpkins. So in honor of that we have a pumpkin party carving party every year. How romatical
Enjoy your Halloween!! I am now off the pumpkin patch! Peace out!
Can’t believe I actually did 13 posts about Halloween. Yikes-a-Ronda!
Get Crafty with Your Halloween Decor!!
Spider Web Blocks
October 21, 2010 by Lynn
Filed under Halloween, Holiday Crafts
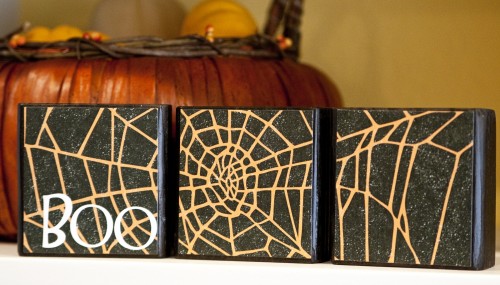
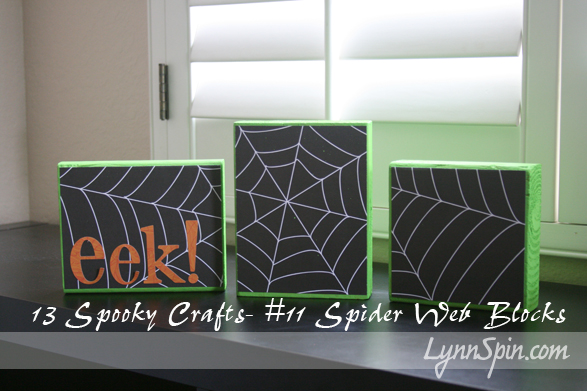
My clever friend Katie came up with this craft. I had to share it with y’all. I randomly found spider paper my mom had given me years ago and had blocks left over from the boo plaques. I had to make Katie’s cute craft! It was just what I needed for my fire place.
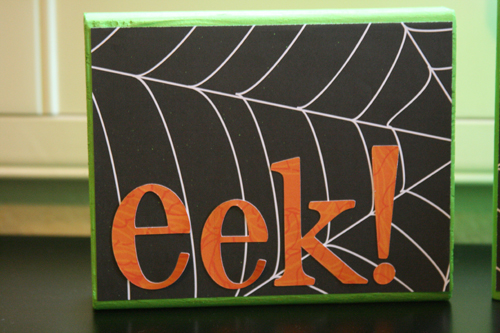
Here is a picture of the one Katie made. It is on 4×2 blocks.
Mine were on 6×2 blocks. I think the 4×2, like the ones Katie did would be much better. The EEK was cut with my cricut with the Schoolbook font. The first E is 3 1/2 inches and the rest is 3 inches.
Skully
October 20, 2010 by Lynn
Filed under Halloween, Holiday Crafts
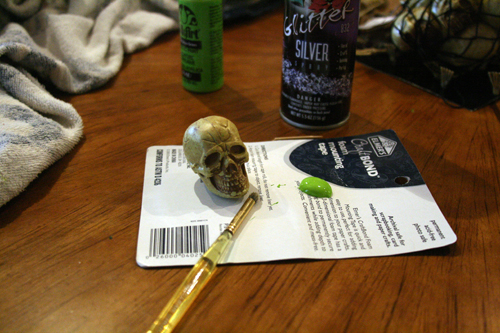
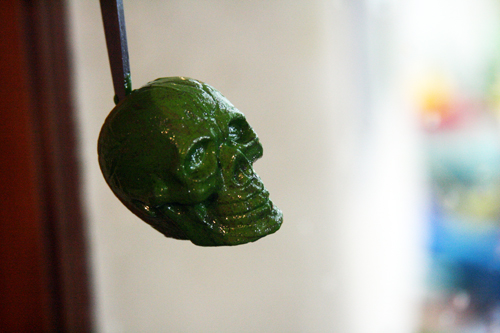
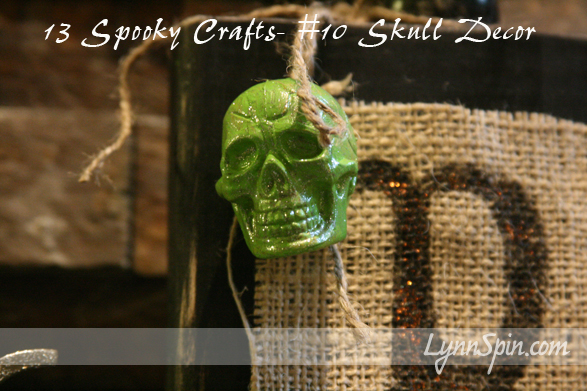
I wanted to add a little decoration to my Boo Plaque’s. I found this skull in a bag-o-skulls at Michael’s and then I painted it green and sprayed it with glitter. I had to poke a hole in it so I could hang it from the Boo Plaque- that was a little weird, but it turned out cute and extra spooky!
Get Spooky with Your Bad Self!


