Angels from the Thrift Store
December 7, 2011 by Lynn
Filed under Christmas, Crafts, Featured Content, Holiday Crafts
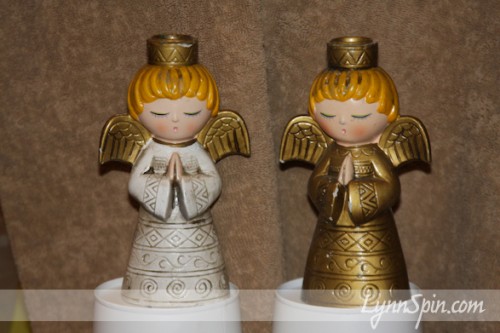
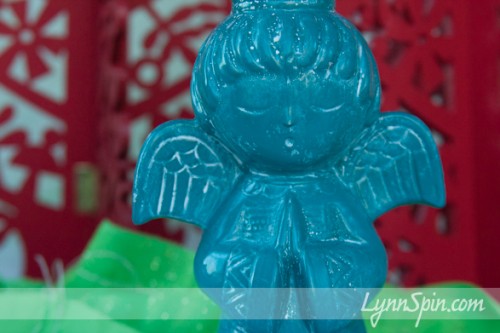
These angels where at Savers for 2 dollars each.
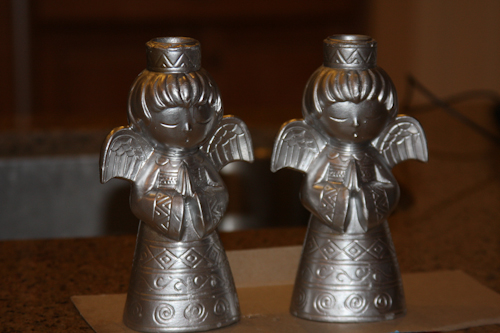
They needed a little Lynn love, so here is what happened. I wanted to give it a silver and gold patina look. I sprayed them silver.
Then I attempted to put some gold leaf on them. I just didn’t love how they turned out.
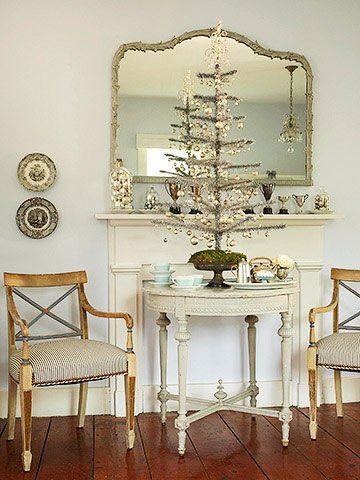
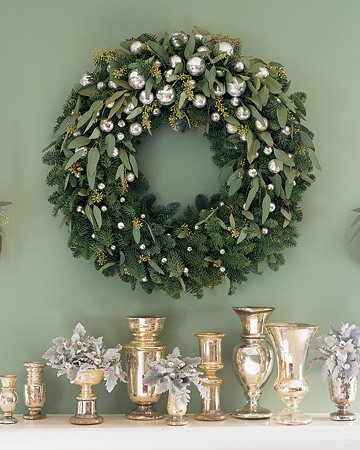
Even though this look is kinda popular right now as seen in these beautiful pictures.
picture from Better Homes and Gardens.com
Picture from Martha Stewart.com
And from Patina Green Blog
I just wasn’t diggin’ it. And I am mostly a green and red Christmas decor girl. So… I tried again. This time with teal spray paint. Then a little white wash stain.
I painted the stain on, then wiped it off after a few seconds.
What do you think?
I am loving red and teal lately.
Large Fabric Wreath Bow
December 6, 2011 by Lynn
Filed under Christmas, Crafts, Featured Content, Holiday Crafts, Sewing
Fabric bow making 101. You can use this tutorial to make a fabric bow of any size. Just scale it up or down depending on your needs 
Here’s how I made this BIG fabric bow.
(if you hate to sew, don’t like to sew, or don’t own a machine, or have one you can borrow- bust out the hot glue gun. He is always helpful  )
)
I started by cutting a piece of red linen 16 inches wide by 35 inches long. I folded it in half long ways and sewed the ends together.
I then creased it so the seam was in the middle on top and ironed it flat.
I then folded the ends in to meet in the middle.
I sewed down the middle to hold the ends in place.
I took a piece of thick thread, wrapped it around the middle of my bow, pulled it tight, and tied a knot.
waalaa bow….but we are not done yet!
Straiten it out a little and make sure the sides are even.
Then I cut another piece of fabric 8 long by 6 wide. I did the same steps of folding in half, sewing together, then ironing with seam on top.
I hot glued that piece over the thread in the middle of the bow.
I then cut out 4 more pieces to be the ends of the bow that hang down.
I have the pattern I made for those; if anyone wants it e-mail me.
I sewed two together them flipped them right side out.
And I hot glued them on to the back of the bow.
Then I cut and sewed a piece for the wreath to hang from and hot glued the bow on to that.
Took about 30 mins. I’d say this is an easy project. AND I’d say “Go get crafty with your bad self! And pin me on Pinterest while your at it ;)” wink wink 
Here is the finished bow on the wreath I bought at Costco.
Friday Feature- Today’s Fabulous Finds- Snowmen
December 2, 2011 by Lynn
Filed under Christmas, Crafts, Featured Content, Holiday Crafts
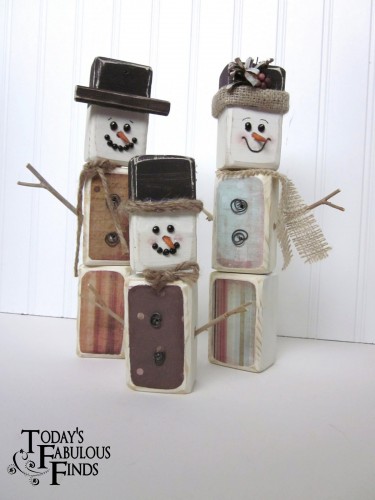
One of my close friends pinned these on Pintest and I saw them and knew I needed to make them! TOO CUTE!
What a great idea Janet over at Today’s Fabulous Finds Blog had.
Check out her fun blog and see how she made her snowmen by clicking HERE
And I had a ton of wood 2 x 4’s left over from building our dinning room table. Click HERE to see that. Anywho… My buddy came over after we had both put our kids to bed and we made these adorable snowmen. I made 4 because I knew Charlie would wonder where her or Beck was. So here are my four that I made.
We did ours just a little different. I didn’t have dowels, so we just used wood glue to stick them together. We used beads and puff paint for the faces. We hot glued the arms and decor on.
Thanks for the fun idea Janet! And thanks for helping people to get Crafty!
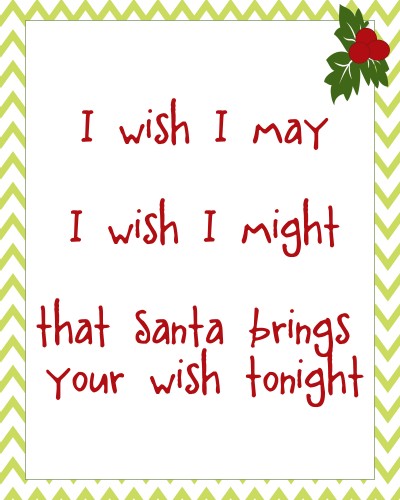
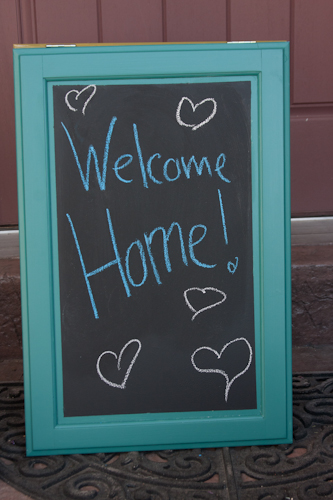
My Gift to YOU- Free Printables!!
December 1, 2011 by Lynn
Filed under Art, Christmas, Featured Content, Holiday Crafts, Typography
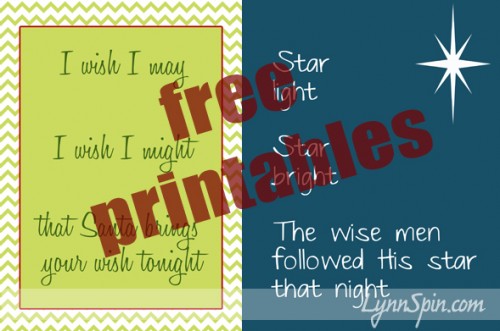
I have been thinking about these for a while. And I hope they can bring your house some Christmas cheer 
I have had so much fun crafting with you this year and sharing ideas. I hope you have a GREAT Christmas!!
You can download these by clicking on the links above each picture. This will take you to BOX.net where you can safely download the larger image straight to your computer.
These are all 8 x 10’s. I suggest printing at Costco. But, remember to click “Do Not Auto Correct” before check out. 
Copyright- Lindsay Muir
This tree one is 11 x 14
Much Love!
-Lynn
If you re-post this please give Lynn Spin a shout out and post my button on your blog somewhere. Thanks! 
Ribbon Trees
November 28, 2011 by Lynn
Filed under Christmas, Crafts, Featured Content, Holiday Crafts
These tree are pretty easy they are just a little time consuming. This is a sit in-front of the TV and watch a good show kinda project. They make a great center piece at Christmas dinner. I would normal make these red and green, but I made them for my mom and these are her colors.
Buy 3 different sized foam cones
A few different sizes, colors, textures of ribbon. About 5 or 10 different ribbons.
A box of 3/4 of an inch to 1 inch needles.
Cut the ribbon into 3 inch pieces. Start at the bottom of the cone folding your ribbon in half and pinning it to the cone. Work your way up alternating the ribbons in a pattern.
Create a bow at the top by twisting and pinning one of the ribbons. Done!
$2 Standing Chalk Board
November 21, 2011 by Lynn
Filed under Christmas, Crafts, Decorating, Featured Content, Holiday Crafts, Home and Garden, Thanksgiving
I have been wanting a chalk board for outside my house to write different fun things on. Like those chalk boards you see outside of restaurants with the daily specials. I looked them up online and they cost around $189 buck-a-roos! Crazy! I recently discovered a place called Re-Store in Orem, Ut. It is for Habitat for Humanity. You can drop off old cabinets, doors, paint, any building materials. They use some of it and the public can come in to buy it too. It’s like a thrift store for building materials. I love it.
I bought these two lovely old cabinet doors there.
I painted them two different colors, to get more use out of them.
I tapped of the inside and painted on some chalk board paint.
After that was dry, I turned them over and screwed in some regular door hinges to the tops.
I probably should have painted the backs too, but I am too lazy. 
These are the top of the cabinets now attached together. (turned sideways)
Done! Easy as pumpkin pie! Took me only a few hours, mostly waiting for paint to dry, but was fast and easy!
And, because I had the hinges and the paint it only cost me the $2 dollars for the doors. Sweet! I LOVE projects like these!
Now I can use it all the time 


