My Eastery Front Door Decor
April 5, 2012 by Lynn
Filed under Crafts, Easter, Featured Content
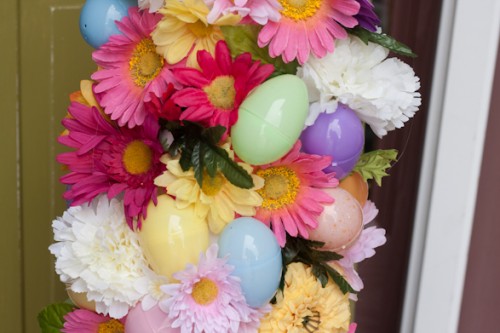
Easter!!! Deviled eggs, cute little chicks, chocolate covered children…such a fun day. I always love Easter and I love to decorate for it. I’ve definitely been in a slump decorating my house, but I did get around to doing the front door. Here it is!
I found some folding closet doors at the restore for $5 took them apart and painted them green. I made the bows using this pattern, click HERE. I just hot glued those, no sewing this time. I found the cardboard flowers at the dollar store along with the eggs on the topiaries and the fake flowers. I got the pots off KSL for $15 dollars and spray painted them. And the wreath I made a few years ago. You can find that tutorial and bunny pattern HERE
I didn’t want to spend a lot of money on making the topiaries and was having a hard time finding a cone shaped anything. So! I bought two pieces of poster board, rolled them up and glued them into a cone. I then went to town hot gluing on fake eggs and flowers. I think they turned out pretty great!
Burlap Easter Wreath
April 5, 2012 by Lynn
Filed under Easter, Featured Content, Holiday Crafts
This burlap wreath is a great way to decorate your front door for Easter.
You will need:
for wreath-
1 1/2 yards of burlap
14″ styrofoam wreath form
rotary cutter/scissors
spray bottle for wetting burlap, to help with mess
for bunny-
felt
hot glue
buttons, ribbon, flowers (whatever you like) to decorate bunny
I found this wreath on Craftaholics Anonymous (scroll to bottom of page).
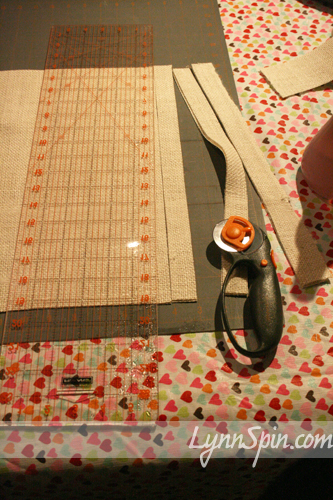
I thought if I added a cute bunny it would be a great Easter wreath. It was very easy to make, it didn’t take much time at all. I started by cutting a 3″ wide piece of fabric and wrapping it around my wreath form to cover the green. I think on Craftaholic’s they painted their styrofoam, but I wanted a little more uniform coverage.
Then I started to cut the 1″ by 16″ strips of burlap.
Then I tied them around the form using double knots. I tried to get the pieces as close together as I could.
After I had the whole thing tied, I started on my bunny. I cut the shape out of felt, wrapped a tulle bow around its neck, added some flowers and WaaLa!
Click here for free bunny shape/pattern. Right click link and choose “file/link/target as” then open and print. Or if you click on the link, go to “save image as”
I added a little bit of super stiff felt on the back of the bunny, then hot glued it to the wreath. I glued a 9″ piece of ribbon to the back of the wreath and hung that bad boy on my door! Bam!
Get Crafty With Your Bad Self On The Holidays! Watch Out Now!


