Valentine’s Lunch Box
January 29, 2011 by Lynn
Filed under Holiday Crafts, Valentines Day
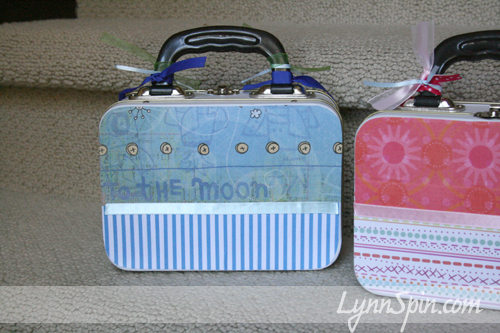
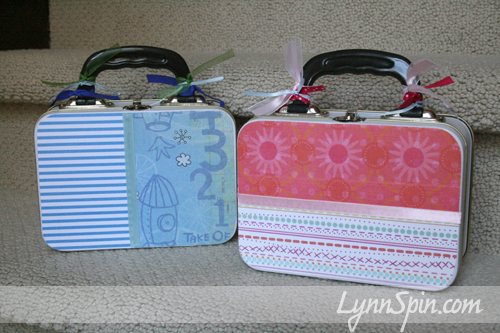
These are great for your kids to put their Valentines in. Or even better, for you to put a special Valentine’s day treat in for them. Ahh the day o’Love 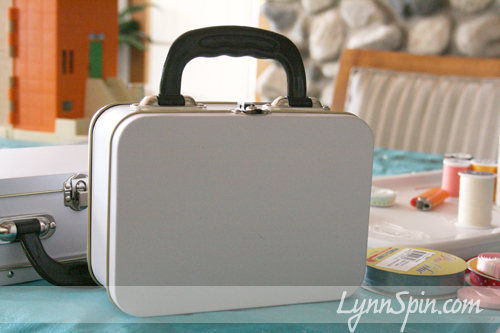
You can buy these at Michael’s or from Oriental Trading Company.
Simply trace the lunch box, cut out the paper, and decoupage onto the lunch box. Add some ribbon, fill with candy, and you are set!
My house is so clean and lovely 😉
Charlie helped me with my shoes while I crafted. haha I love her.
Open Shade -SAY CHEESE!
January 25, 2011 by Lynn
Filed under Photography
Photo tip! My awesome sister in law, Jackie, gave me a great tip. “Try to shoot in open shade.” This tip is for all you mom-tographers out there trying to capture those sweet little faces. Jackie is a film photographer in Utah. You can check her out here at www.jacquelynmuir.com or http://www.jacquelynmuir.com/blog/
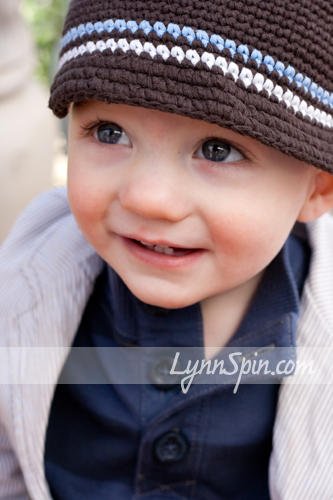
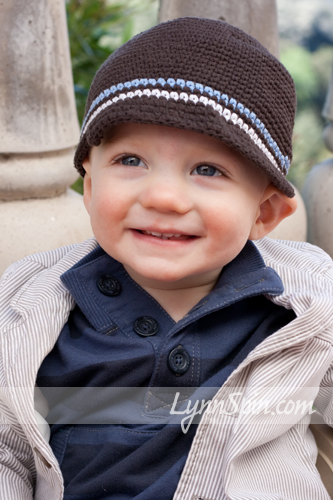
Say Cheese!! This is Beck “Cheese” face.
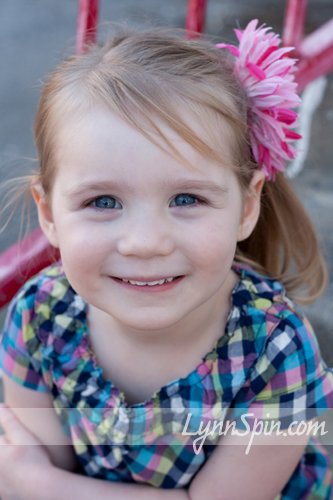
Open Shade- is just like it sounds, shade in an open area. It’s great for getting your lighting just right, a lot easier to work with than bright direct sunlight. It helps avoid the stark light of the sun and the heavy dark shadows as well. Here are some pictures I took of my kids in “open shade” the other day. No photoshop needed for these pictures, because the lighting was perfect!
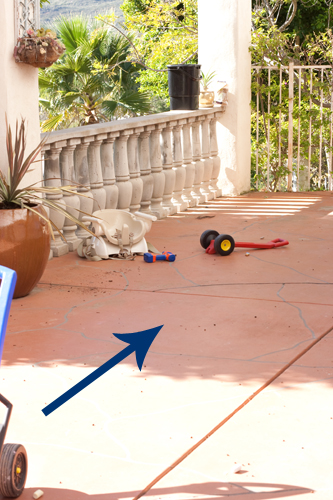
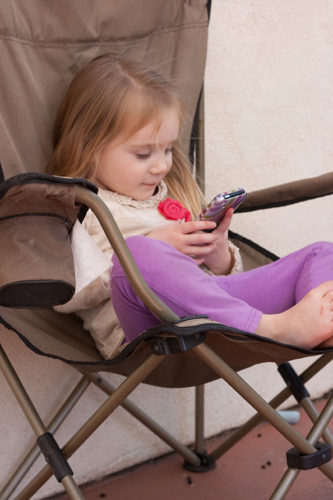
Arrow points to open shade on my patio. Beck sat in that little chair while I took these pictures.
My 3 year old teenager playing on my i-phone while I try my hardest to get her brother to smile. HA!
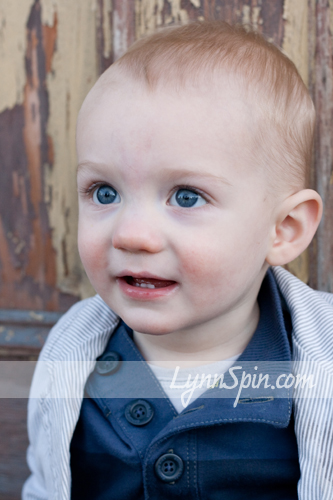
These next few pictures were taken in an ally in down town Escondido here in Cali
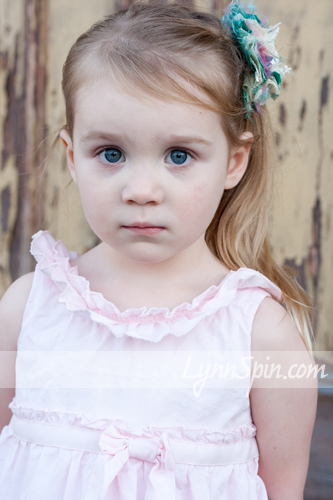 I love this last picture. I love my kids.
Fake flower hair bow How To!
January 20, 2011 by Lynn
Filed under Crafts, Featured Content, Hair Bows
I always feel like “hair bow” should be one word…. Any who! Welcome to fake flower hair bow making 101. Super easy stuff right here!
You need:
Fake flowers
matching 8 mm wide ribbon(optional)
gems or buttons
alligator clips (get get at Sally’s Beauty Supply or I like to get mine on e-bay)
And grab your hot glue gun!
Here’s how we start. Flip your flower over and pull it all apart. Don’t be afraid, it all good.
Now depending on the flower and how fluffy you want it , choose the layers you want on the flower. Then glue each layer back together with just a little dab of hot glue in the center.This flower I only used two of the layers. I can make 5 hair bows from this one flower. I like to put wax paper under the flower when I am doing this.
After you have glued all the layers/petals you want on your flower- glue the gem or a button in the center of the flower.
Almost done. Now you don’t have to do this part, but I like to wrap my alligator clip in ribbon. I think it looks nice, helps the clip hold on to the hair better, and helps the clip stay on the flower. I don’t do the entire thing, you need the part that slides in the hair uncovered or its too hard to get in the hair. Here’s how I do it.
I put just a little line of glue on the end of the ribbon. Don’t cut if off the roll yet. Then I open my clip and slide the glued part in on the top part of the clip; so the bottom prong is left uncovered.
There is a hole where some of the glue comes through and works well to attach the top piece of ribbon.
Once its in I fold the ribbon over the top and press together.
Then I glue around the top of the pincher part of the clip and just slightly on to the bottom prong.
Now I glue it to my flower.
Done! Wish I had a cute picture of this is someones hair….maybe later 😉
My photography goal
January 18, 2011 by Lynn
Filed under Photography
My friend Anne was kind enough to let me use her family to practice taking pictures. I got some fun ones of her kids, but not really any great ones of the whole family. Taking pictures of kids is HARD! I will taking any tips on how to get everyone to look at you at the same time, just once. I think I prefer to take less posed shots, but people like one of those (everyone looking shots) every now and then. Maybe I can take a class on that when I get back into college someday. 
Anywhooo. Here’s my goal- to be good enough at taking pictures of my kids so I can capture beautiful memories that don’t cost me $400 plus bucks every time I want a good picture. And I want to be good on my digital camera so that it costs me nothing but my time and my camera. Then once I am good enough I can take pictures for my friends too, for free. Just for fun. Because I enjoy it. I have a lot of fun learning and taking pictures. I hope to play more with my film camera, because I think film is beautiful. But, my digital is also satisfying my need to take a good quality quick pic of my kids.
I need to capture my babies eyes, so I can remember the way they looked at their mama. ahhh yeah… sweet babies and funny toddlers.
Here are some of my favorite from two different days with the S family-
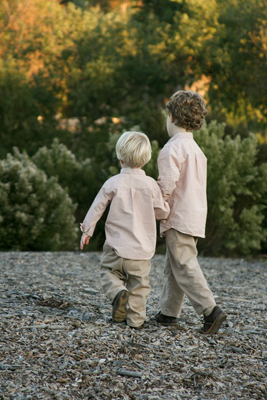
Above- Favorite picture of the boys- I want to paint this in watercolors
I love that his face was all dirty-
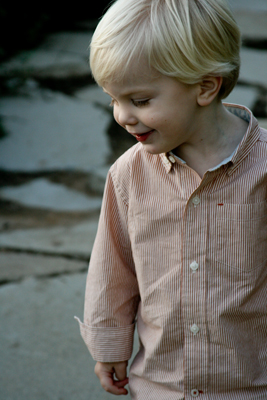 He did not want to look at the camera- I think it worked out though
Best Picture of the day- I think he was trying a Jedi mind trick on me hahaha….ahh good times
Princess Birthday Cake
January 17, 2011 by Lynn
Filed under Cake, Entertaining, Yummy Food
Ah ahhhhh! (singing like it’s amazing) Cuz it totally is haha!
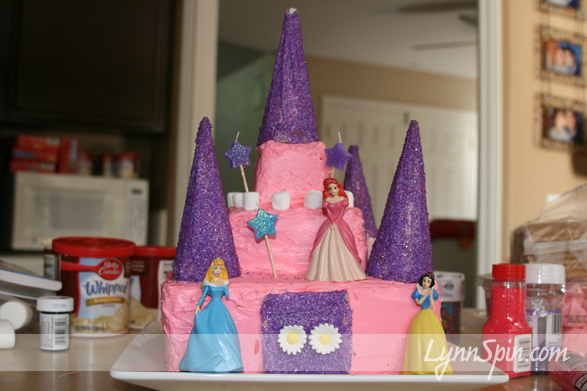
I found a you-tube video from Howdini on how to make a princess cake (that you can find here) and made my first ever decorated cake for Charlie’s 3rd birthday. Holy Cow! It wasn’t too hard, but starting the task was. Here is a little tutorial of pictures if you need to make a princess cake. At the end of the pictures I also show two smaller versions I made up myself using the same techniques I learned from the you-tube video. They turned out very cool and totally made my 3 year olds day. (I felt like a pretty awesome mom, not gonna lie ;))
My pictures for this post are pretty crappy. I was in a hurry and it was really dark. oh well… here’s the info.
I don’t make cakes from scratch so, Betty Crocker cake mix and frosting, food coloring, sprinkles, 5 ice cream cones, and a few princesses from the dollar store.
Made my 4 9×9 cakes. Put the wax paper down so I don’t get frosting on the plate, can pull them out when all done and have a clean plate. Sandra Lee from Food Network taught me that. Ok, used my bread knife and cut the top off so it was flat.
Put some frosting on top- in between the layers.
Three on the bottom. Then cut your forth piece in to fourths, use two of those for the middle, then cut on the remaining fourths in to fourths again and put two of those on the very top. Watch the video if I don’t make sense. It’s good and quick.
Put the cake in the fridge to harden up a bit, before frosting it.
Mix up your frosting
Give the cake a thin coat of frosting- there’s a term for this they use in the video- but I am a first timer 😉 Then place it back in the fridge to harden. It’s easier to frost this way.
When its hard enough take it out and give it a thick frosting. You can then pull out the wax paper if you want, or wait till the very end.
Now for the fun part- decorating! Put your sprinkles on a plate.
Roll them in sprinkles
Place on the cake
Now add the rest of the decorations. I used a gram cracker for a door. Frosted it, put sprinkles on it. The used a dab of frosting to glue it to the cake.
 I added little pre-made sugar flowers as door handles and mini marshmallows for fun.
 Added the princesses, candles, and a little sprinkles and Done!
Sweet Success!
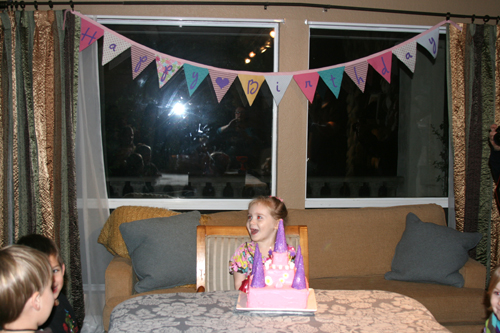
How to make that cute birthday banner in back, click here.
A week later my friend and I threw a combined party for our girls who are 8 days apart. I made a little smaller version for each of them.
If I was to make this again I would have put two cake layers on the bottom instead of one. I used card board to set the cakes on, sour string candy on the layers, white chocolate chips at the ends of the candy, and lots of sprinkles all around. Oh and I used tooth picks to hold the princesses on.
The party was at Kidsville in San Diego. It was a blast!
Make a Cake with Your BAD Self!


