Building an Ottoman
May 8, 2012 by Lynn
Filed under Crafts, Decorating, DIY, Featured Content, Home and Garden
I keep seeing all these cute ottomans in adorable fabrics and I WANT THEM! So, I decided, “Hey! I can do that! I am soo crafty with my bad self, how hard can it be?!” Well my fine friends. It is NOT THAT HARD! YOOOU CAAN DOOO IT TOO!
Here’s how I made this fun little one for my front entry way. I am planning on a much larger one for my living room in the near future. So stay tuned for that bad boy. I already bought the fabric and am super excited.
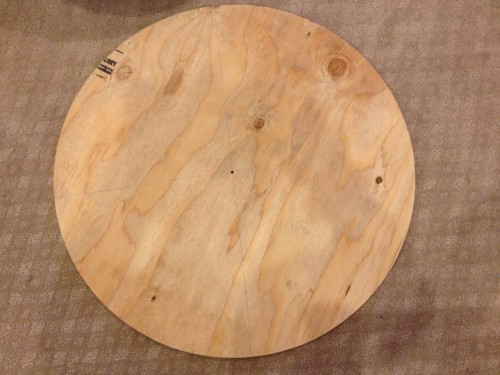
I bought this round wood piece of wood at Lowes for about $7. Home Depots are different, not as good for this type of project and are MUCH more expensive (FYI).
I measured to the center and drilled a whole first, because I knew I wanted to add a big button in the middle later on.
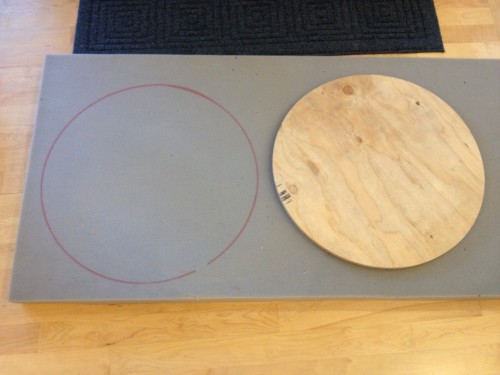
I bought this foam from Home Depot, they have it at random times through the year. It is $20 for a huge piece. You could make a few ottomans with the size it is. It is 3inches. This stuff is much more pricey at JoAnn’s or any other craft store, so this is a good deal. Great for seat cushions on a bench or something too.
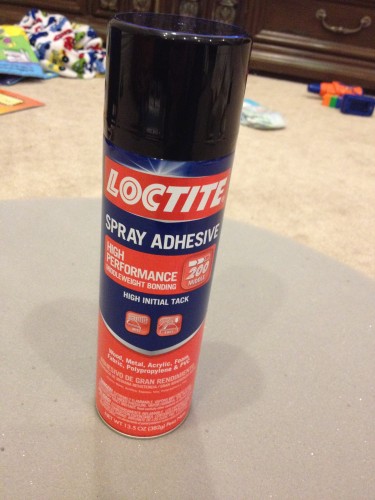
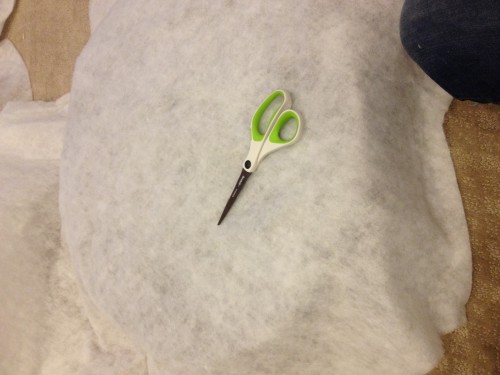
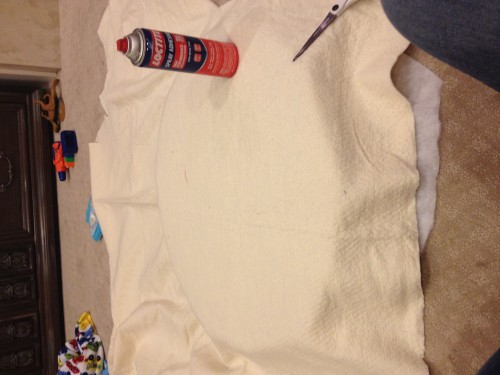
I traced a circle and cut out the foam with my ceramic knife. Any smooth super sharp knife or razor blade will work. Then I used a permanent spray adhesive to attach my foam to my board. I also cut two different layers of quilt batting and sprayed that on too.
I glue it all down and then cut my fabric circle.
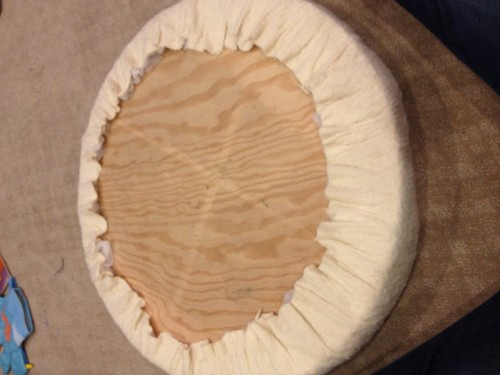
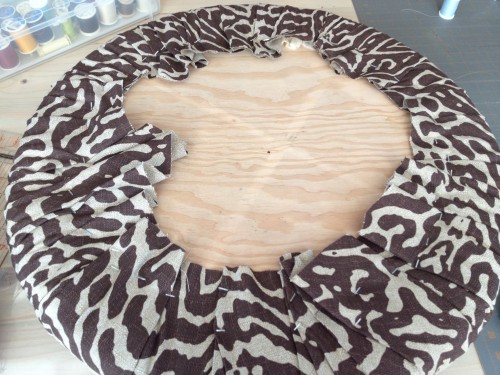
I did not glue the top fabric. I used my staple gun, pulling my fabric tight! and stapling it all the way around. I tried to make sure that the pleats of my fabric where only on the bottom and wouldn’t show around the sides. This would be much easier if it was square, but it worked out.
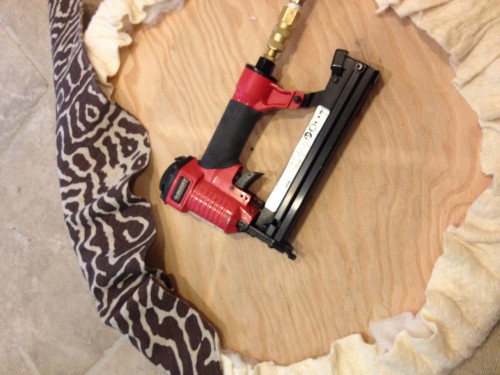
I have an electric staple gun and one that uses an air compressor, I used both. But the electric one would have been fine.
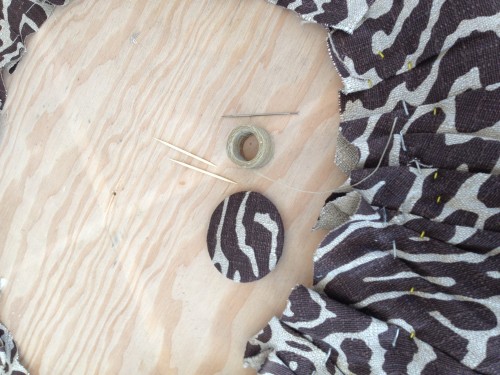
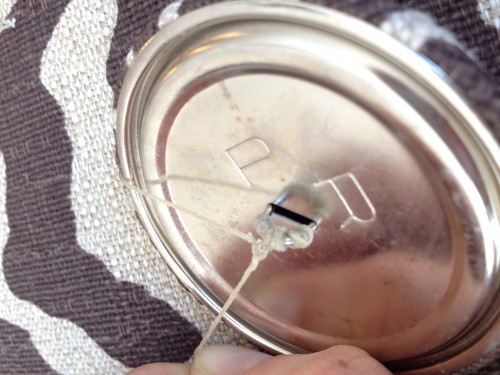
After that I put my button on, this was tricky because I didn’t have a very long needle. You will need a really long needle! You can read here to see more about putting buttons on furniture. CLICK HERE TO GO TO BUTTON TUTORIAL
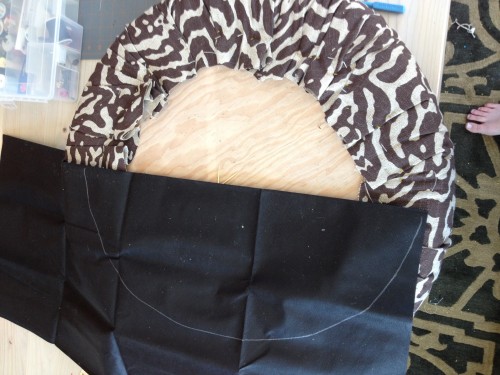
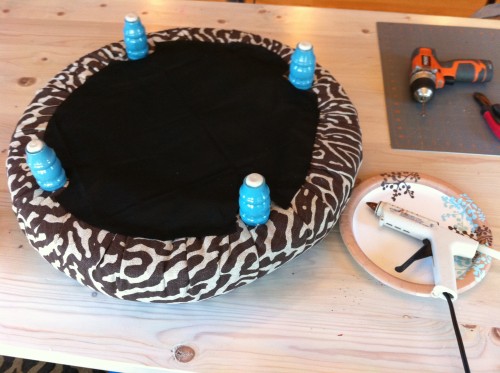
After my button was on nice and tight, I cut and glued a cover over all my staples and ugliness underneath. You can buy this black chair under cover stuff from JoAnn’s or any craft store. I can’t remember what it is called at the moment, but it will be in the upholstery section.
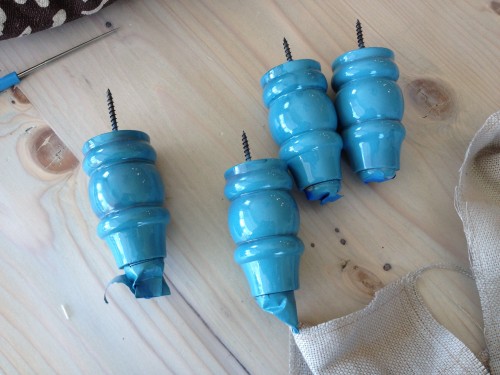
I then drilled holes for my freshly painted high gloss blue legs. So cute! And screwed them in to the bottom.
I hot glued down the cover fabric and waalaa! Done!
This would be rad with a cowhide too. Oh the possibilities!
GO ON NOW!
AND!!!


