No-Sew Birthday Banner
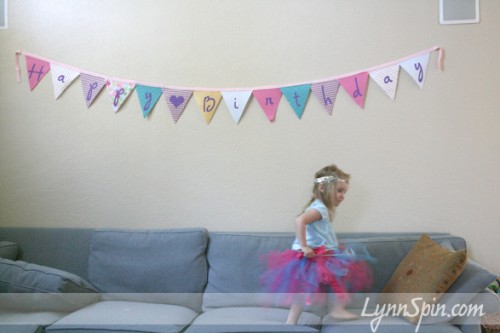
I love this birthday banner! Another easy craft to keep you festive. Charlie loves birthdays and parties, so when she woke up and saw this on the wall she was stoked. She is a party animal. Now I just need to make a boy one, since Beck’s b-day is next month. lol Charlie’s isn’t till December, but I had to do a girly one first. Girl stuff is so much fun. ahhh… Anyway, make this! it’s sweet!
Supplies:
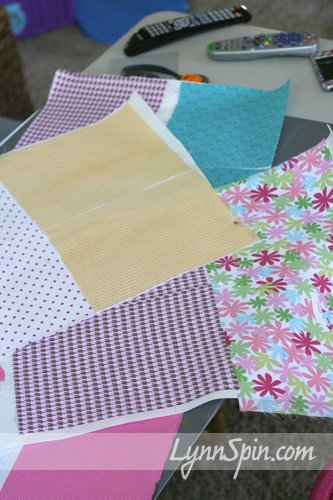
5-14 coordinating fabrics, you only need a little bit of each. I made mine 8″ wide and 8.5″ long-triangly 😉 There will be 14 triangles including a space between happy and birthday.
Double fold quilt binding- 3 yards
rotary cutter with mat and guide OR scissors/pinking sheers
Acrylic paint
Pellon/Interfacing- 2 yards
hot glue gun
foam brushes
freezer paper
die-cut machine like a cricut or stencils
Iron
Optional! if you want a felt backing you will need 2 yards of felt and a package of Heat and Bond instead of the Pellon
Let’s get Started-
The first thing you will do is cut pieces of your fabric out and iron your pellon to stiffen the fabric and to keep it from fraying when you cut it. If you are doing a felt backing cut your fabric and iron on the heat and bond.
I did the felt on the back, but after experimenting with the pellon. I would prefer to do it that way. OR you can even use Canvas material-thicker material and just cut it with your pinking sheers. Take the first whole step out that way, but your fabric choices will be limited.
Next step!
Cut out your triangles. I did mines 8.5″ long and 8″ wide. I wouldn’t go wider than that, but smaller would be good. You just want to make sure you don’t go over the 3 yards of the binding.
I cut mine out with a rotary pinking blade- didn’t know these existed till last week. I likes
After these where cut I ironed my felt triangles on to the back. But if you did pellon, don’t worry about that. Next you will want to lay them out and decided how you are going to place them in line.
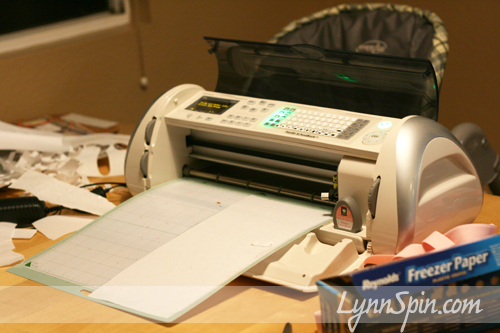
Then, cut out your letters out of freezer paper with your machine; or with a stencil and an exact-o knife.
I used my cricut. For freezer paper you will want pressure of 3 med, speed of 1 or 2, and depth of 2. I used the Plantin Schoolbook cartridge- roly poly font for the heart- 3inches big. For the letters I used Opposites Attract cartridge in the “Upright” font. For the H and B capital letters I did 4inches and for the lower case letters I did 5inches big.
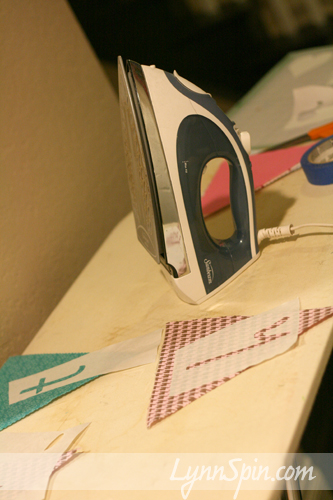
After cutting out the letters I ironed them onto my triangles.
I painted with the acrylic paint. I didn’t like the fabric paint color choices, and this works just as good. Your probably not going to be washing this, so no worries about the fabric paint.
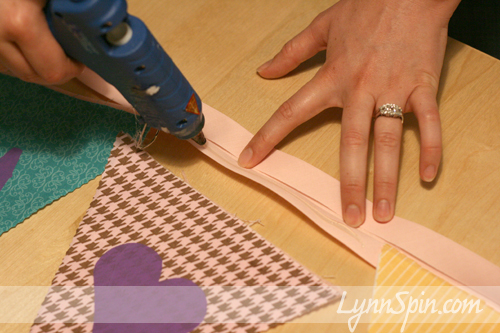
After they were dry I peeled the freezer paper off, lined up my letters, and started to glue. Make sure you line up your binding and letters before you glue so it is all evenly spaced.
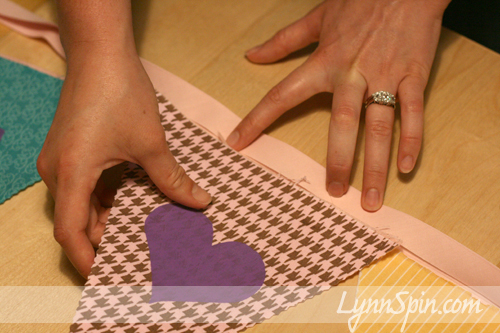
Open up the quilt binding, glue on the bottom first.
Overlap the triangles just a little. Place on hot glue; then glue the top and press down.
And your done! Check out these two other blogs that helped me come up with my banner- Craftaholics Anonymous and Twig and Thistle.
Celebrate with your Bad Self!
Princess Birthday Cake
January 17, 2011 by Lynn
Filed under Cake, Entertaining, Yummy Food
Ah ahhhhh! (singing like it’s amazing) Cuz it totally is haha!
I found a you-tube video from Howdini on how to make a princess cake (that you can find here) and made my first ever decorated cake for Charlie’s 3rd birthday. Holy Cow! It wasn’t too hard, but starting the task was. Here is a little tutorial of pictures if you need to make a princess cake. At the end of the pictures I also show two smaller versions I made up myself using the same techniques I learned from the you-tube video. They turned out very cool and totally made my 3 year olds day. (I felt like a pretty awesome mom, not gonna lie ;))
My pictures for this post are pretty crappy. I was in a hurry and it was really dark. oh well… here’s the info.
I don’t make cakes from scratch so, Betty Crocker cake mix and frosting, food coloring, sprinkles, 5 ice cream cones, and a few princesses from the dollar store.
Made my 4 9×9 cakes. Put the wax paper down so I don’t get frosting on the plate, can pull them out when all done and have a clean plate. Sandra Lee from Food Network taught me that. Ok, used my bread knife and cut the top off so it was flat.
Put some frosting on top- in between the layers.
Three on the bottom. Then cut your forth piece in to fourths, use two of those for the middle, then cut on the remaining fourths in to fourths again and put two of those on the very top. Watch the video if I don’t make sense. It’s good and quick.
Put the cake in the fridge to harden up a bit, before frosting it.
Mix up your frosting
Give the cake a thin coat of frosting- there’s a term for this they use in the video- but I am a first timer 😉 Then place it back in the fridge to harden. It’s easier to frost this way.
When its hard enough take it out and give it a thick frosting. You can then pull out the wax paper if you want, or wait till the very end.
Now for the fun part- decorating! Put your sprinkles on a plate.
Roll them in sprinkles
Place on the cake
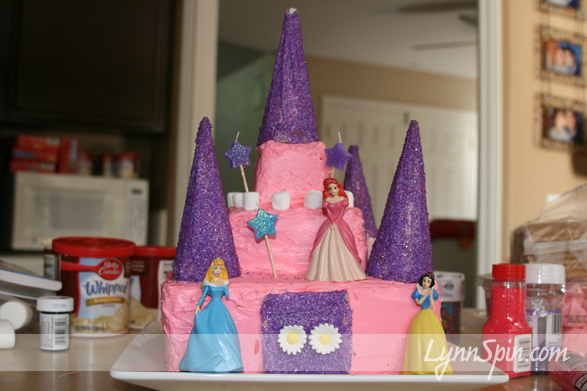
Now add the rest of the decorations. I used a gram cracker for a door. Frosted it, put sprinkles on it. The used a dab of frosting to glue it to the cake.
 I added little pre-made sugar flowers as door handles and mini marshmallows for fun.
 Added the princesses, candles, and a little sprinkles and Done!
Sweet Success!
How to make that cute birthday banner in back, click here.
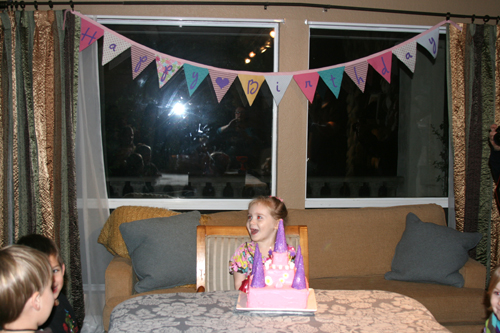
A week later my friend and I threw a combined party for our girls who are 8 days apart. I made a little smaller version for each of them.
If I was to make this again I would have put two cake layers on the bottom instead of one. I used card board to set the cakes on, sour string candy on the layers, white chocolate chips at the ends of the candy, and lots of sprinkles all around. Oh and I used tooth picks to hold the princesses on.
The party was at Kidsville in San Diego. It was a blast!
Make a Cake with Your BAD Self!
Happy Halloween Banner
October 14, 2010 by Lynn
Filed under Halloween, Holiday Crafts
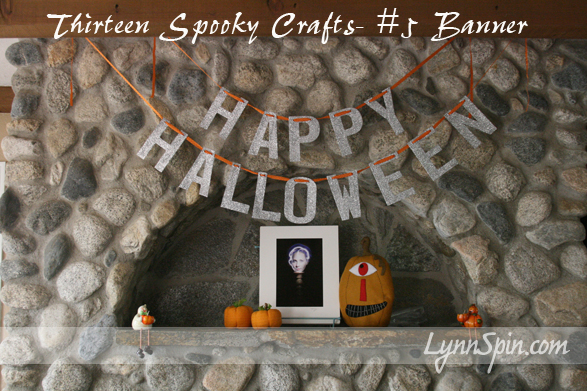
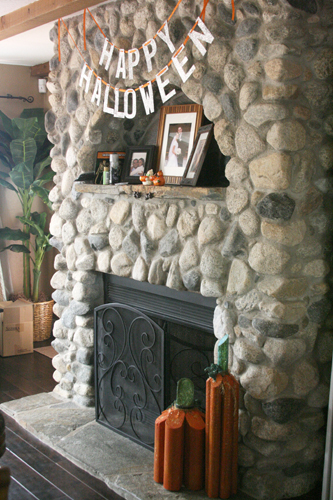
OK, so this is not that creative I know. But, I really love this. I love glitter, especially during Halloween. I got these letters at Jo-Anne Fabric’s in the dollar section. I just looped them through some string and thumb tacked them to the ceiling. You could also cut out letters on your circuit or other die cut machine and make this.
Just had a fun thought. You could use the birthday banner instructions found here to make a sweet Halloween Banner. OOooo Good idea. I will do that next year. I am up to my ears in crafts right now. My Super Friday-(yearly church craft day) is tomorrow and I am in charge! I am kinda sick of driving to Micheal’s, Walmart, and Jo-Anne’s – which I never thought I would say. Because of that my 13 spooky crafts will resume on Monday, I am going to need a break after tomorrow 😉
Also I have a new button for my fabulous 13 days of spooky crafts. Get it here
Thanks!!- Lynn


