Upholstery Part 2- Tricks of the Trade
September 12, 2011 by Lynn
Filed under Featured Content, Furniture Redos
Are you feeling overwhelmed with that chair you bought that is still sitting in the garage?! And the hubs is like, “Can we please get that piece of junk out of here.” But then your like…”I have a dream for that ugly old thing. I WILL make it new again!”
And then I say, “You GO GIRL! Get crafty with your bad self! Yahhooza!”
haha, ok ok let’s get down to business. 
When my mom and I were feeling a little stuck we called an upholstery shop. Thankfully we got a hold of the SUPER nice gentle man who owns the shop. We told him we were redoing some chairs and were having a hard time with a few things. He told us to come on down to his store and he would show us what to do. So kids and a DVD player in-tow, we headed over to the shop. And these are a few of the awesome things we learned in about 10 mins.
Tip 1
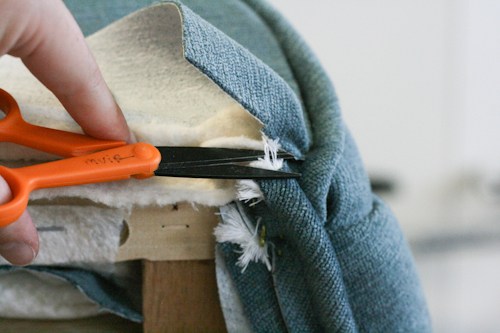
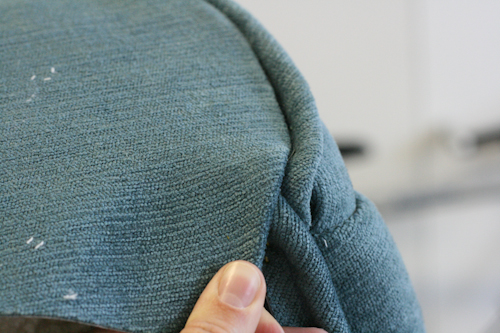
When you are trying to end a piece of piping trim out the rope from the inside of the fabric cover. This will help the piping to hide under the top fabric with out a bump.
See no bump!
Tip 2
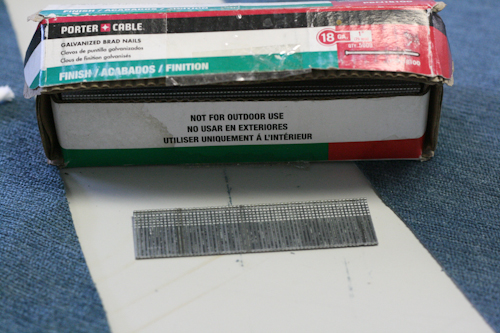
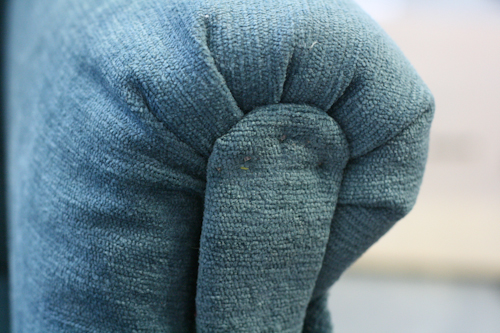
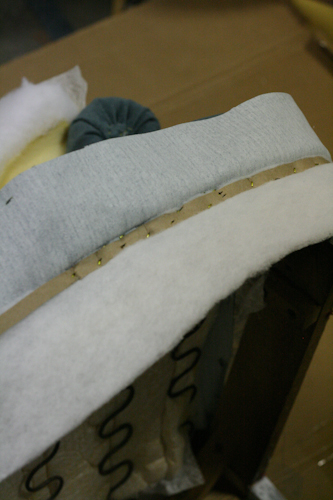
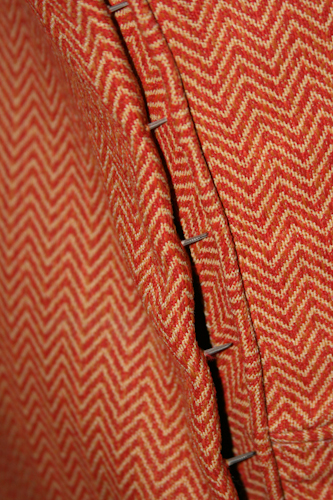
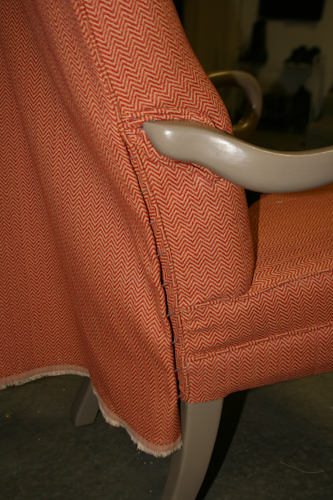
Use finishing nails to hold certain pieces on to the fabric. You will need a bit of card board behind the fabric, like in the arm end. (see picture below) Then use an ice pick or other sharp pointy poker to pull/pop the top of the fabric up around the nail. The fabric will stay in place, but the nail won’t show.
I used a bead making tool to pull the fabric up over the nails (very poky tool). This fabric is wrapped around a piece of cardboard to help it hold it’s shape and to help nail it into place.
Tip 3
Use cardboard to help keep bumps in fabric to a minimum. It comes in handy if there is a lot of bulk, like batting, pipping, and fabric.
Tip 4
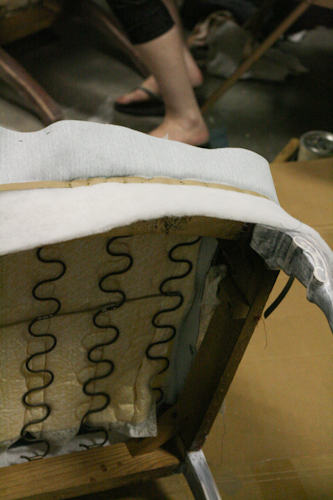
When you upholster you really need to pull the fabric tight before you staple it down. In some places this can be a bit tricky. You can sew a piece of thin pellon to the sides where you need something to pull. Like in the picture below, see where the white fabric is sticking out? That is where we pull and then staple that to the chair.
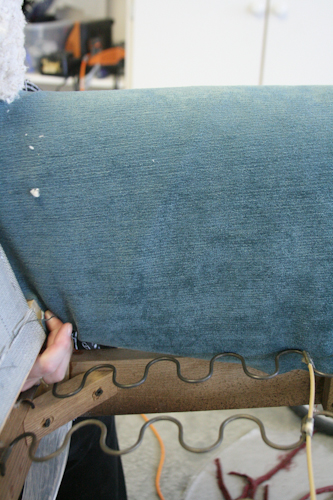
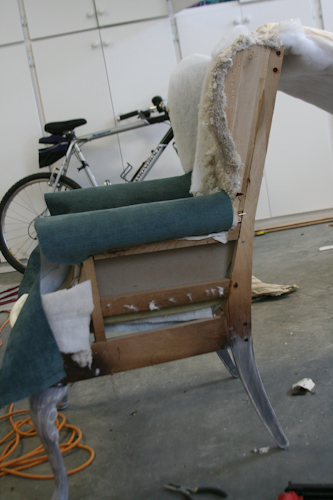
Here are some pictures of the arm as well.
inside of chair
outside of chair
You can see the white piece sticking out the bottom. We didn’t pull it yet.
Tip 5
This one was and IS a life saver.
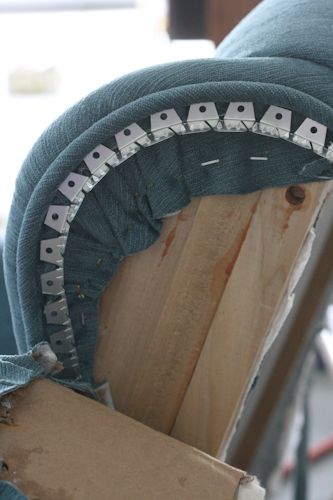
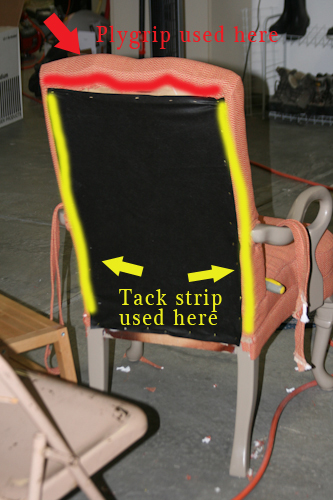
This metal piece is called plygrip. It is used to clamp the fabric down around curves. It is awesome! Below are a few pictures from my phone when the upholstery guy was showing me how to use it.
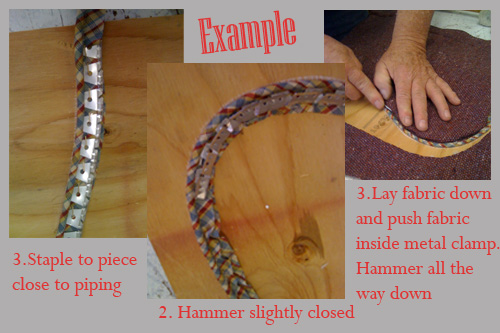
This is the example the upholstery shop owner showed me.
The plygrip is like a clamp. One side you staple to the piece and the other has teeth that hold the fabric in place. Once you fold/push the fabric edge into the inside of the clamp and hammer it down, it makes a nice clean edge.
Tip 6
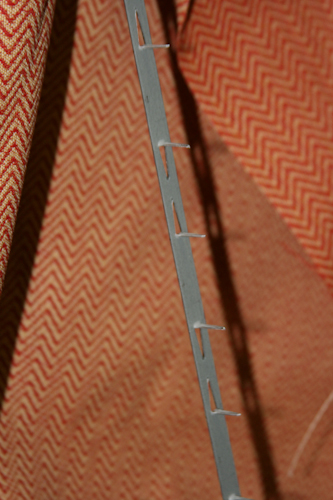
This metal piece is called tack strip. You will probably see this in your chair when you are taking it apart. You wrap it around the fabric (spikes going through the fabric) and pound it in to the wood. It is usually on the back two sides. It is the last step in putting together your chair!






Love the kitchen table Your tips are amazing! Now I just need to find some chairs to use them on!