Upholstery Part 3- Buttons
September 20, 2011 by Lynn
Filed under Featured Content, Furniture Redos, Home and Garden
I was a little worried about the buttons. But, it was actually one of the easiest parts.
Here is the Chair before we started
Sorry it’s so small, pic was taken on phone. These are my sister-in-laws chairs that we found on KSL. She got them for 25 each and her fabric was free from a designer friend of her’s. There was a million upholstery nails and buttons on this chair. It took 6 hours to take the upholstery nail out of this chair. Yikes! Pay attention when you buy a chair to redo. We were first timers.  Also, we bought these from a super creepy old man who wanted to ask me on a date lol. He could have been my dad. CREEPY! He told me he liked my freckles
  hahaha…eww
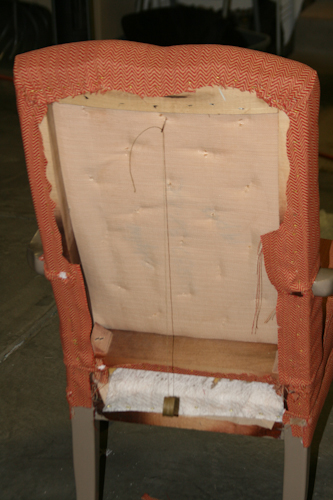
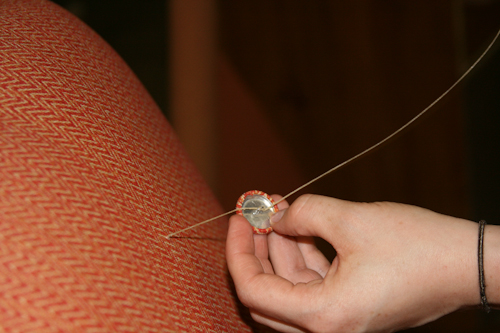
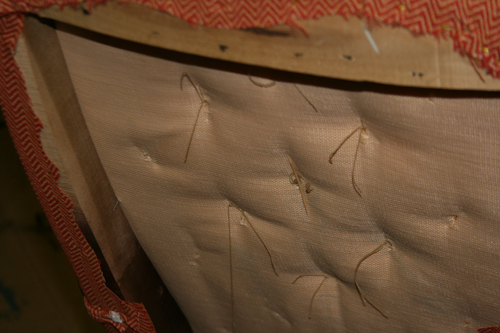
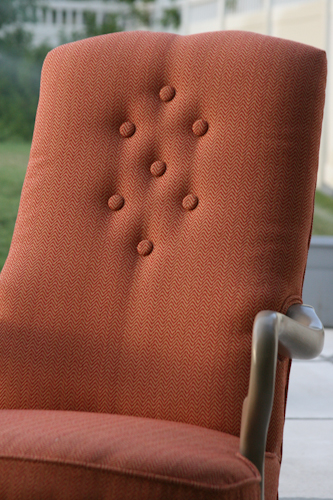
We bought some metal buttons from Jo-ann’s and covered them. Using the existing buttons holes in the back, we mapped out the placement of the buttons. Then started putting them on.
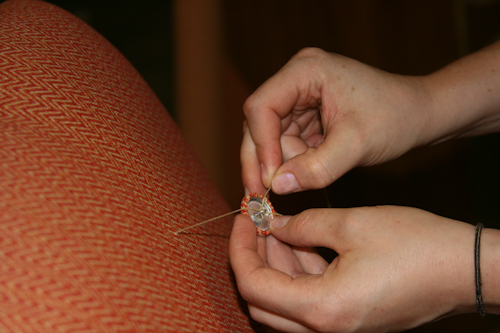
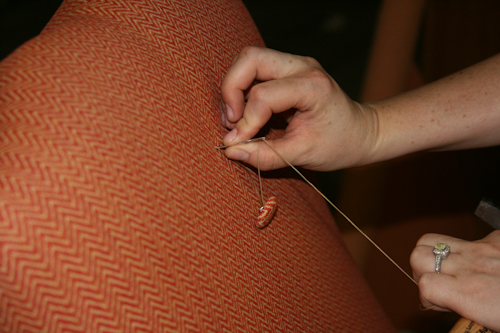
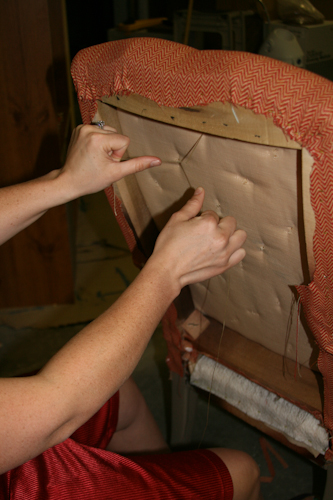
Used upholstery wax thread and a large needle. Wrap the thread around the button shaft a few times. Then pull needle again through to the back.
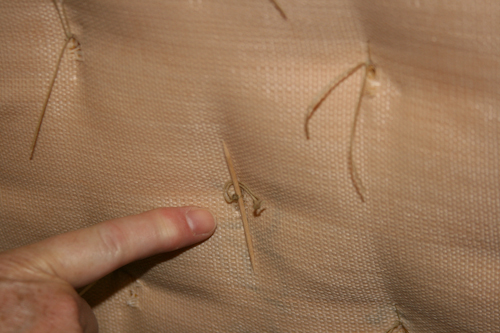
We then pulled as tight as we thought looked good and tied a knot in the back. If we could get it tight enough we put a tooth pick in and twisted it till it matched the other buttons in the front.
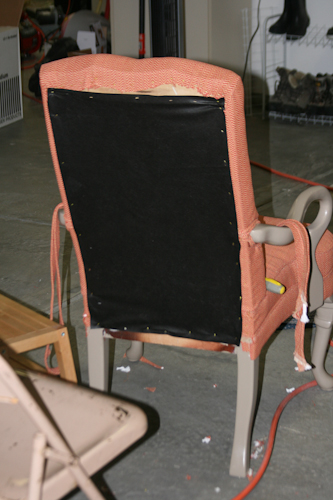
Then place the backing on and finish up the chair 
BUTTONS!!
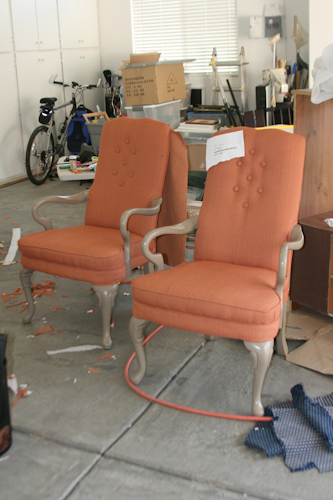
The white paper is my “chair to do list” Good to have one of those.
Done!




Comments
One Response to “Upholstery Part 3- Buttons”Trackbacks
Check out what others are saying about this post...[…] After that I put my button on, this was tricky because I didn’t have a very long needle. You will need a really long needle! You can read here to see more about putting buttons on furniture. CLICK HERE TO GO TO BUTTON TUTORIAL […]